
Here we will learn how to add and edit data in a basic LightSwitch Application using Visual Studio 2012.
Procedure for creating a basic application.
Step 1
In the LightSwitch HTML Application, open the Solution Explorer.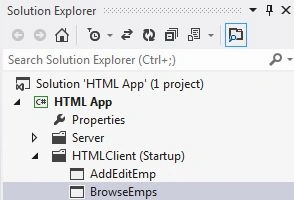
Step 2
Right-click on the data source and choose "Add Table".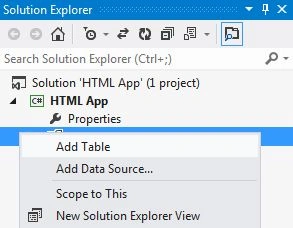
The table appears.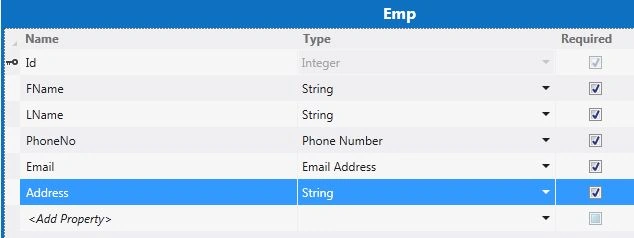
Step 3
Right-click on "Screen" and choose "Add Screen".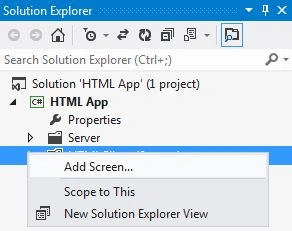
Step 4
Select the HTML Browse Screen from the screen template and provide the screen information and click "OK".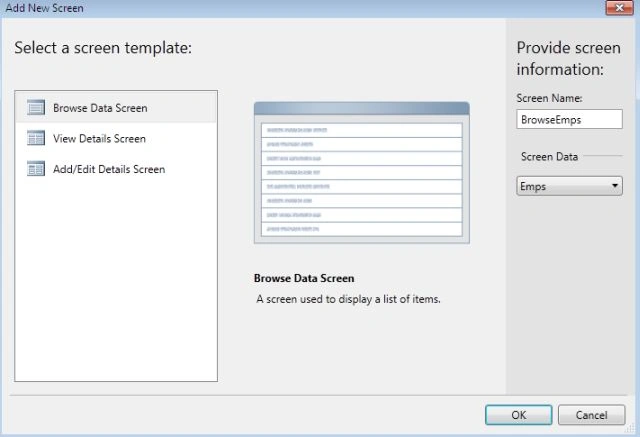
Step 5
The screen designer appears.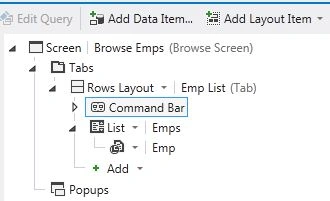
Go to the properties window, in Behavior set the Screen Type to "Edit". 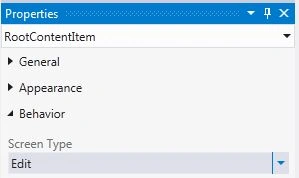
Step 6
In order to add the data item to the screen, click on "Add Data Item" in the menu bar.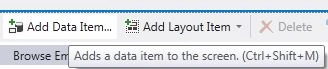
The Add Data Item dialog box appears on the screen. Select the "Local Property" radio button and mark the "IsRequired" checkbox as unchecked and provide a name to the local property and click "OK".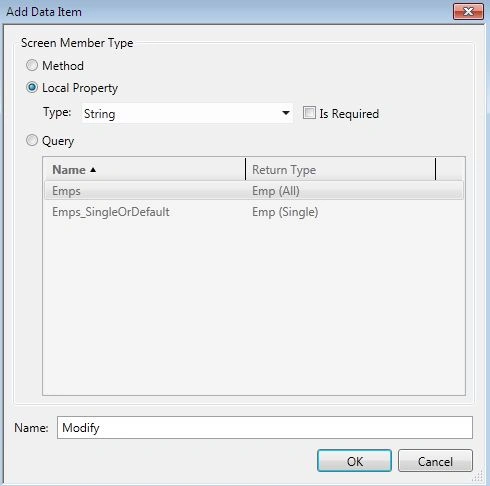
Step 7
The "Modify" Data Item appears on the screen.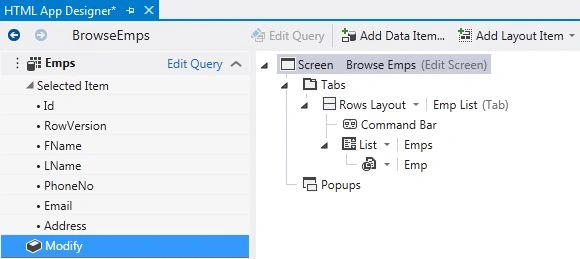
Drag and Drop the Modify data item below the Command Bar on your screen.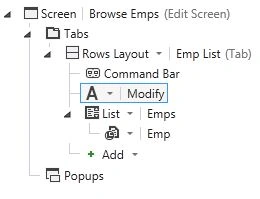
Step 8
Choose the Modify data item from the screen designer and go to the property window and set the Label Position : "Hidden" and Font Style : "Large".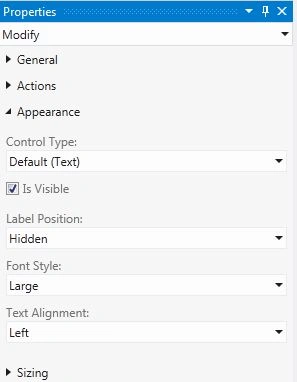
Step 9
Right-click on the command bar in the screen designer and choose "Add Button" to add and edit Employees.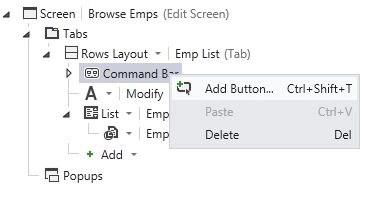
The Add Button dialog box appears on the screen. In this select "Add and Edit New" and navigate to "New Screen" and click the "OK" button.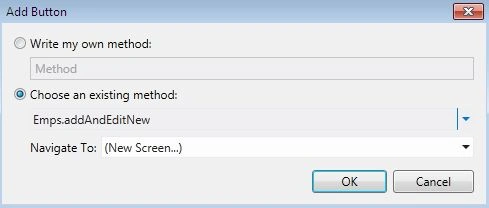
The AddEditEmp Screen appears; click the "OK" button. The AddEdit screen designer appears.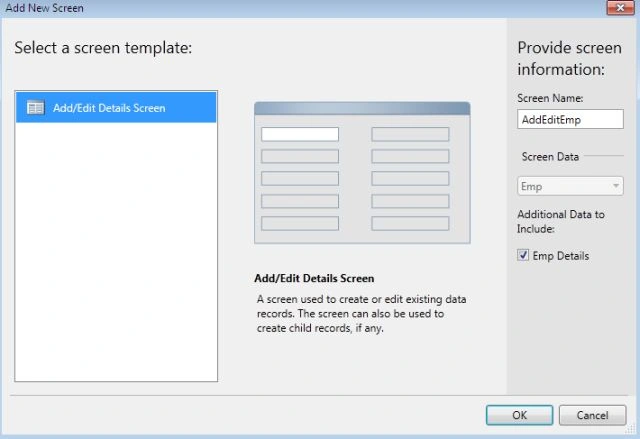
Step 10
Double-click on the "BrowseEmps" Screen.
Once again right-click on the command button of the "BrowseEmp" screen and choose "Add Button". But this time choose "Edit Emp" from the Add button Dialog Box.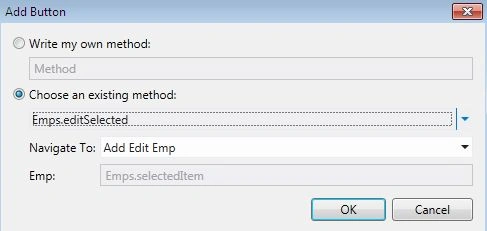
The Screen Designer will look as in the following: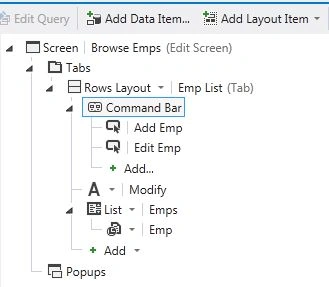
Now we can simply add and edit Employees.
Step 11
Press F5 to run the application.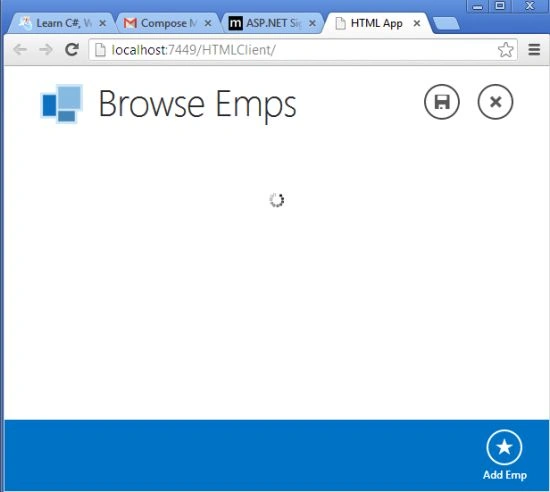
When we click the "Add New" button we get: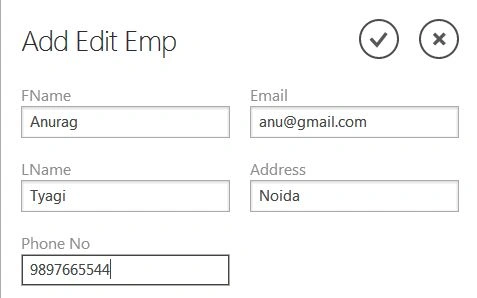

Join the conversation! Your thoughts help the community grow.