Introduction
As I have discussed in my previous article on Glassy Buttons, in Silverlight 3 we have normal Button control. For some site or project requirements it needed to be a glassy look. In this article we will be discussing how we can make some designer buttons.
Creating a Simple Silverlight Application
Open up Blend 3 and create a new Silverlight Application.
In this article I will be showing how you can design different button templates. Converting into button control is very easy just follow my previous article on Glassy Buttons and you will find what you need.
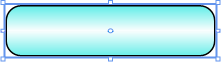
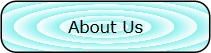
Making a Button like two opposite corners of the Button are curved
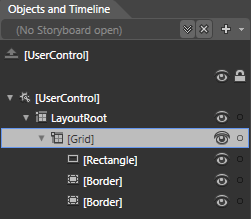
1) Draw a rectangle shape with width 140 and height 35, make RadiusX and RadiusY values as 10. Give your required Brush.
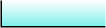
2) Add two Border Controls of width 70 and height 17. And give the Brush similar to the Rectangle.
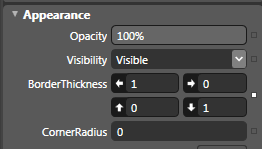
3) Remove the Border Thickness from Top and Right Side.
Do the same for other Border Control, or you can just rotate it to 180 degrees.

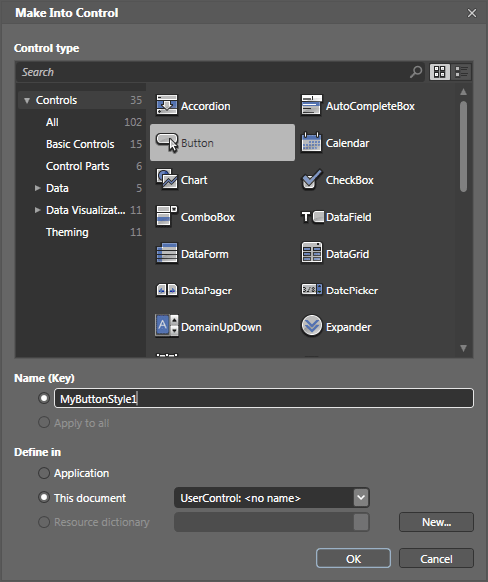
4) Now combine everything and group into a Grid and then as usual create a Control select the Button from the menu.
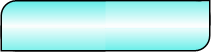
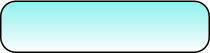
The final button will be like the following.
Creating Styled Buttons with Linear Gradient Brush Effect
1) Draw a rectangle shape and change the RadiusX & RadiusY to 10 and width as 140 and height as 35. It is the similar rectangle we just drawn in the first style.
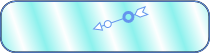
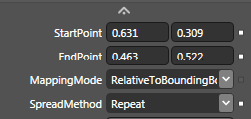
2) Select the Brush Transform tool and rotate the arrow, it will look like as following.
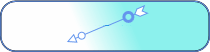
3) Now change the Spread Method to Repeat from Pad. You can even try for Reflect.

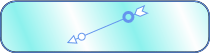
4) Now to look better just shrink the arrow a bit to make the design look good.

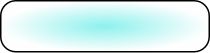
5) That's it now select the Rectangle and Make it as Control.
Creating Styled Buttons with Radial Gradient Brush Effect
1) Draw a rectangle shape and change the RadiusX & RadiusY to 10 and width as 140 and height as 35. It is the similar rectangle we just drew in the first style.

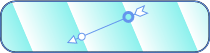
2) Now change the Gradient type to Radial Gradient.
3) Now change the Spread Method to Repeat from Pad. You can even try for Reflect.
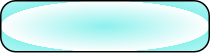
4) Select the Brush Transform tool and shrink it to a smaller arrow.

5) Now, go ahead and create the Rectangle into Button Control. It will look similar to the following.
Hope you liked this article; try for your own design using these techniques that I have used in this article.
Enjoy Animating.