

Step 1: Open Expression Blend 4 -> select WPF -> select WPF Application change the Name and Location accordingly -> hit OK, a Blank Window appears on the ArtBoard.
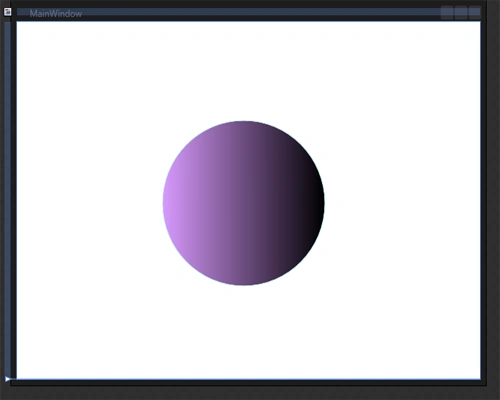
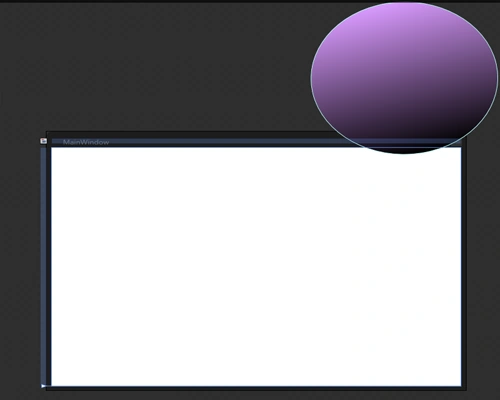
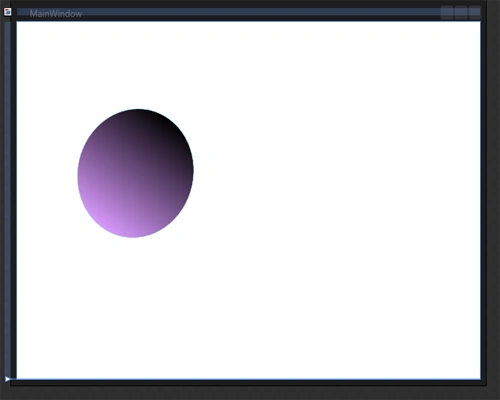
Step 2: Select Ellipse, draw an ellipse, manage the height & width, Color and Stroke as shown below:
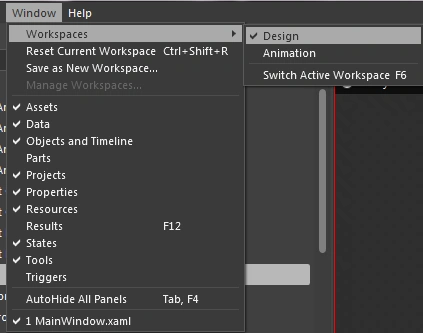
- Select Window -> select Workspaces -> select Design or Animation as shown below:
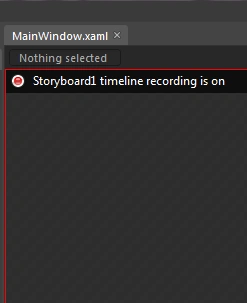
- When you select animation have a look at the Object and Timeline Window; a new Window appears for animation with Tabs and at the middle of the Workspace a "Storyboard1timeline recording is on" window appears as shown below:
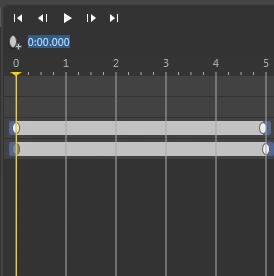
- In the Animation Window you can manage the frames as shown below:
Go To the First Frame: This tab sends an ellipse to the First Frame.
Go To Previous Frame: This tab sends an ellipse to the Previous Frame.
Play Button: This button is used to play an animation.

Pause Button: This button is used to pause an animation.

Go To Next Frame: This tab sends an ellipse to the Next Frame.

Go To Last Frame: This tab sends an ellipse to the Last Frame.
Playhead Position: This tab shows the position of the starting & ending point of the animation. For example, here we start the animations from Zero(0) to five(5). The default value is "Zero" and increase & decrease with animation as shown below:
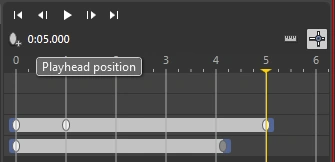
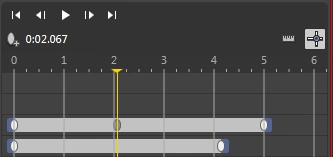
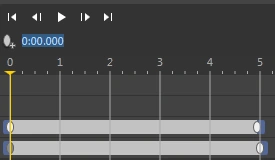
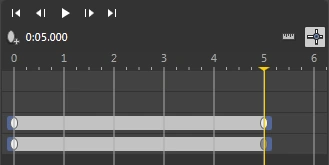
Note: A Yellow Line appears below the 0,1,2,3... tabs. By managing the line you can set the starting point and ending point of the animation. It is interrelated with the Playhead Position Tab. When we move the Yellow Line the Playhead Position Value is changed as shown below:


Step 3: When we manage the Start Point of the ellipse, some points appear in front of the ellipse. Drag the points accordingly, set the starting point and play the animation to see the effect as shown below:
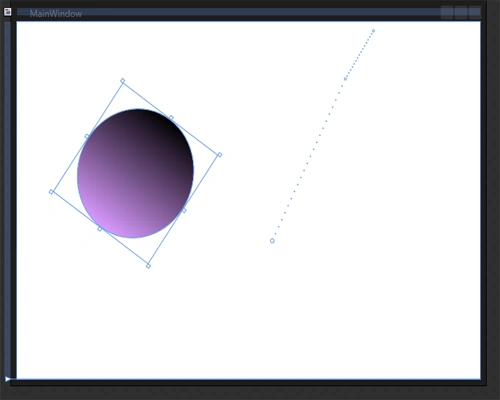
Note: We can move the points in any direction and play the animation in any direction with vaying styles.
Step 4: Set the upper and lower tabs to the value 2, play the animation and see the effect as shown below:
- This image displays the position of the tabs:
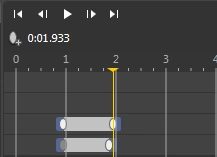
- This image displays the starting position of the ellipse called First Rotation.
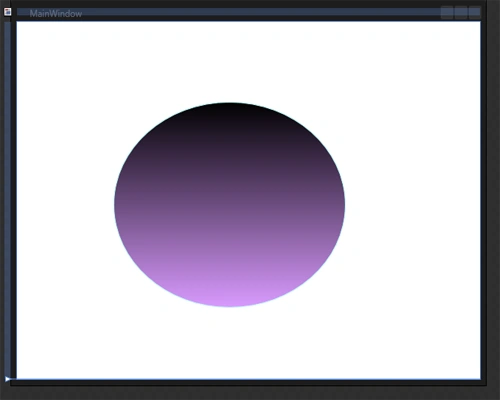
- This image displays the second moving position of the ellipse called Second Rotation.
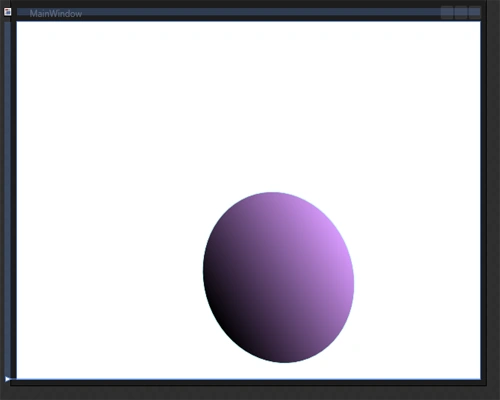
- This image displays the last position of the ellipse in the animation:
Summary:
Through this article we can learn so many little things that we generally ignore.
Join the conversation! Your thoughts help the community grow.