

Main Objective of this Article
This article shows how to work with Kendo window using the ASP.NET WEB API.
Requirements
- Visual Studio 2010 and above
- Fiddler/Postman for testing
Before going through this article ensure that you have a basic understanding of the MVC Architecture, ASP.NET Web API and jQuery.
Create one WEB API application as shown in Figure 1 and 2,
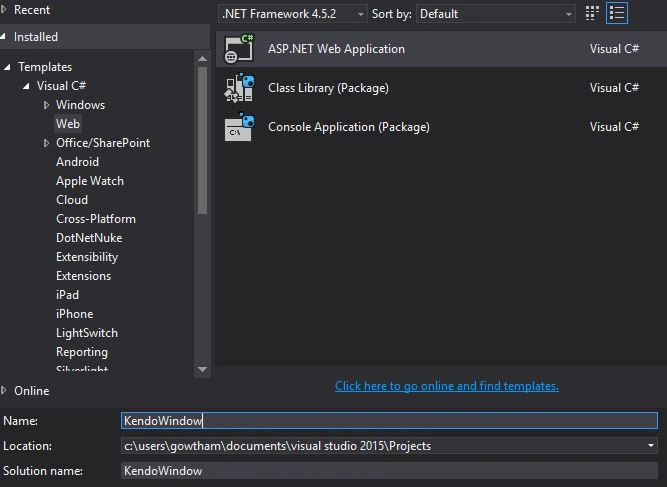
Figure 1
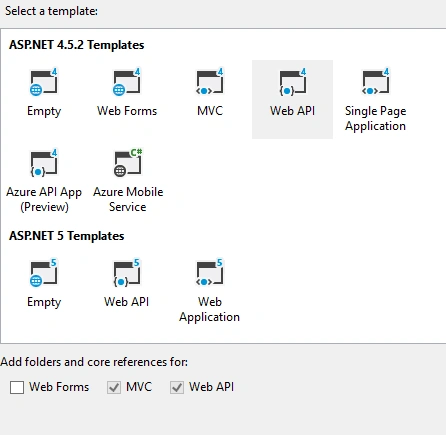
Figure 2
Create Controller: Create an empty controller as in the following figure 3:
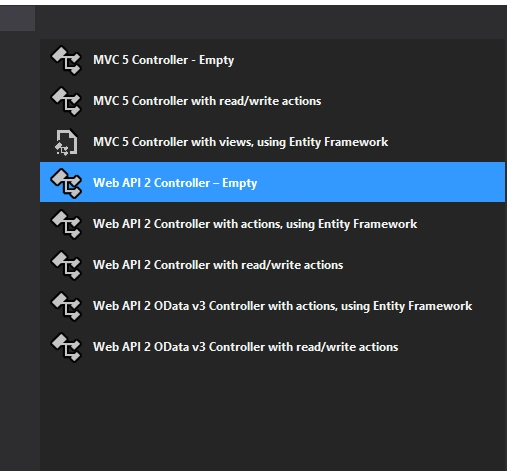
Figure 3
- [RoutePrefix("api/Kendo")]
- public class WindowController : ApiController
- {
- [HttpGet]
- [Route("Window")]
- public HttpResponseMessage WindowContent()
- {
- return Request.CreateResponse(HttpStatusCode.OK, "Hello this is Kendo Window", Configuration.Formatters.JsonFormatter);
- }
- }
The above controller will return the simple ”Hello this is Kendo window” as a response for the request.
Test the API using POSTMAN/Fiddler:
URI: /api/Kendo/Window
Type: GET
API Response as in the following figure 4,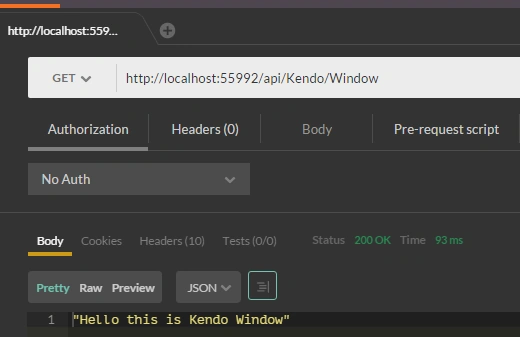
Figure 4
Consume the API service in Kendo Window
Create one HTML page in the project.
Here is my design:
- <!DOCTYPE html>
- <html>
- <head>
- <meta charset="utf-8">
- <title>Untitled</title>
- <link rel="stylesheet" href="http://kendo.cdn.telerik.com/2016.1.112/styles/kendo.common.min.css">
- <link rel="stylesheet" href="http://kendo.cdn.telerik.com/2016.1.112/styles/kendo.rtl.min.css">
- <link rel="stylesheet" href="http://kendo.cdn.telerik.com/2016.1.112/styles/kendo.default.min.css">
- <link rel="stylesheet" href="http://kendo.cdn.telerik.com/2016.1.112/styles/kendo.mobile.all.min.css">
- <script src="http://code.jquery.com/jquery-1.9.1.min.js"></script>
- <script src="http://kendo.cdn.telerik.com/2016.1.112/js/angular.min.js"></script>
- <script src="http://kendo.cdn.telerik.com/2016.1.112/js/jszip.min.js"></script>
- <script src="http://kendo.cdn.telerik.com/2016.1.112/js/kendo.all.min.js"></script>
- </head>
- <style type="text/css">
- @media print
- {
- body *
- {
- display: none;
- }
- body .window-prototype
- {
- display: block;
- }
- }
- </style>
- <body>
- <div id="print" class="window-prototype"></div>
- <button onclick="OpenOrderEntry()">Click</button>
- <script>
- function OpenOrderEntry()
- {
- var dialog = $(".window-prototype").kendoWindow
- ({
- width: "1300px",
- height: "280px",
- modal: false,
- content: "api/Kendo/Window",
- resizable: true,
- actions: ["Minimize", "Maximize", "Close"],
- title: "Kendo Window"
- }).data("kendoWindow").open();
- }
- </script>
- </body>
- </html>
Result in Browser
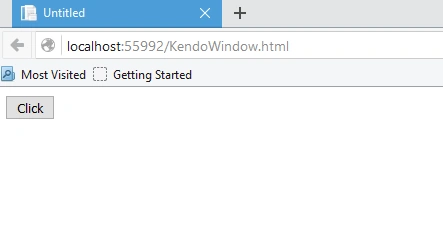
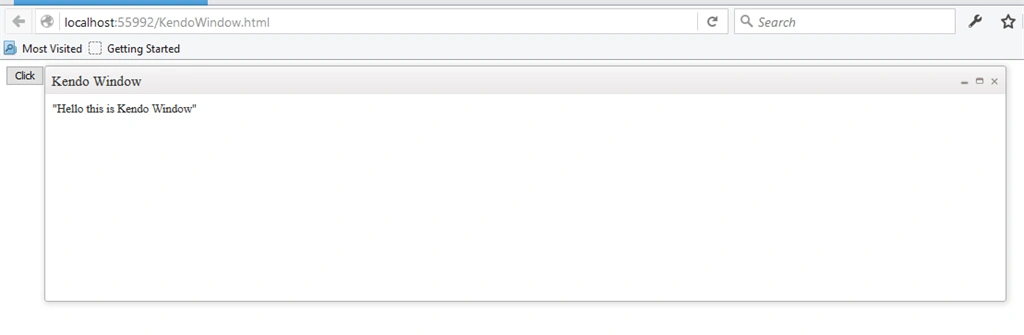
I hope you enjoyed this article. Your valuable feedback, question, or comments about this article are always welcome.
I hope you enjoyed this article. Your valuable feedback, question, or comments about this article are always welcome.
Read more articles on ASP.NET:
Santhakumar MunuswamyPosted Feb 12, 2016, 11:11 PM
Thanks for nice share
Manoj KallaPosted Feb 12, 2016, 7:25 AM
Good One
Raja TPosted Feb 12, 2016, 5:35 AM
Nice, thanks for sharing
Shubham KumarPosted Feb 12, 2016, 4:54 AM
NICE
Kumaresh RajalingamPosted Feb 12, 2016, 2:06 AM
Nice share