
Today, we will see one of the simplest ways to create an Angular 5 app & how to integrate it with ASP.NET Core 2.0 Web API. So, let’s start by having a look at what are the steps involved in creating such an application and we will go through each step in detail.
- Create a new Angular 5 project.
- Create a new .NET Web API project within the same folder.
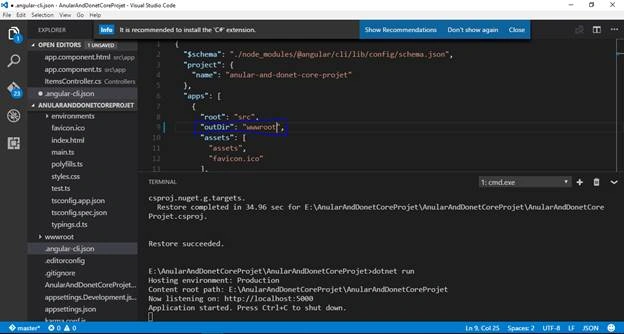
- Change the Angular build output directory to wwwroot directory.
- Enable the Web API to output static files and default files from the output directory.
So, let’s start by going through each step in detail.
Create a new Angular 5 project
Firstly, create an Angular app by executing this command -
All the Angular file will be added to our project.
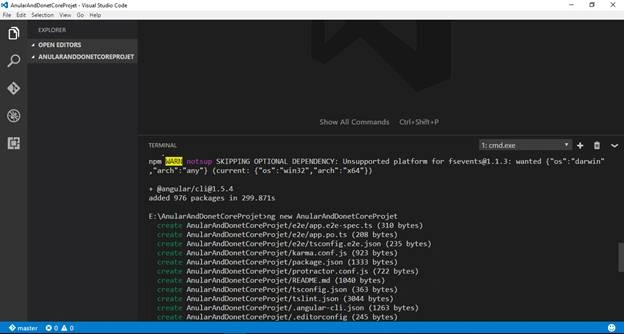
Once you are done, execute the following command.
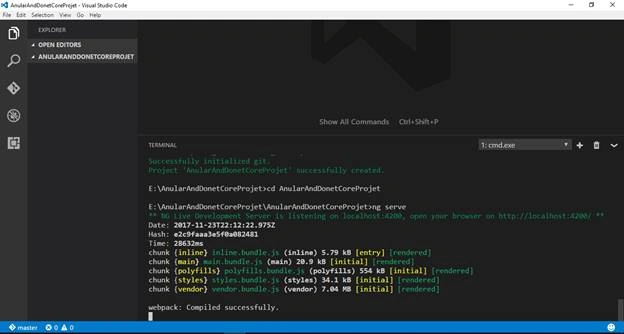
Then, open the mentioned localhost URL in browser.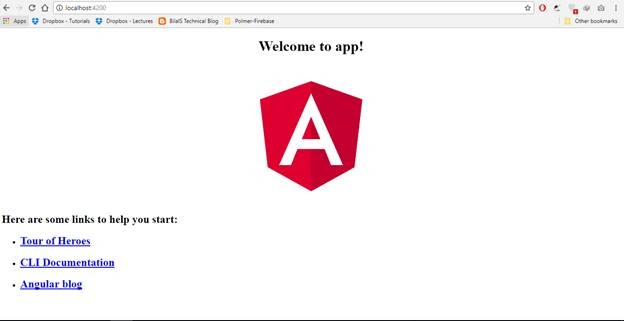
Now, change the HTML file app.component.html to display the list of items which we plan to fetch from ASP.NET Core Web API.
Now, add the following code in app.component.html.
- <h1><span style="color:#285783">Welcome to Angular and ASP.NET Core Demo </span></h1>
- <hr />
- <li *ngFor="let item of items">
- {{item}}
- </li>
- import { Component } from '@angular/core';
- @Component({
- selector: 'app-root',
- templateUrl: './app.component.html',
- styleUrls: ['./app.component.css']
- })
- export class AppComponent {
- items: string[];
- constructor()
- {
- this.items = [];
- this.items.push("item1");
- this.items.push("item2");
- console.log(this.items);
- }
- }
Then, check the output.
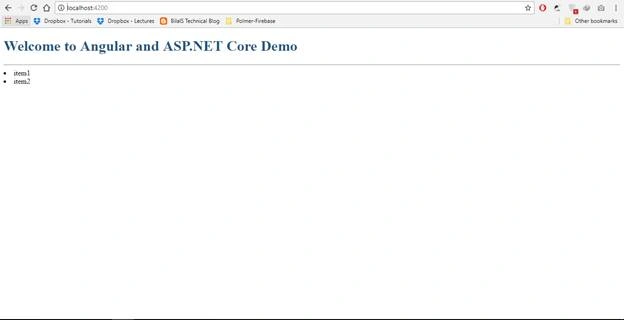
Now, move to the second step.
Create a new .NET Web API project within the same folder
So, by executing the below command, we can create a new Web API by using .NET Command CLI.
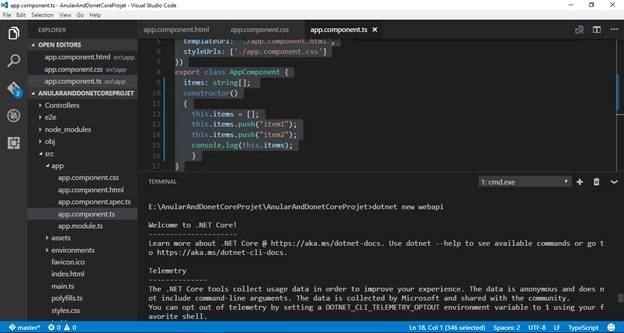
Finally, it creates the new Web API.
So, it comes up with some default files, some default Controllers, and startup class. Let’s go to the default Controller which is created and rename it as itemsController. Now, it matches the name that we are pulling from the client.
Modify the itemsController get method and run the project by executing the dotnet run command.
- // GET api/values
- [HttpGet]
- public IEnumerable<string> Get()
- {
- return new string[] { "Laptop", "Smart TV", "Smart Phone", "Tablet" };
- }
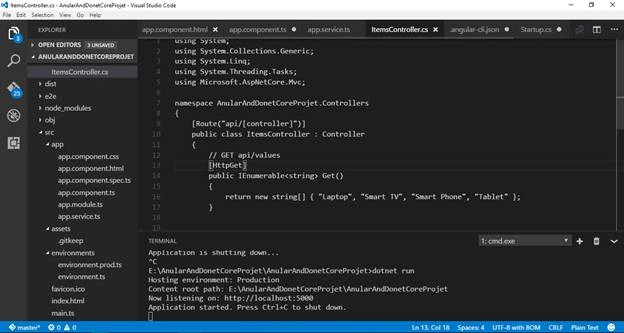
Now, let’s check this.
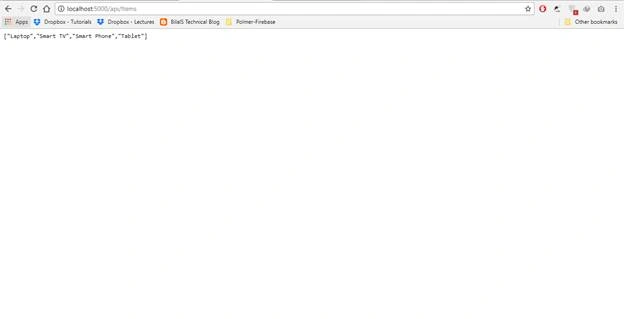
Now, we need to integrate the Web API with the app by updating angular-cli.json. Ng-app should redirect to .NET Core build directory.
Next, go to startup.cs file and modify the configure method to use the static files and default files which are client-side files. This is the end of the Angular side. Now, we are going to prepare Angular app to read the data from the service. We have to create a Service.
app.service.ts
- import { Injectable } from '@angular/core';
- import { Http, Response } from '@angular/http';
- import { Observable } from 'rxjs/Rx';
- import 'rxjs/add/operator/map';
- @Injectable()
- export class AppService{
- constructor(private http: Http)
- {
- }
- getItems(){
- let apiUrl = 'api/Items';
- return this.http.get(apiUrl)
- .map((res: Response) => {return res.json()
- });
- }
- }
App.module.ts file
- import { BrowserModule } from '@angular/platform-browser';
- import {HttpModule} from '@angular/http';
- import { NgModule } from '@angular/core';
- import { AppService } from './app.service'
- import { AppComponent } from './app.component';
- @NgModule({
- declarations: [
- AppComponent
- ],
- imports: [
- BrowserModule,
- HttpModule
- ],
- providers: [AppService],
- bootstrap: [AppComponent]
- })
- export class AppModule { }
app.component.ts File
- import { Component } from '@angular/core';
- import { AppService } from './app.service'
- @Component({
- selector: 'app-root',
- templateUrl: './app.component.html',
- styleUrls: ['./app.component.css']
- })
- export class AppComponent {
- items: string[];
- constructor(private appService: AppService)
- {
- this.items = [];
- this.populateItems();
- }
- populateItems()
- {
- this.appService.getItems().subscribe(res =>{
- this.items = res;
- })
- }
- }
app.component.html
- <h1><span style="color:#285783">Welcome to Angular and ASP.NET Core Demo </span></h1>
- <hr />
- <li *ngFor="let item of items">
- {{item}}
- </li>
Build the app by using ng build command. If the results are successful, then again, execute the service by dotnet run command and see the results on http://localhost:5000/
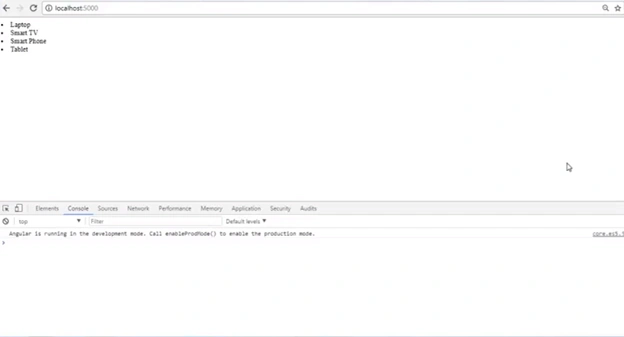
I hope this will help you. The source code is attatched.
Kevin AndresPosted Mar 30, 2018, 12:02 PM
If feels like the author got bored of writing this article halfway through and just said "screw it". At least he provided his files. Marginally useful tutorial, would have been decent if he actually bothered to explain his process. Oh, and the files he provides didn't even work when I downloaded them and tried following his steps. I can build the angular and the dotnet, I can navigate the API, but his page never displays.
DigiOz MultimediaPosted Mar 2, 2018, 4:22 PM
You definitely missed a few very important steps, especially when creating the Angular Project in VS Code. I recommend following these steps outlined on the VS Code site: https://goo.gl/PBEyQr
Сергій МатвієнкоPosted Feb 1, 2018, 7:33 AM
It's awful!what changes need in Startup.cs?how it must running and deploy? where I can see code example?
ovis ariesPosted Jan 18, 2018, 8:21 PM
That was a quick and dirty article!
Neel BhattPosted Dec 15, 2017, 12:30 PM
Nice article, but why are you not using Visual studio 2017 Angular template? I have step by step guide here: https://neelbhatt40.wordpress.com/2017/10/04/angular-with-net-core-2-0/
Uriah BlatherwickPosted Dec 5, 2017, 12:14 PM
Very useful article. A lot of people will want to combine these two technologies. A couple of your commands appear incorrect such as "dot net" which should be "dotnet" and "ng-serve" which should be "ng serve".
Satyaprakash SamantarayPosted Nov 26, 2017, 9:21 AM
Nice one ,.................