

Before reading this article, please go through the articles, mentioned below.
- Quick Start on Microsoft PowerApps
- To Use Template
- To Use Blank App
- To Add an Excel File
- To Use Sort And SortByColumn Functions
- To Use Filter, Search, And Lookup Functions
- To Use Common Data Model(CDM)
- To Get User Details
- Developing Camera App
In PowerApps, we can develop the drawing app, using Pen Input Control.
Pen Input Control
Pen Input Control is used to draw, erase, and highlight the areas in the image. It's an input interface to get the user's handwriting and convert it into images.
Here, we are developing the drawing app, using Pen Input Control, and saving those drawing images to the image gallery; we can also delete them from the image gallery.
Follow the steps, mentioned below to develop the drawing app in PowerApps.
Step 1. Log into PowerApps.
After downloading PowerApps from the Windows store, here we need a Microsoft-related organization’s Office 365 ID (MSDN, Microsoft, Skype, Office 365, etc.) to login in.
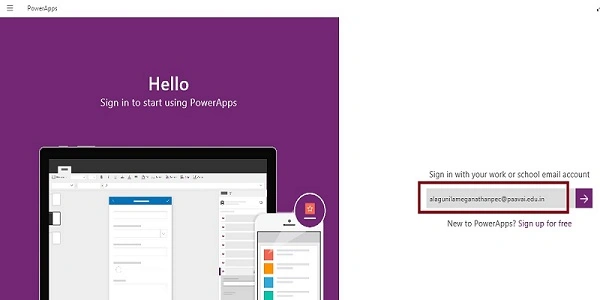
Step 2. Create a New App in PowerApp.
After login, we can see the dashboard. Subsequently, we click on the New button.

Step 3. Choose the Blank app.
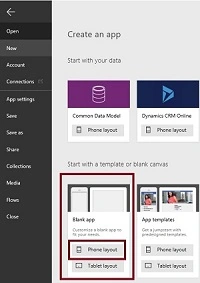
Step 4. Designing the app.
Now, let's start designing the app. On the left side, we can see the individual screens to add our data. On the right side, we see the list of layouts. At the top, we see the formula bar. Subsequently, you will see the Properties of the screen, which you will select. On the right side, we will see the Add DataSource to add the external DataSource.
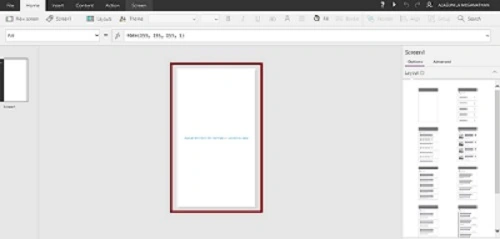
Step 5. Drag and Drop the Pen Input Control.
- Go to the Insert menu. Afterwards, control and drag the Pen Input tool.
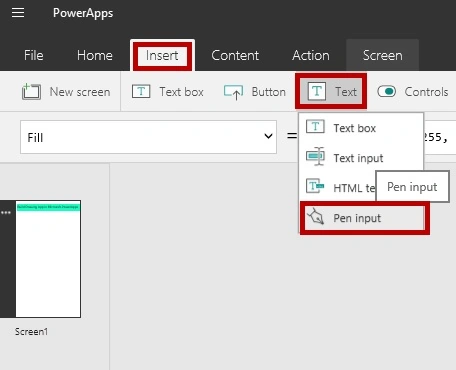
- Drop the Pen Input tool on the screen.

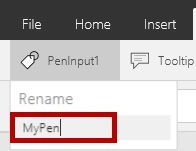
- Rename the MyPen.
Step 7. Drag and Drop the Button Control Tool.
Button control is used to save the drawing to the image gallery.
- Go to the Insert menu and drag the Button control.
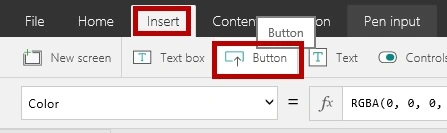
- Drag the Button control to the screen.
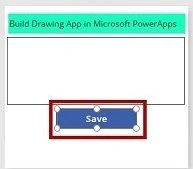
- Place it on the screen and change the name to save it.
- Add the Coding.
- Now, select the Button control and add the coding to the OnSelect event.
- Coding.
Collect(
    ImageSave,
    { SketchMyPen.Image }
)
Step 7. Drag and drop the Image Gallery Control Tool.
The Image Gallery control is used to save the drawing.
- Go to the Insert menu and drag the vertical image-only control.
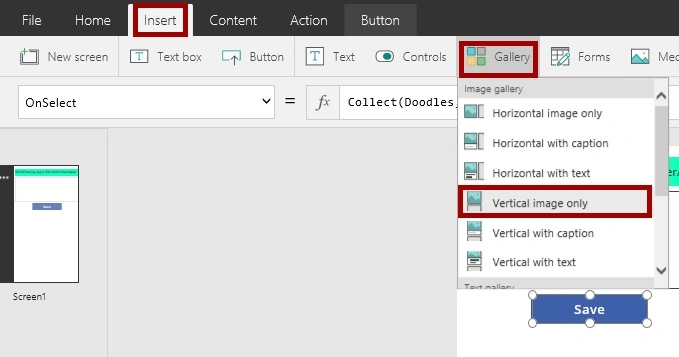
- Drag the Image Gallery control to the screen.

- Add the Coding.
- First, select the image and add the ImageSave to the Items event.
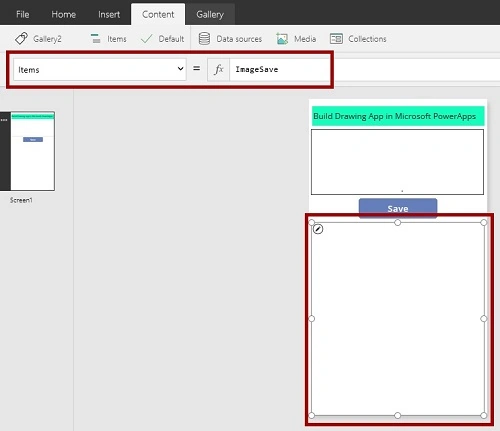
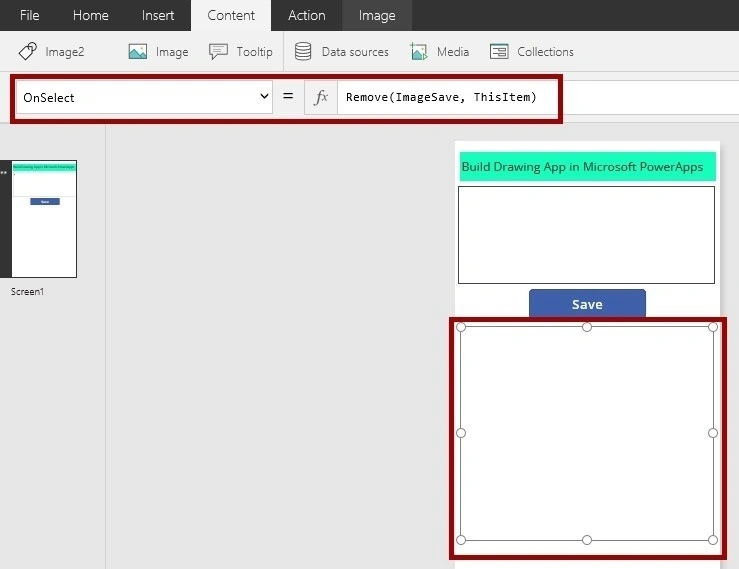
Select the individual image and add the following coding to the OnSelect event
Coding
Remove (ImageSave, ThisItem)
Step 8. Run the app.

Output 1. Main Screen.

Output 2. Sketch it and tap save.

Output 3. It is saved into the ImageGallery.

Output 4. Now, sketch and save.
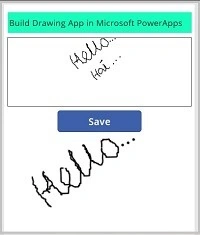
Output 5. is saved.
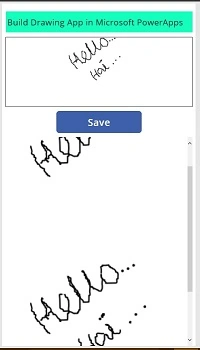
Output 6. Select and remove it.
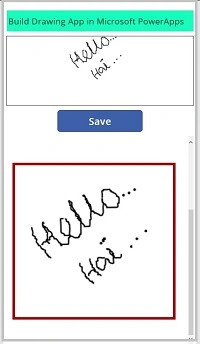
Output 7. Removed.
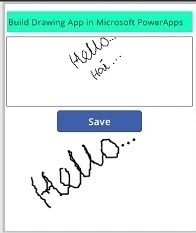
Conclusion
I hope you understand how to develop the drawing app in Microsoft PowerApps and how to run it.
jensokPosted Oct 12, 2019, 8:40 AM
An easy and multi-purpose solution is found to add pen-input to Sharepoint thanks to Shane Young, utilizing the addition of a PowerApps Json functionality?added on 02/05/2019. The Short description on how to make this work is to save the pen input image in a JSON format asking the JSON function to include Binary Data: Set( PenVar, JSON( PenInput1.Image,JSONFormat.IncludeBinaryData ) ); See here for details: https://iiu.dk/2019/10/12/powerapps-pen-input/
Abish KumarPosted Jul 16, 2018, 12:45 AM
Hiii i have a doubt ,i can retrive the signature from sp list based on employee ID,if i once leave the powerapps and again check the app the signature is not showing .Let me kown what is the problem
Madhanmohan DevarajanPosted Oct 31, 2016, 9:42 AM
Its so nice
RajaPosted Oct 31, 2016, 7:59 AM
Nice Share..
Karthikeyan KPosted Oct 31, 2016, 3:46 AM
Good one..
Prasanna MuraliPosted Oct 30, 2016, 6:52 AM
Nice post