

Overview
In this article, we will learn how we can use Slicer in Power BI. Power BI provides an OOTB Slicer that has a lot of features. By using this Slicer, we can achieve so many things. Now, let’s elaborate on all the features of this Slicer.
Step 1
Open Power BI Desktop.
Step 2
I already have prepared one report in Power BI. Now, we will apply slicer for different types of datatypes. In this example, I want to apply a filter for Order Date. I will apply the Slicer on DateTime datatype.
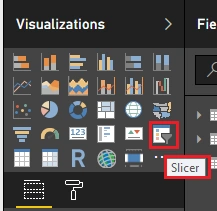
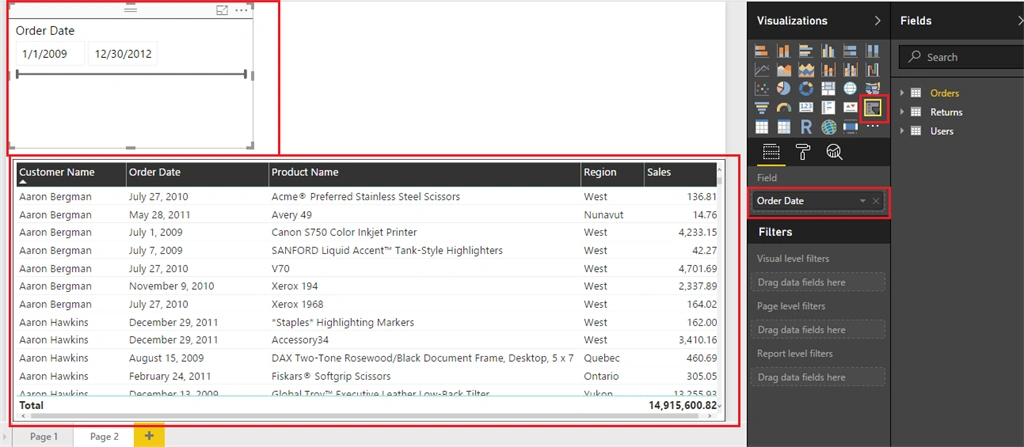
Step 3
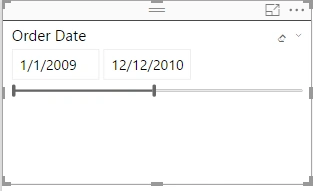
Slicer for Date and Time datatype will look like this by default.
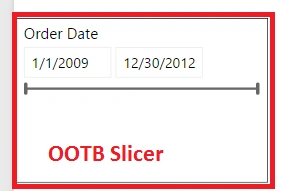
Step 4
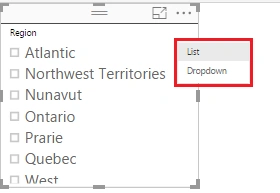
Now, we will click on the down arrow from the top right corner.
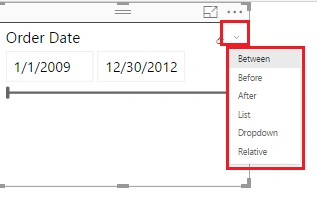
It has 5 options available.
- Between
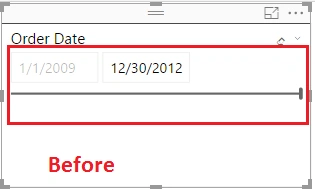
- Before
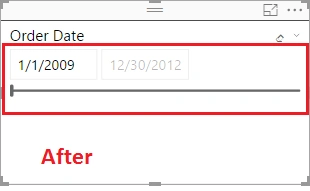
- After
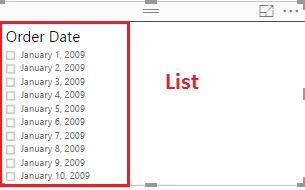
- List
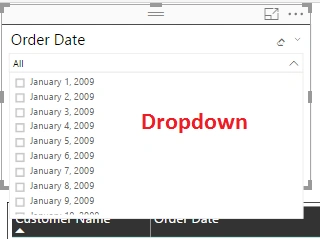
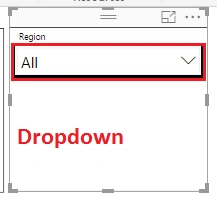
- Dropdown
- Relative
Now, we will elaborate each type in details.
Relative
- It is the most popular setting used by most of the developers.
- If we apply Relative, it will look like this.
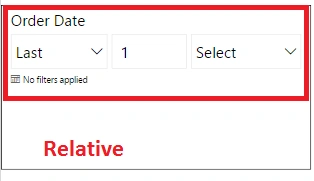
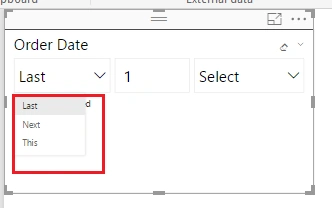
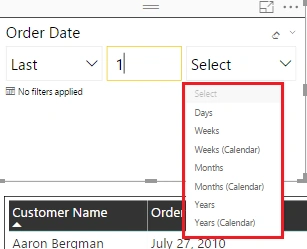
- It provides this kind of options like last/next/this x week/month etc. time data.
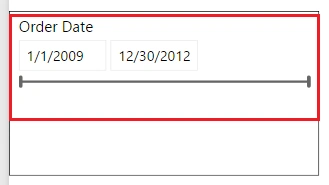
- It is default selection for the Slicer.
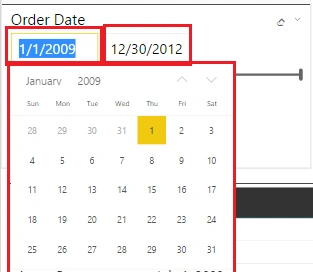
- It provides time line and date picker functionality.
- Using this date picker, we can select a date for it.
Join the conversation! Your thoughts help the community grow.