

Overview
In the earlier article, we saw how to create a sample Application in MVC in version 4.0 and 3.5. We saw about Controller class and its various action methods.
Here, in this article, we will see more about the controllers and understanding about RouteConfig File. I will be using the same solution which we had used in our previous article. Thus, let's start an introduction.
- Open our solution MVCTestApplication, given below:
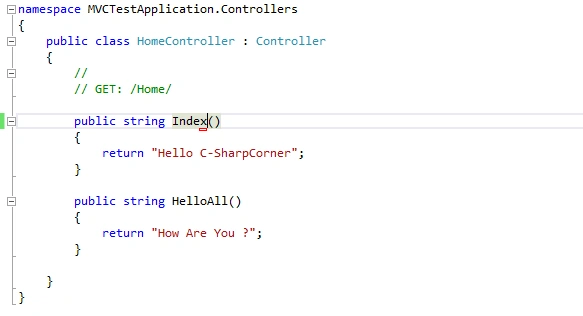
You can see in our Home Controller class; we have two Action methods; one is Index() and other is HelloAll() . The Index methods are invoked, when you run the Application. Now, just run the Application and you will see:
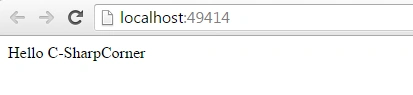
By default, Hello CsharpCorner has been displayed, because in RouteConfig file, the default action method is Index and we had written “Hello CsharpCorner ” in Index Action Method.
Now, let's type the URL i.e. ControllerName/ActionName and see what we are getting:
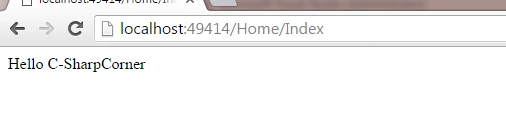
As you can see, we had got the same result: “Hello CsharpCorner.” Here, Home is our ControllerName and Index is our Action Method . Similarly, we will see our second Action Method i.e. HelloAll()
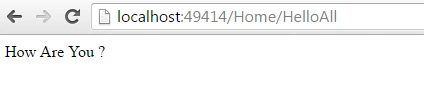
As you can see, HelloAll() Action Method has been invoked .
Now, let's understand RouteConfig and how these controllers are displayed .
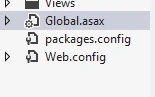
Just Open global.asax file in our solution and you will see:
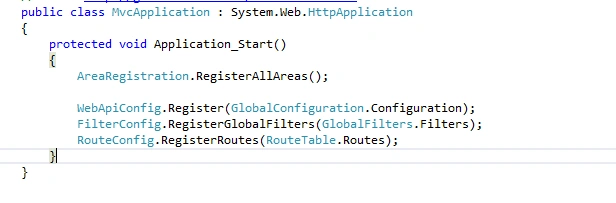
Open this file and you will see Application_start () method, in which you will see this line as:

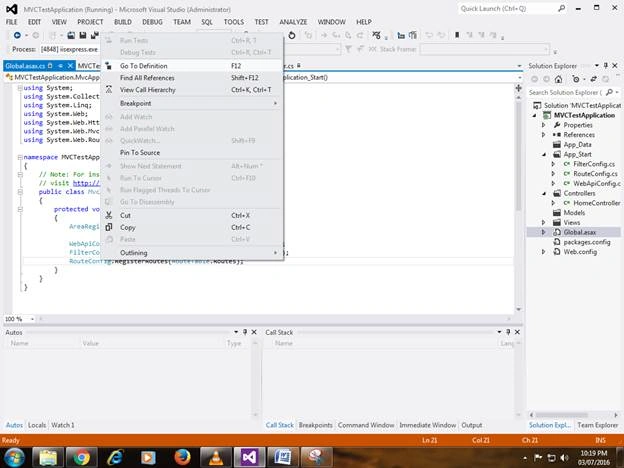
Go to its Definition section, it will redirect to RouteConfig File and you will see:
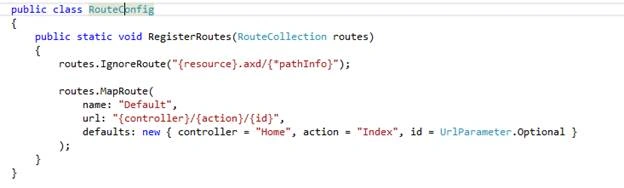
In RouteConfig class, we have default document as:
name:”Default”-Specifies the name
URL: “{Controller}/{action}/{id}” – This line actually says that when you run the solution by default, it will first fire the controllername/index and then Id.
Defaults: As you can see, the default controller' s Home is called and is followed by the action Index and then Id.
Note: Here the specified Id is normal and if you want to retrieve the results, you have to pass the Id .
- Now, we will see how to pass the Id in our URL and see what output we are getting. Hence, let's start:
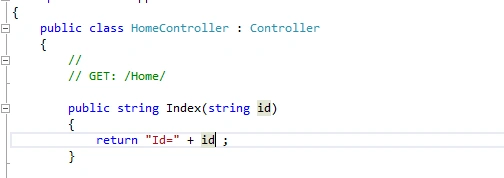
In our Homecontroller class, in our Index Action method, just pass a parameter as a string name and return as a name . Now, we will run the Application and see what values we are getting.
When you run the solution, it will ask for the name. Now, let's pass the name in our URL:
As you can see in the output, given above, it had passed Id=1 and got Id=1.
Just type Home/index/1 an you will get the output, given above.
Now, we will modify the code, write the name and see the output that we will get: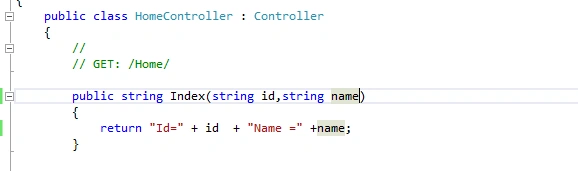
I had passed the name. Now, run the Application. You will see the following output: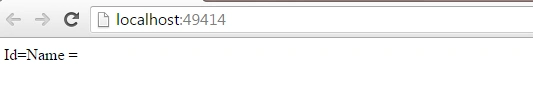
Now, just pass the Id and name.
- We saw the last Id, how to specify the Id or name and how to display it. Now, let's get back to the RouteConfig file and understand the line, given below:

Here, what this line says is: Whatever you are doing in the Controller or in the Index Action method, a trace is getting generated in the form of axd format. We will see how these are generated and how to generate a resource.axd trace. Just open web.config file, shown below:
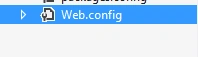
Just write this line in your web.config file.

Now, run the Application and type trace.axd. You will see the following output: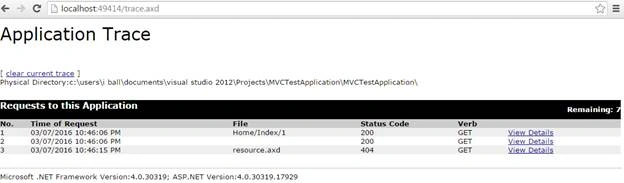
Click the View details and you will get all the details, shown below:
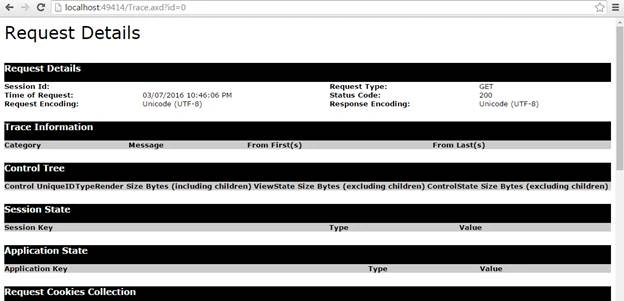
Scroll down at the bottom of the page and you will see that its path, query string and its respective URLs are: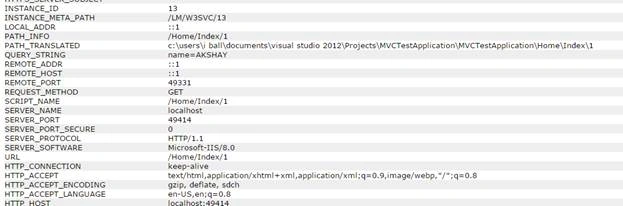
The trace.axd is useful, when you have built a huge application and you require tracing to find out the details.
Conclusion: This was controllers in MVC. I hope you found this article helpful.
Ravi KandelPosted Jul 14, 2016, 12:03 PM
Thanks for sharing.
Shobana JPosted Jul 7, 2016, 7:01 AM
Good one and keep share
Rajeev PunhaniPosted Jul 7, 2016, 6:34 AM
Nice.
Vignesh ManiPosted Jul 6, 2016, 4:15 PM
Nice one