

Loop back check was a feature introduced in Windows Server 2003, and has been carried over to Windows 2008/2012 as well. The feature prevents access to a web application using a fully qualified domain name (FQDN) or a host name if an attempt to access it, takes place from a machine that hosts that application. However, it breaks the SharePoint functionality.
The authentication pop up comes up three times and finally displays a blank screen. Checking the SharePoint Trace Logs will provide the infamous 401: Access Denied error.
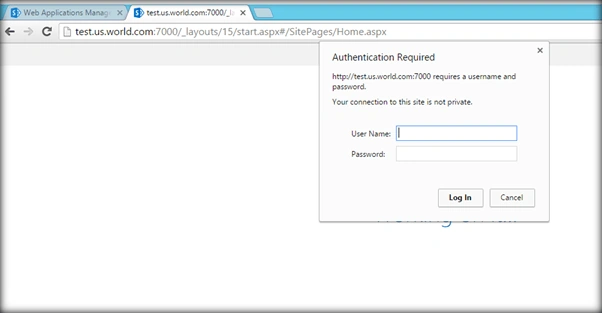
We have a couple of ways by which we can circumvent this issue, which we will be discussing in this article.
- Disable the loop back check: This would mean that we are disabling the security fix that Microsoft had provided way back in 2003 and hence it is not recommended. However in development environments it can be used.
- Add Hostnames in the registry: Assign the “BackConnectionHostNames” with the host entry value by editing the Registry.
Disable Loop Back Check(Less Secure, Not Recommended for Production)
Disabling Loop back check will resolve the authentication issues persisting when we are using the full qualified domain name for the web application. In order to do that, go to the Registry Editor by typing in Regedit in the Run menu.
- Locate the Registry key HKEY_LOCAL_MACHINE\SYSTEM\CurrentControlSet\Control\Lsa
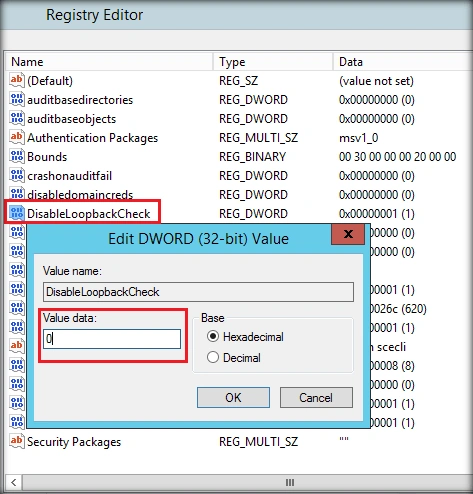
- Check if an entry by the name DisableLoopbackCheck is present in the folder. If it is not present, Right Click Lsa -> New -> Click on DWORD . Specify the value for the entry as DisableLoopbackCheck and Enter.
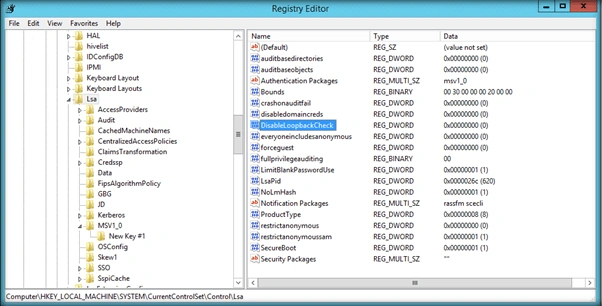
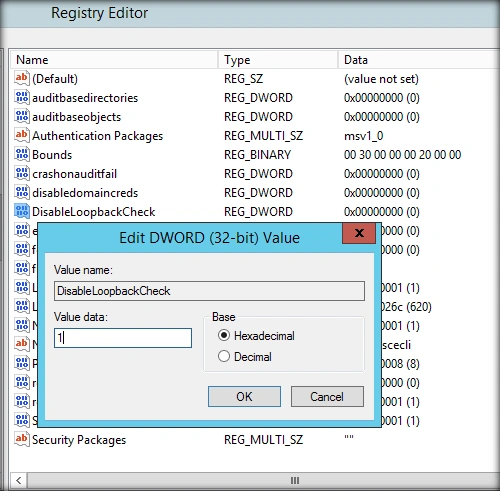
- Once the entry is added to Lsa directory, double click and open the entry. Specify the value as 1. This will disable loop back check in the local machine.
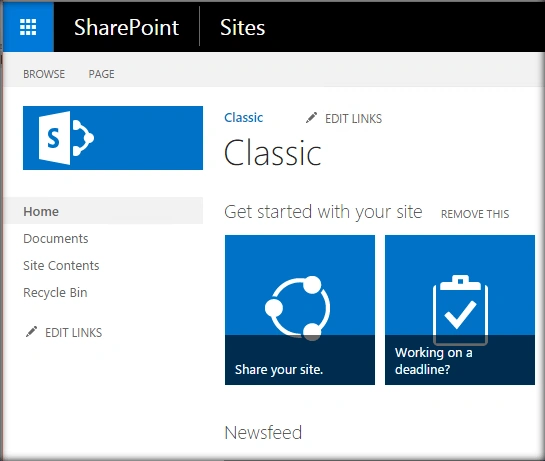
Now, let’s head over to the SharePoint Site and type in the user credentials.
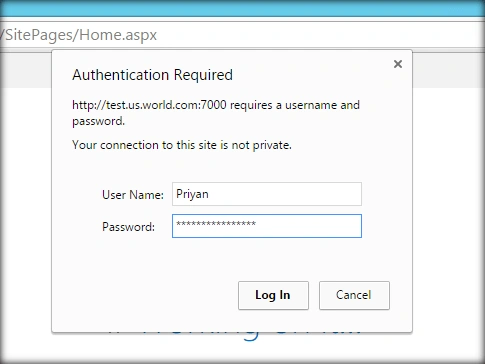
We will be granted access without any issues.
If we want to enable the Loop Back Check, we need to set the registry value back to ‘0’.
Configure BackConnectionHostNames entry
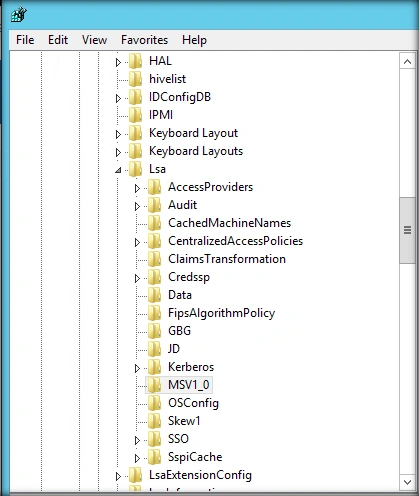
The recommended approach to circumvent the Loop Back Problem is to add the Host Name to the BackConnectionHostNames Registry Entry. In order to do that, go to the Registry Editor and navigate to HKEY_LM\System\CCS\Control\LSA\MSV1.0 .
- Right click and select "New" and click on Multi-String Value.
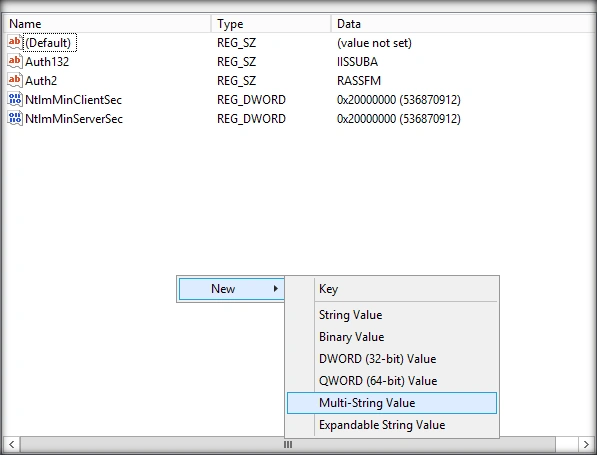
Double click the entry and specify the name as BackConnectionHostNames.
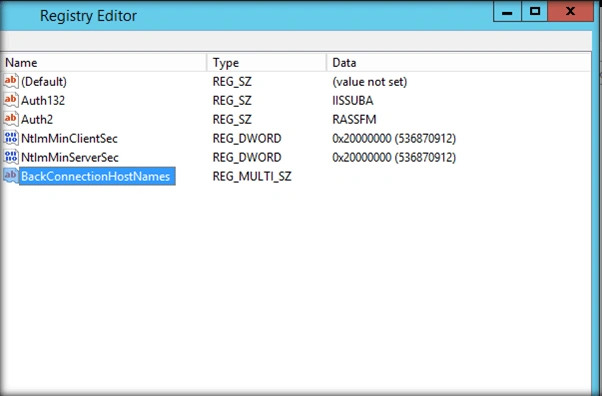
Now, we will have to add the Host name we have used for the web application to this newly created registry.
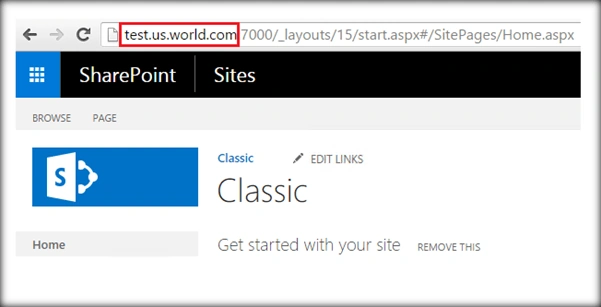
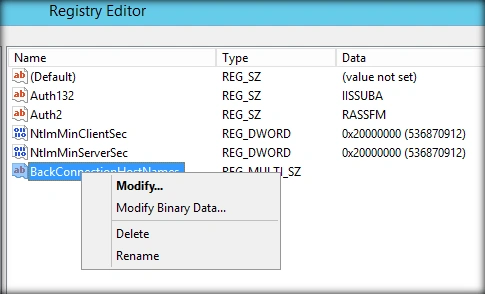
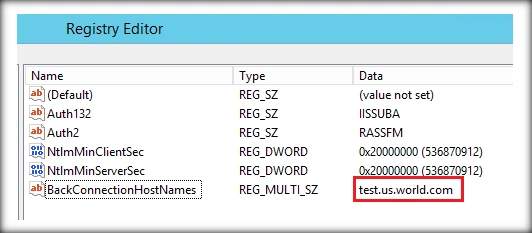
In my case, it is test.us.world.com. Right click the registry entry and select Modify.
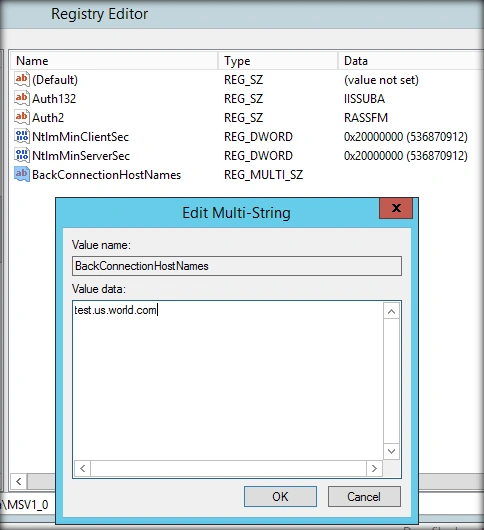
Specify the Value as Host Name which is test.us.world.com. Click on OK.
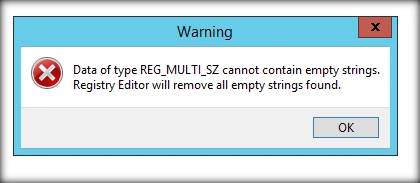
It will show a warning. Select OK.
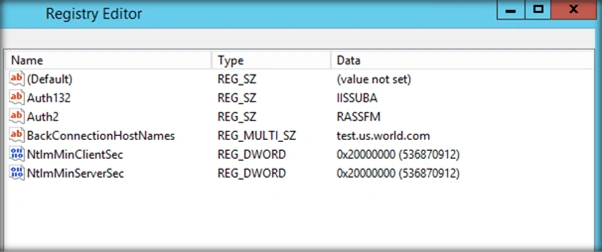
Now, the BackConnectionHostNames entry has been set.
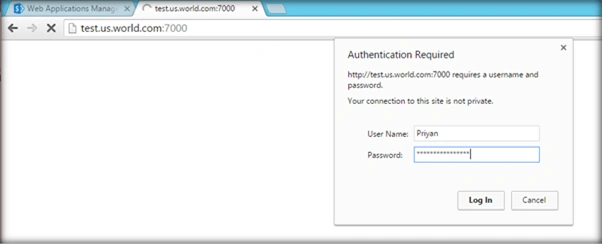
Head over to the SharePoint Site and enter the user credentials.
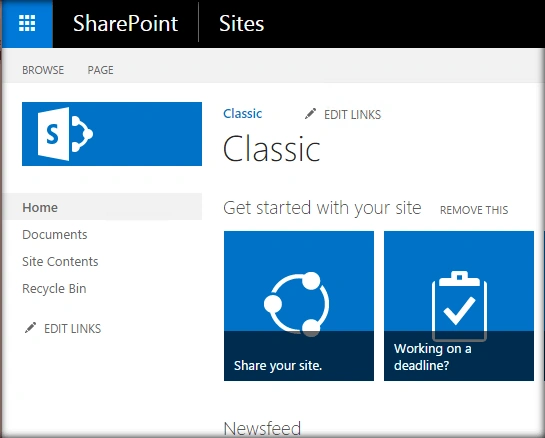
This time, it will take us through the site without any authentication problems.
Set BackConnectionHostNames entry using PowerShell
We can also use PowerShell to set the BackConnectionHostNames entry. In order to do this, spin up Windows PowerShell as administrator.
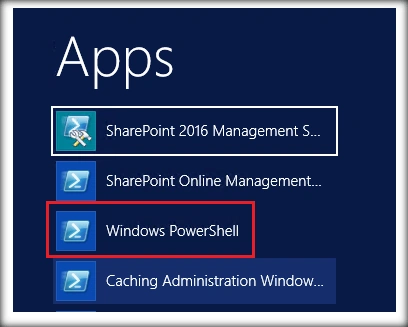
Run the below command which will add the BackConnectionHostNames entry to the Registry location "HKLM:\System\CurrentControlSet\Control\Lsa\MSV1_0" with the specified Host Name value.
New-ItemProperty “HKLM:\System\CurrentControlSet\Control\Lsa\MSV1_0” -Name “BackConnectionHostNames” -Value “test.us.world.com” -PropertyType multistring
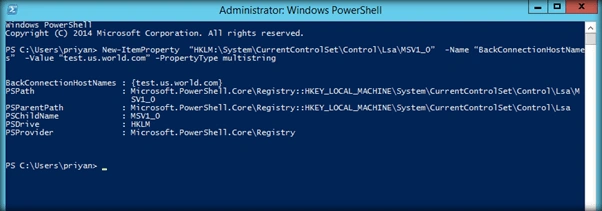
After running the command, checking the registry will show that the entry has been set.
Summary
Thus, we saw how to handle the Loop Back Check issue in SharePoint.
Peter WPosted Feb 1, 2019, 3:21 AM
Hello, what to do, if we have more than one Webapplication-URLs? Thanks