

Introduction
In this tutorial, we will be talking about how to interface the Raspberry Pi and 16 X 2 LCD using GPIO and Python.
At the end of this blog, you will be able to,
- print your custom message on 16 X 2 LCD
- print the current time, weather, and weather condition in LCD
To follow this tutorial, you will need the following.
- Raspberry Pi (We are using the Raspberry Pi B+ model)
- 16 X 2 LCD Display
- Resistors
- Jumper Wires (Male to male and Female to male)
- Breadboard
LCD Pinout
- GROUND (GND)
- VCC +5V (not to be confused with 3.3V)
- Contrast Adjustment (Vo, usually we use variable resistor)
- Register Select (RS)RS=0: Command, RS=1: Data
- Read/Write(RW)RW = 0: WriteRW=1: Read
- Enable
- Bit (0) Not required in 4bit operation
- Bit (1) Not required in 4bit operation
- Bit (2) Not required in 4bit operation
- Bit (3) Not required in 4bit operation
- Bit 4
- Bit 5
- Bit 6
- Bit 7
- LED Backlight Anode (+)
- LED Backlight Cathode (-)
Here is how we wired up our LCD
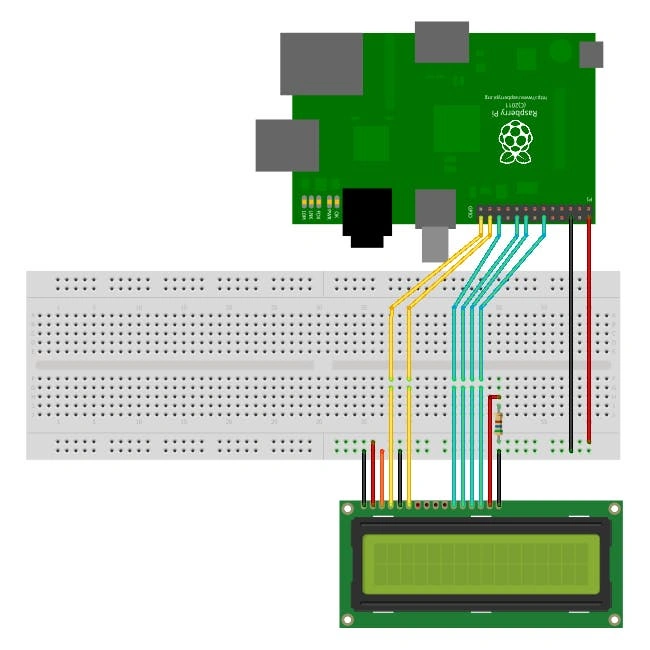
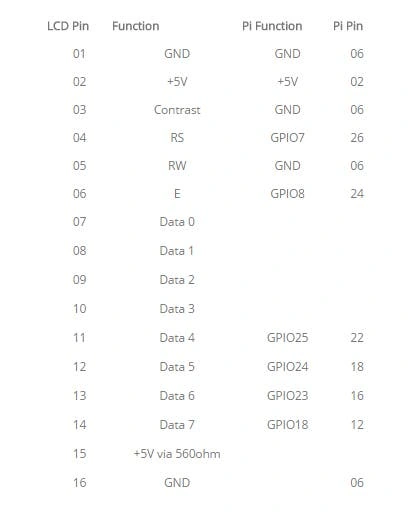
Note
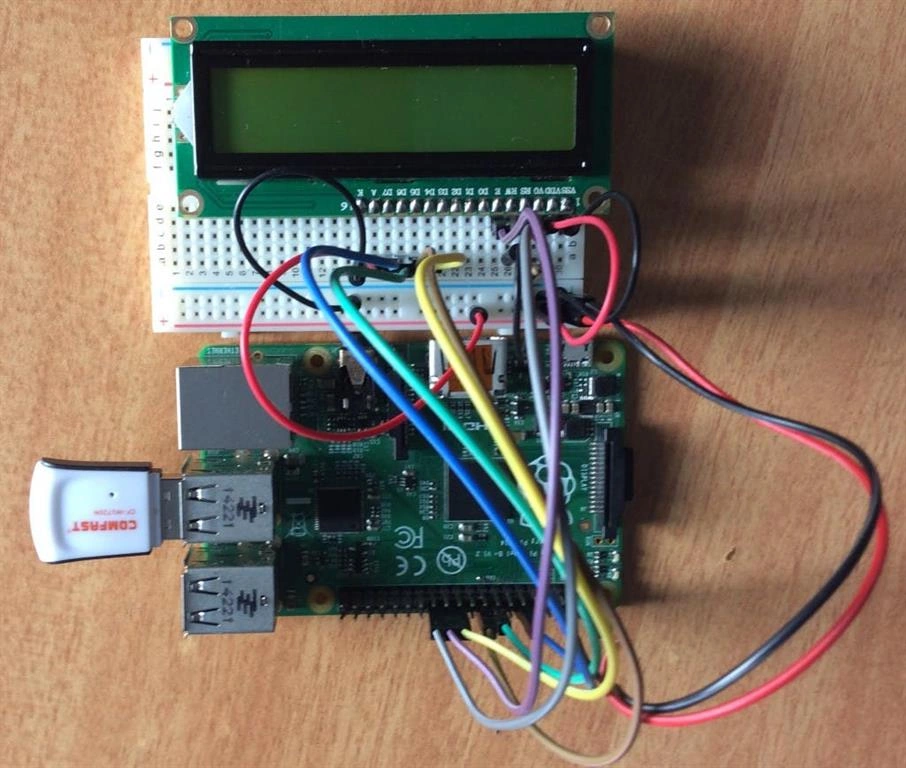
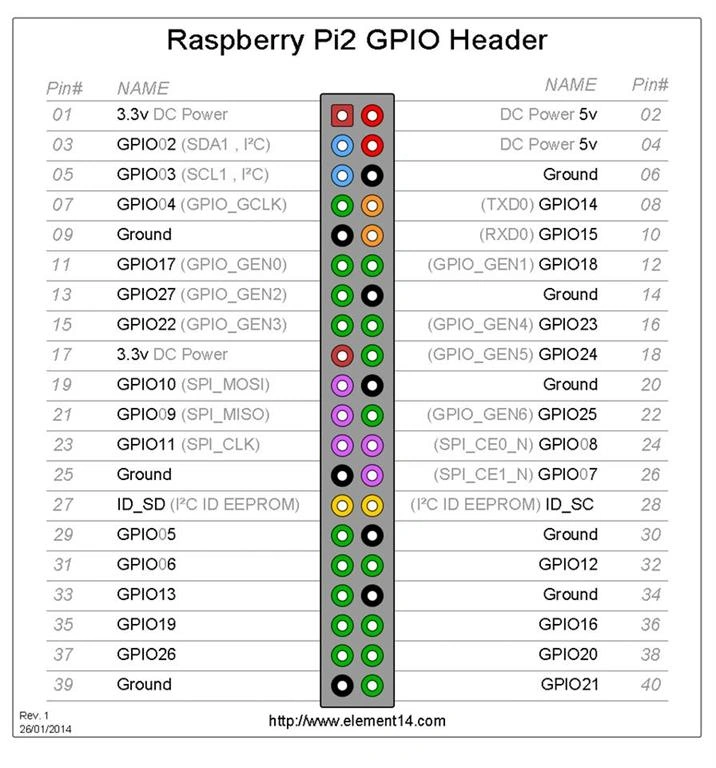
Your circuit should look something like this.
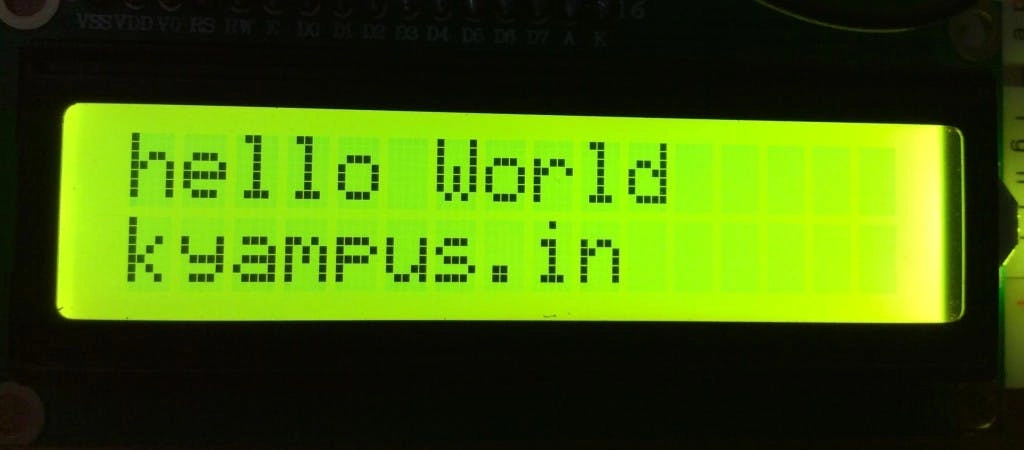
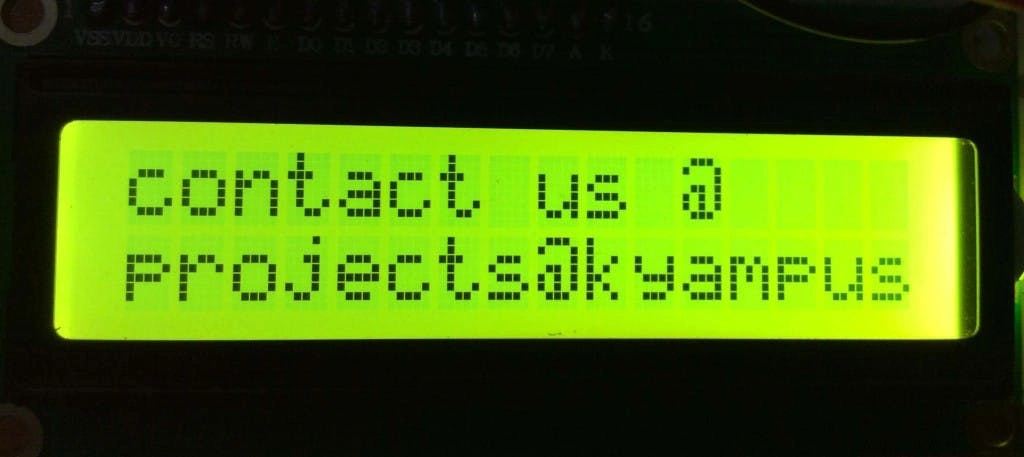
Displaying current date, time and weather info
In the above tutorial, we saw how to display the custom message on 16 X 2 LCD using raspberry pi and python.Now we shall move on how to display the current weather info on LCD:
- First, we will need to download the python weather API.Download the pywapi library using the following command on your piwget https://launchpad.net/python-weather-api/trunk/0.3.8/+download/pywapi-0.3.8.tar.gz
This will download the tar file of the pywapi library
- Extract the tar file using
tar -zxvf pywapi-0.3.8.tar.gz
Now, enter the directory using
cd pywapi-0.3.8
Now, run the following command
You are done with installing the pywapi library. Now, download the source code into your Pi, and save it with .py extension (ex - lcd.py).
To run the code, use the following command.
Now, you should be able to see the output as below.
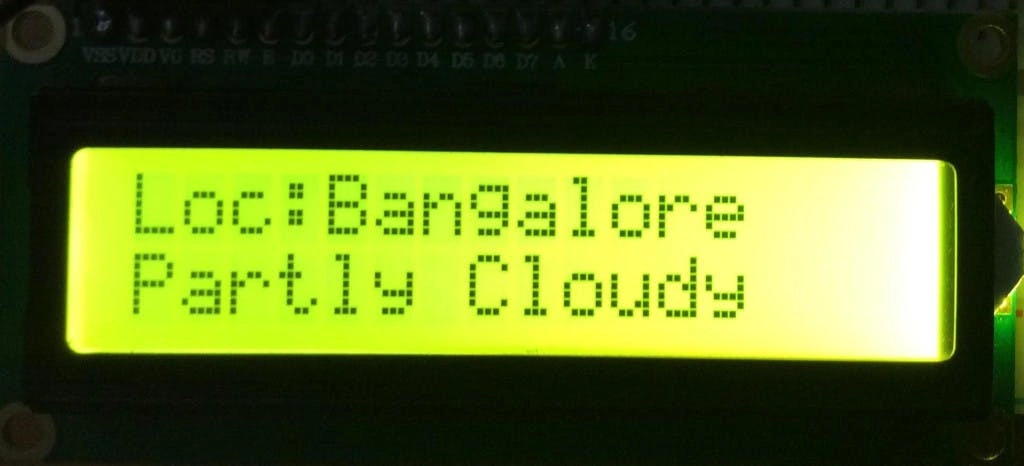
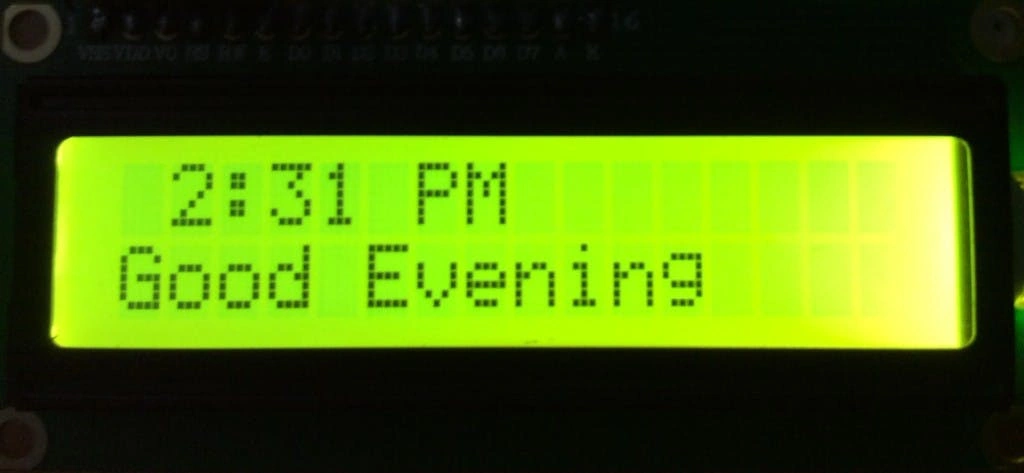
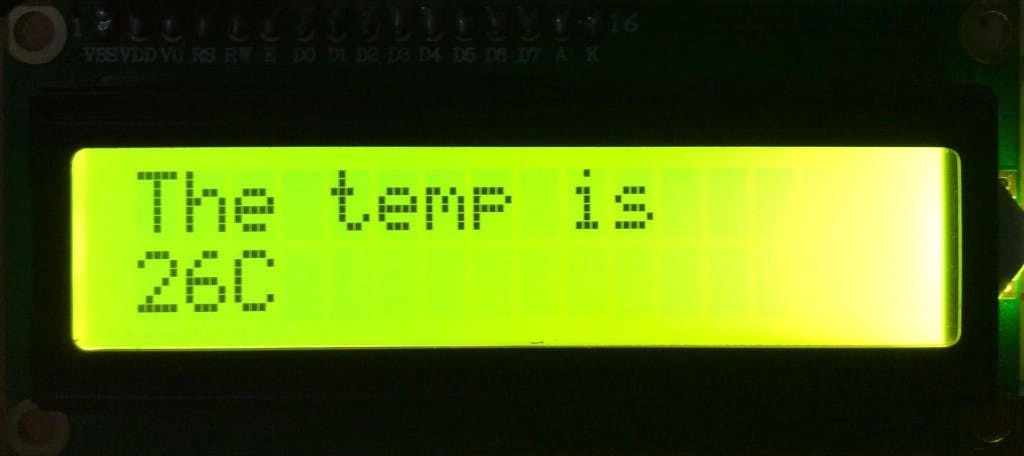
The next step is to find the location code/id of your desired city.
https://weather.codes/
Open the link and enter your city. You should be able to get a unique weather id from your city.
For example, for Bangalore, the weather id is INXX0012, similarly for Kathmandu is NPXX0002.
Now, open your source code and edit the line 8 with your city’s unique weather id.
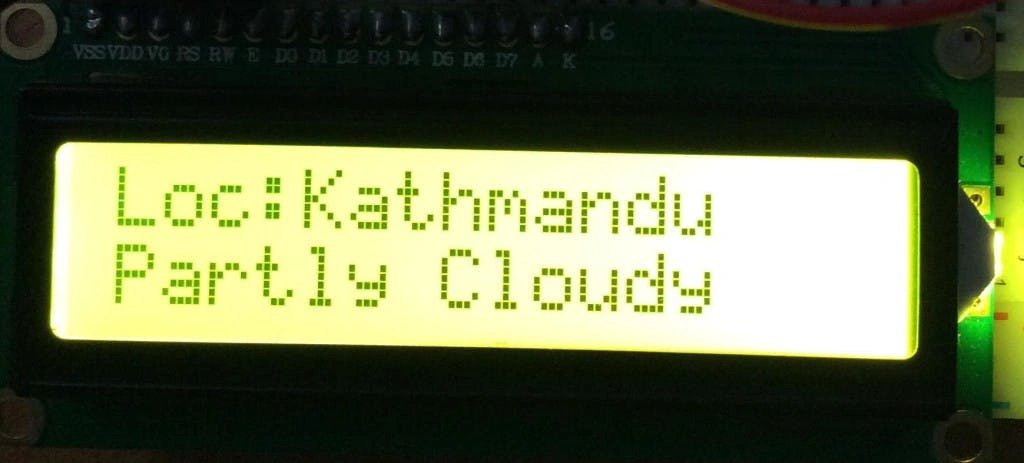
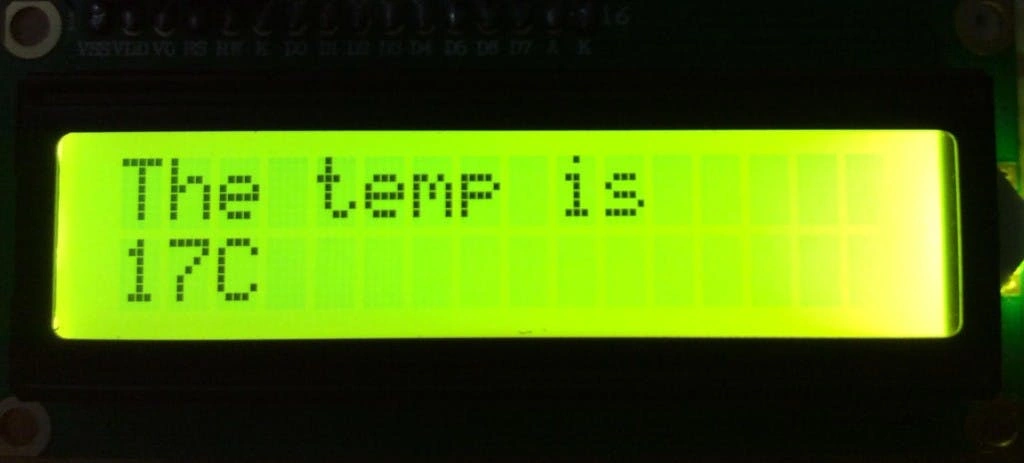
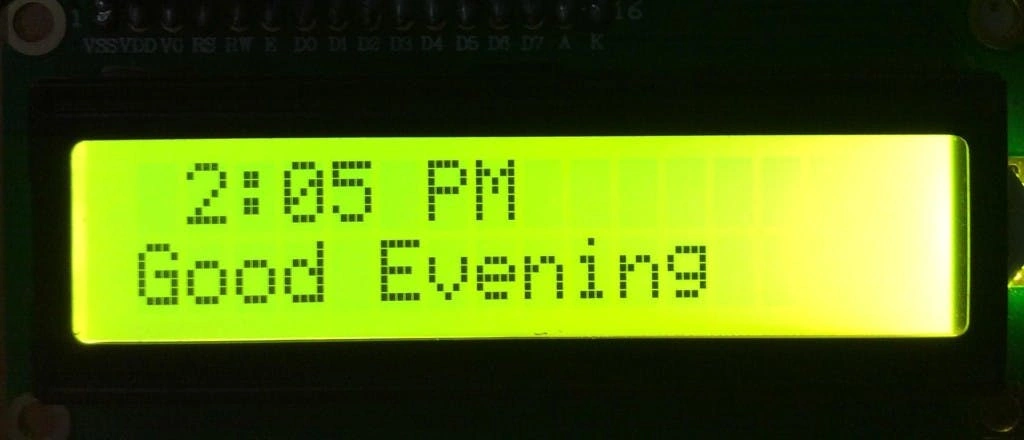
Now, you should be able to see the weather info of Kathmandu as below.
Hadshana KamalanathanPosted Jul 21, 2018, 7:13 PM
Nice one..