

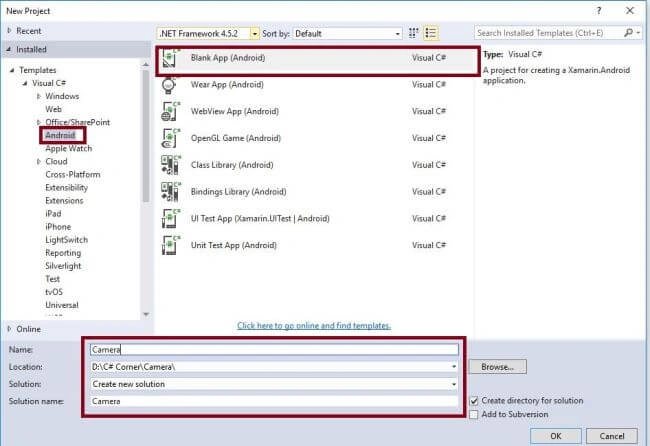
Step 1- Open Visual Studio->New Project->Templates->Visual C#->Android->Blank app.
Select Blank app. Give project name and project location.
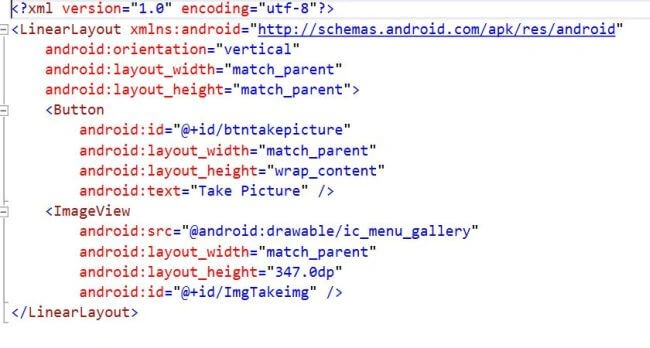
Step 2- Open Solution Explorer-> Project Name->Resources->Layout->Main.axml. Click Open Design View.
Step 3- Go to Tool bar, select button and ImageView. Drag and drop Main.xaml design view.
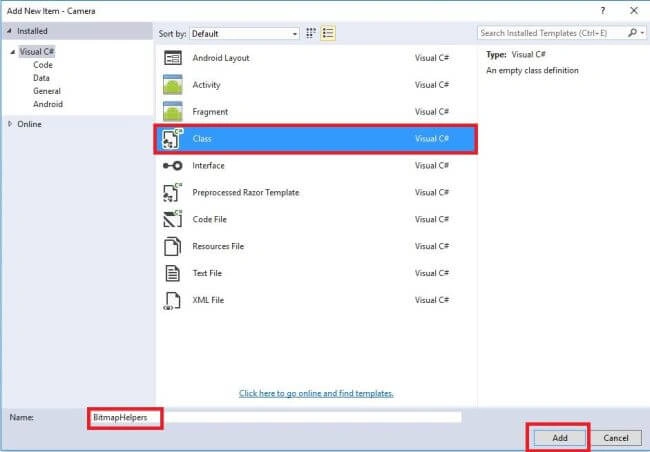
Step 4- Go to Solution Explorer-> Project Name. Right click to Add->Class, followed by opening new Dialog box. This dialog box is required to select the class and give name for BitmapHelpers.cs.
Step 5- Open Solution Explorer-> Project Name->Resources-> BitmapHelpers.cs. This class is reducing the image size and recycling the memory. It will be used to calculate an image ratio.
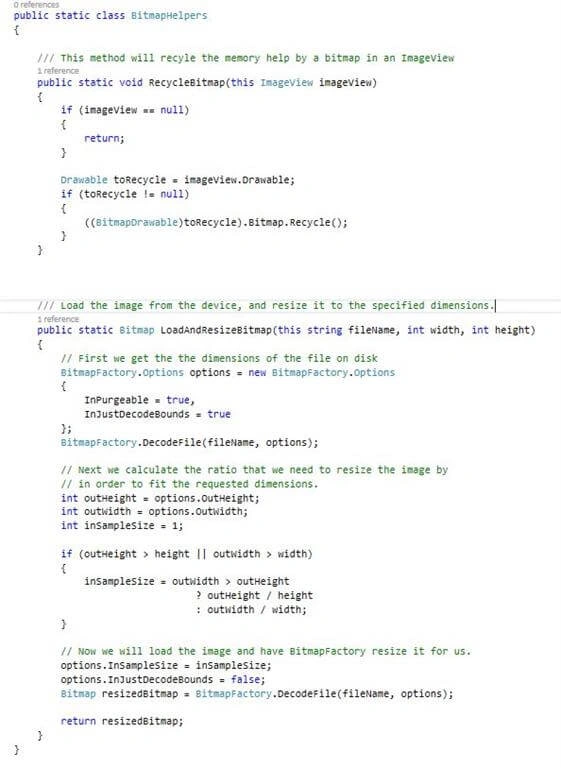
C# Code
- using System;
- using System.Collections.Generic;
- using System.Linq;
- using System.Text;
- using Android.App;
- using Android.Content;
- using Android.OS;
- using Android.Runtime;
- using Android.Views;
- using Android.Widget;
- using Android.Graphics;
- using Android.Graphics.Drawables;
- namespace Camera {
- public static class BitmapHelpers {
- /// This method will recyle the memory help by a bitmap in an ImageView
- public static void RecycleBitmap(this ImageView imageView) {
- if (imageView == null) {
- return;
- }
- Drawable toRecycle = imageView.Drawable;
- if (toRecycle != null) {
- ((BitmapDrawable) toRecycle).Bitmap.Recycle();
- }
- }
- /// Load the image from the device, and resize it to the specified dimensions.
- public static Bitmap LoadAndResizeBitmap(this string fileName, int width, int height) {
- // First we get the the dimensions of the file on disk
- BitmapFactory.Options options = new BitmapFactory.Options {
- InPurgeable = true,
- InJustDecodeBounds = true
- };
- BitmapFactory.DecodeFile(fileName, options);
- // Next we calculate the ratio that we need to resize the image by
- // in order to fit the requested dimensions.
- int outHeight = options.OutHeight;
- int outWidth = options.OutWidth;
- int inSampleSize = 1;
- if (outHeight > height || outWidth > width) {
- inSampleSize = outWidth > outHeight ? outHeight / height : outWidth / width;
- }
- // Now we will load the image and have BitmapFactory resize it for us.
- options.InSampleSize = inSampleSize;
- options.InJustDecodeBounds = false;
- Bitmap resizedBitmap = BitmapFactory.DecodeFile(fileName, options);
- return resizedBitmap;
- }
- }
- }
- using Android.Provider;
- using Java.IO;
- using Android.Graphics;
- using Android.Content.PM;
- using Uri = Android.Net.Uri;
- using System.Collections.Generic;
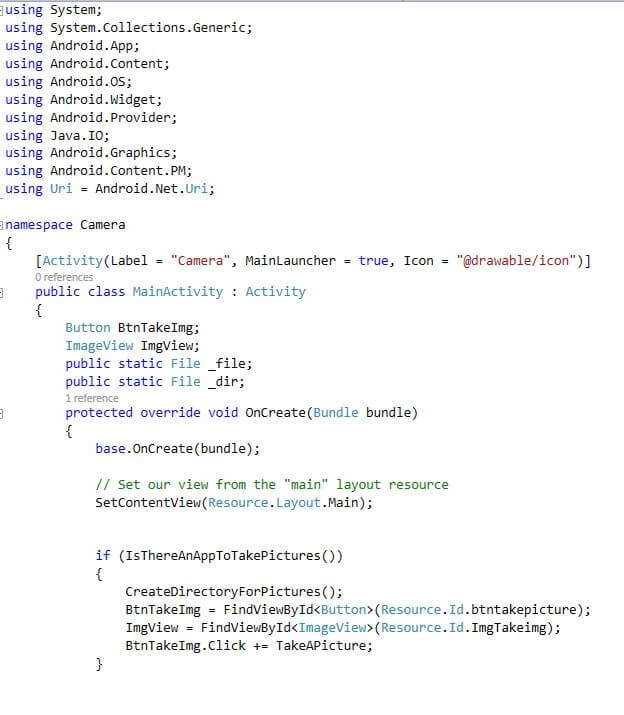
C# Code
- Button BtnTakeImg;
- ImageView ImgView;
- public static File _file;
- public static File _dir;
- protected override void OnCreate(Bundle bundle)
- {
- base.OnCreate(bundle);
- // Set our view from the "main" layout resource
- SetContentView(Resource.Layout.Main);
- if (IsThereAnAppToTakePictures()) {
- CreateDirectoryForPictures();
- BtnTakeImg = FindViewById < Button > (Resource.Id.btntakepicture);
- ImgView = FindViewById < ImageView > (Resource.Id.ImgTakeimg);
- BtnTakeImg.Click += TakeAPicture;
- }
- }
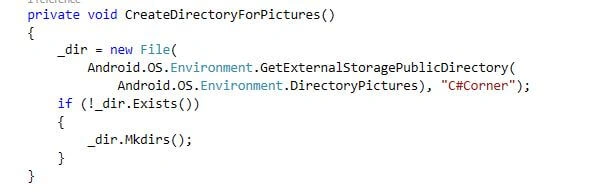
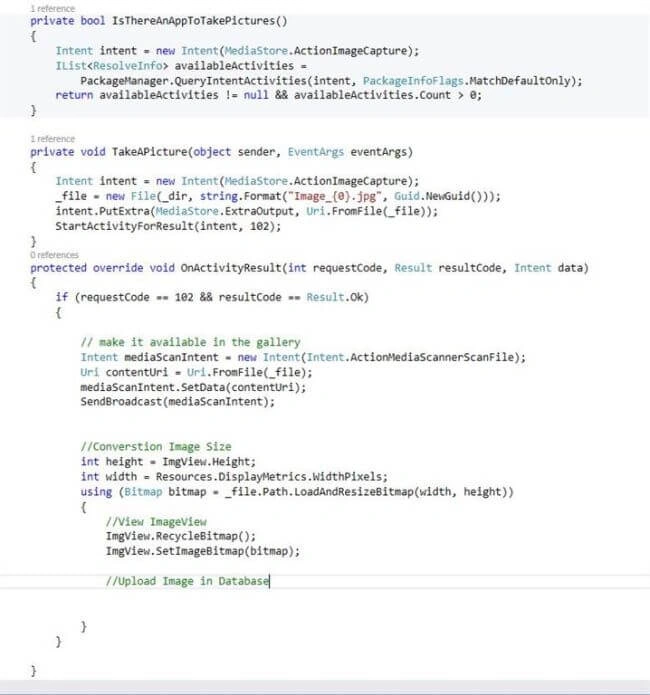
Step 9- Here, CreateDirectoryForPictures () is to be used to create separate folder for our image. IsThereAnAppToTakePictures() is redirecting to Android Camera path.
C# Code
- private void CreateDirectoryForPictures() {
- _dir = new File(Android.OS.Environment.GetExternalStoragePublicDirectory(Android.OS.Environment.DirectoryPictures), "C#Corner");
- if (!_dir.Exists()) {
- _dir.Mkdirs();
- }
- }
- private bool IsThereAnAppToTakePictures() {
- Intent intent = new Intent(MediaStore.ActionImageCapture);
- IList < ResolveInfo > availableActivities = PackageManager.QueryIntentActivities(intent, PackageInfoFlags.MatchDefaultOnly);
- return availableActivities != null && availableActivities.Count > 0;
- }
- private void TakeAPicture(object sender, EventArgs eventArgs) {
- Intent intent = new Intent(MediaStore.ActionImageCapture);
- _file = new File(_dir, string.Format("Image_{0}.jpg", Guid.NewGuid()));
- intent.PutExtra(MediaStore.ExtraOutput, Uri.FromFile(_file));
- StartActivityForResult(intent, 102);
- }
- protected override void OnActivityResult(int requestCode, Result resultCode, Intent data) {
- if (requestCode == 102 && resultCode == Result.Ok) {
- // make it available in the gallery
- Intent mediaScanIntent = new Intent(Intent.ActionMediaScannerScanFile);
- Uri contentUri = Uri.FromFile(_file);
- mediaScanIntent.SetData(contentUri);
- SendBroadcast(mediaScanIntent);
- //Converstion Image Size
- int height = ImgView.Height;
- int width = Resources.DisplayMetrics.WidthPixels;
- using(Bitmap bitmap = _file.Path.LoadAndResizeBitmap(width, height)) {
- //View ImageView
- ImgView.RecycleBitmap();
- ImgView.SetImageBitmap(bitmap);
- //Upload Image in Database
- }
- }
- }
- <uses-permission android:name="android.permission.CAMERA" />
- <uses-permission android:name="android.permission.WRITE_EXTERNAL_STORAGE" />
- <uses-permission android:name="android.permission.READ_EXTERNAL_STORAGE" />
Step 11- Press F5 or build and run the Application.

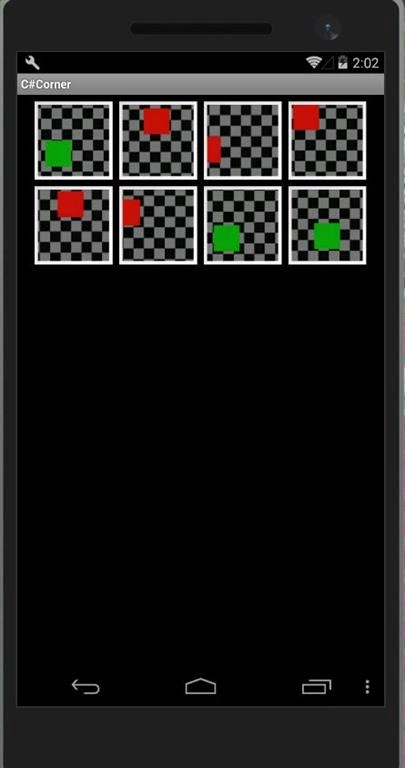
Step 12- After running the Application, go and check gallery. See the last captured picture. Finally, we successfully created Xamarin Android, using our own camera app and showing Imageview last captured image.
Rex ConacoPosted Sep 20, 2019, 8:26 PM
I cant preview capture picture in image view, please help
Peter MagedPosted Mar 30, 2019, 8:25 AM
Unhandled Exception:Android.OS.FileUriExposedException: file:///storage/emulated/0/Pictures/Application%20images/Image_2e5909c4-15a6-4f9d-9fd5-00dcbd509afb.jpg exposed beyond app through ClipData.Item.getUri() occurred
Prasanna MuraliPosted Sep 13, 2016, 12:57 AM
Nice post..
SubashPosted Sep 13, 2016, 12:04 AM
Very nice one
Anu VPosted Sep 12, 2016, 11:46 PM
Nice..