

In this post, I will guide you through a step by step process to prepare your SharePoint framework environment. But before that, we will get into the definition of SPFx.
As per the Microsoft definition, The SharePoint Framework (SPFx) is a page and Web Part model that provides full support for the client side development, easy integration with SharePoint data and open-source modeling and you can use modern web technology and tools in your preferred environment and apps that are responsive and mobile ready from day one. The SharePoint Framework works for SharePoint online and SharePoint On-Premises 2016 Feature-Pack 2 & SharePoint 2019.
Traditionally, we use Visual Studio to develop the web parts and solution where the SharePoint binaries are installed, but SharePoint framework is contrary to traditional development strategy. SPFx can be set up at any development environment like Linux, Mac OS.
In this article, I used the Windows 7 X64-bit machine to set up my SPFx development environment.
As the first step, we need to install Node.js. You can download using the following URL https://nodejs.org/dist/latest-v8.x/ and npm (Node Package Manager) module and it will make it available from the PowerShell command line. Currently, Long Term Support (LTS) version 8 and 10 only support SPFx.
It’s just like a normal installation by clicking Next -> Next ->and Finish
Enter the below mentioned line in the PowerShell to verify the version of node.js.
- node-v
Install npm(Node Package Manager)
Use the following powershell code to install npm.
- npm install -g yo gulp

Microsoft recommends verifying your proxy policy before initializing the installation of SPFx in organizational systems because it's installing the modules from the internet so installation requires a strong internet connection.
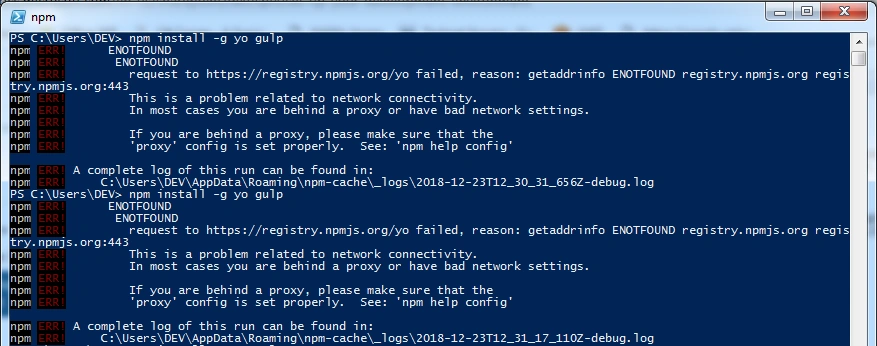
The above screen shows you the error when my proxy was enabled and I disconnected my organizational network and connected my system to direct ISP and installation was successful.
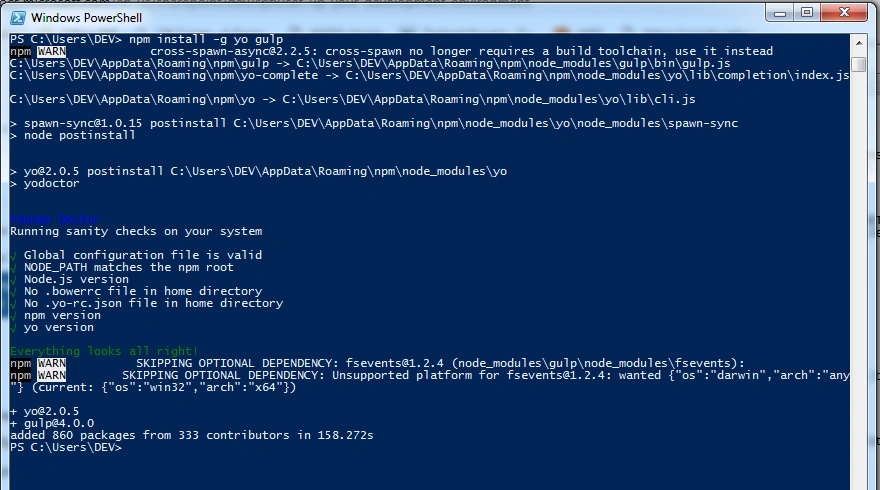
To verify the version of npm, use the following code: npm-v

This tool will help you to develop client-side web part.
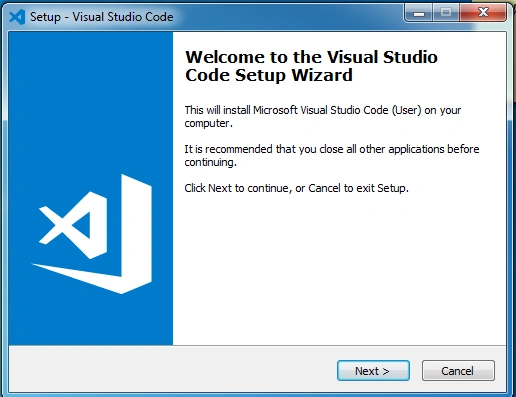
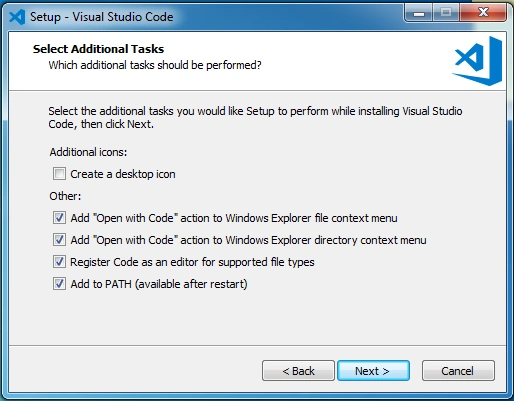
Use the below command to download and install the actual yeoman file
- npm install -g @microsoft/generator-sharepoint


Finally, the basic installation got completed and lets us login the SPFx using the following code
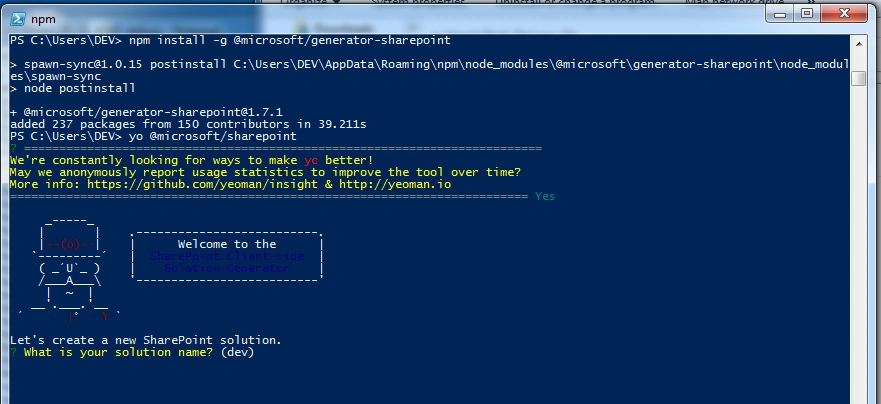
- yo @microsoft/sharepoint
and you can see the below screen after the successful login
In the next post, I will show you how to create a project and deploy it in your SharePoint environment.
Mohiddin ShaikPosted Mar 30, 2020, 7:35 PM
I am tried to install version 8 but it is not installed direct open the nodeJs prompt
Mohiddin ShaikPosted Mar 30, 2020, 7:33 PM
Hi thivagar i am not able to instaal npm with nodejs 10
Yann CPosted Dec 18, 2019, 5:23 AM
Why do you use node v8 if the v10 is available ? Do you know issues ?