
In this post we will see how we can pass the
parameters using Custom Markup Extensions .
Now that we have a understanding of how Custom Markup Extensions work in
Silverlight lets quickly get into the code .
I modify my class FirstCME as shown as below :
public
class FirstCME
: IMarkupExtension<string>
{
public object
value1 { get; set;
}
public object value2 { get; set; }
public string
ProvideValue(IServiceProvider serviceProvider)
{
double _val1 =
Convert.ToDouble(value1);
double _val2 =
Convert.ToDouble(value2);
return (_val1 + _val2).ToString();
}
}
Go ahead and modify the xaml to pass the value to the parameters . It would look
like below :
<UserControl
x:Class="SLCustomMarkup.MainPage"
xmlns="http://schemas.microsoft.com/winfx/2006/xaml/presentation"
xmlns:x="http://schemas.microsoft.com/winfx/2006/xaml"
xmlns:local="clr-namespace:SLCustomMarkup"
xmlns:d="http://schemas.microsoft.com/expression/blend/2008"
xmlns:mc="http://schemas.openxmlformats.org/markup-compatibility/2006"
mc:Ignorable="d"
d:DesignHeight="300"
d:DesignWidth="400">
<Grid
x:Name="LayoutRoot"
Background="White">
<TextBlock
Text="{local:FirstCME
value1=10,value2=20}"></TextBlock>
</Grid>
</UserControl>
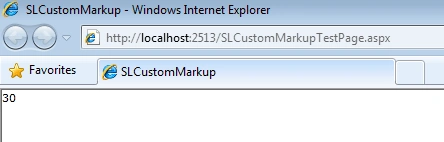
Lets give it a run and see the output :
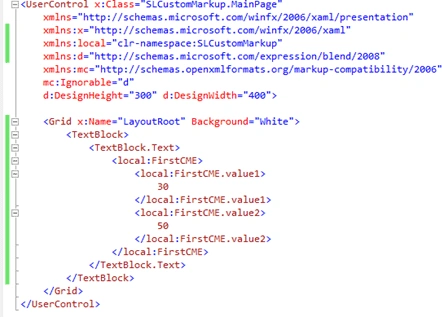
The above xaml code could be modified as shown below : It would still work the
same way . Here we pass the parameters in a Angular Bracket < > Format .
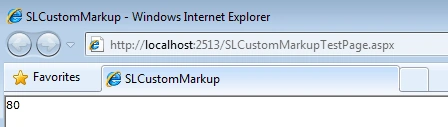
Lets now give it a run :
In the next post on Custom Markup Extensions we will see what are the advantages
of Custom Markup Extensions . Thanks . Happy Coding.
Join the conversation! Your thoughts help the community grow.