

In this article we will be seeing how to remove the tab and the group from the
ribbon interface in list form.
I have a custom list and items are added to that.
When you view the item the display form looks like the following which has two
groups "Manage" and "Actions" and each group has few tabs.
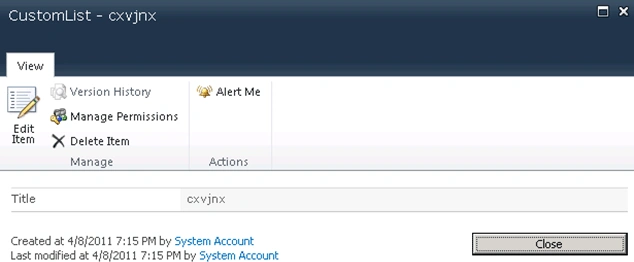
Here we will be seeing how to remove the tabs and the group from the ribbon
interface in the list display form.
Steps Involved:
- Open Visual Studio 2010.
- Go to File => New => Project.
- Select Empty SharePoint Project template
from the installed templates.
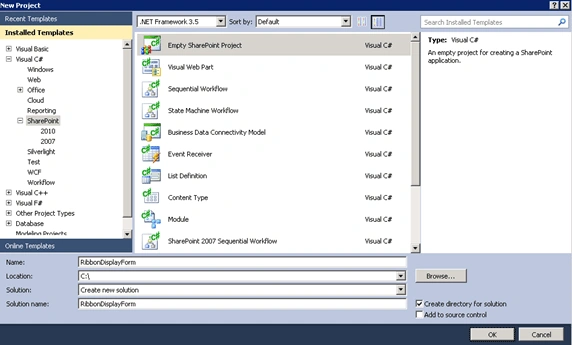
- Enter the Name for the project and click on Add.
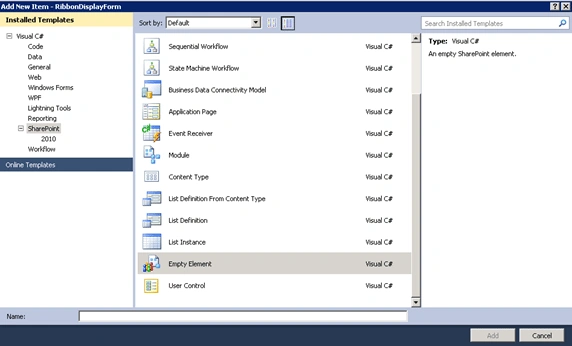
- Right click on the solution =>Add => New item.
- Select Empty Element template from the
installed templates.
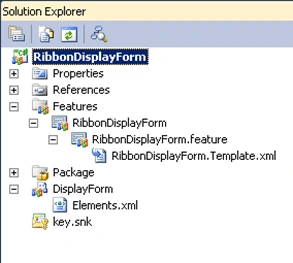
- My entire solution looks like the
following.
- Replace Elements.xml with the following
code.
<?xml version="1.0" encoding="utf-8"?>
<Elements xmlns="http://schemas.microsoft.com/sharepoint/">
<CustomAction
Id="RemoveTabEditItem"
Location="CommandUI.Ribbon"
RegistrationId="100"
RegistrationType="List">
<CommandUIExtension>
<CommandUIDefinitions>
<CommandUIDefinition
Location="Ribbon.ListForm.Display.Manage.EditItem" />
</CommandUIDefinitions>
</CommandUIExtension>
</CustomAction>
<CustomAction
Id="RemoveGroupActions"
Location="CommandUI.Ribbon"
RegistrationId="100"
RegistrationType="List">
<CommandUIExtension>
<CommandUIDefinitions>
<CommandUIDefinition
Location="Ribbon.ListForm.Display.Actions" />
</CommandUIDefinitions>
</CommandUIExtension>
</CustomAction>
</Elements>
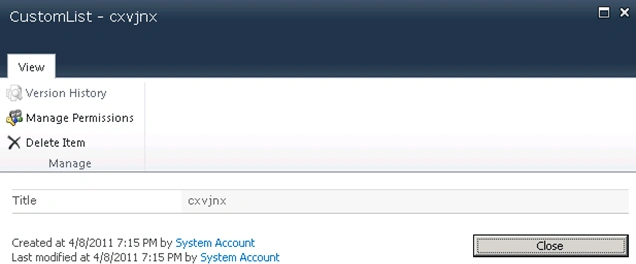
- Removing the Edit Item Tab: Location -
Ribbon.ListForm.Display.Manage.EditItem
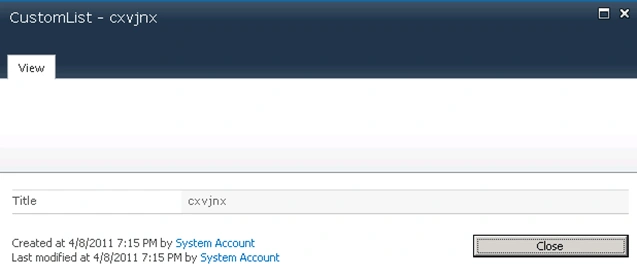
- Removing the Actions group: Location -
Ribbon.ListForm.Display.Actions
- For Default Server Ribbon Customization
Locations refer
http://msdn.microsoft.com/en-us/library/ee537543.aspx.
Join the conversation! Your thoughts help the community grow.