
Introduction private void MyEllipse_MouseEnter(object sender, MouseEventArgs e)
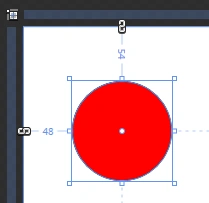
{ Compile and run this project and place the pointer on the red ellipse. The object's color will shift to blue.
My last article was based on Double Animation in Silverlight3 through code behind. In this article we will try the similar thing but with Color Animation.
Creating a Simple Silverlight Application
Open up Blend 3 and Create a new Silverlight Application.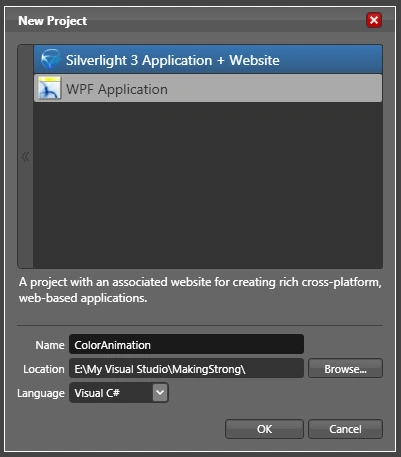
The following animations can be done in Blend3 without even touching the C# code behind.
Create a storyboard called StoryBoard1 that changes color to Blue.
Remember to delete this storyboard to see in effect our code behind animation.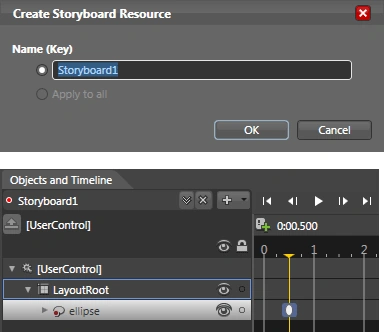
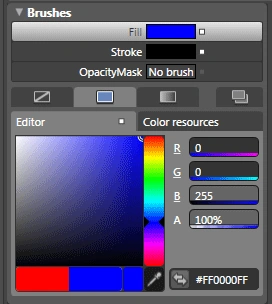
Now let's take a look at how color animations can be implemented via code. This project illustrates how to work with ColorAnimation objects. In this example, we will create a ColorAnimation that turns a red ellipse blue when the MouseEnter event is raised. The storyboard equivalent for this animation looks like the following.
<Storyboard x:Name="Storyboard1">
<ColorAnimationUsingKeyFrames BeginTime="00:00:00" Storyboard.TargetName="ellipse" Storyboard.TargetProperty="(Shape.Fill).(SolidColorBrush.Color)">
<EasingColorKeyFrame KeyTime="00:00:00.5000000" Value="#FF0000FF"/>
</ColorAnimationUsingKeyFrames>
</Storyboard>
private Storyboard TurnsBlue = new Storyboard();
private ColorAnimation BlueColor = new ColorAnimation();
BlueColor.SetValue(Storyboard.TargetNameProperty, "MyEllipse");
BlueColor.SetValue(Storyboard.TargetPropertyProperty, new PropertyPath("(Shape.Fill).(SolidColorBrush.Color)"));
Color ToColor = Color.FromArgb(255, 13, 8, 116);
BlueColor.To = ToColor;
TurnsBlue.Children.Add(BlueColor);
LayoutRoot.Resources.Add("TurnsBlue",TurnsBlue);
TurnsBlue.Begin();
}
That's it you have successfully used animation in code behind.
Similarly you can add another StoryBoard for MouseLeave event.
Enjoy Animating.

Join the conversation! Your thoughts help the community grow.