

Here I am creating a Photo Frame Using Expression Design and presenting to you as an article hoping that it may be useful for you.
- Open Microsoft Expression Design 4 and click on tab File -> New to open a new document, rename the document as "PhotoFrame" setting the height = width= 480.
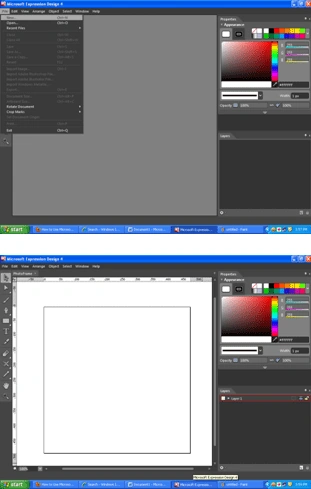
- Select a rectangle from the toolbar and draw it with same height and width as of your document.
- Change the properties of your rectangle
In the properties pane -> Appearance choose fill property and click on the More swatches dropdown arrow which is behind the colors. A list of different color designs occurred.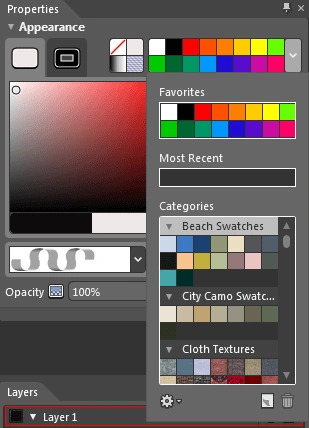
- Go to Categories -> Color fill Images and select Green Bark: GRNBARK.png.
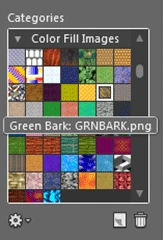
So that our rectangle should be like this: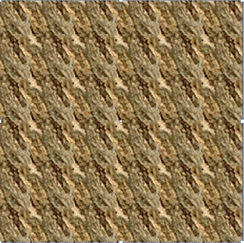
- Now click on stroke and choose Ribbon stroke from Design Elements i.e. Categories -> Design Elements -> Ribbon and set the width of a Ribbon = 30.
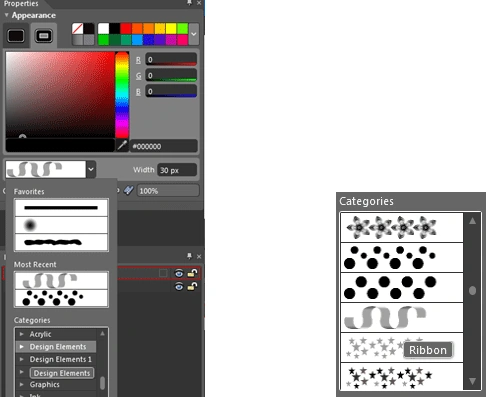
- The design of your window is as under :
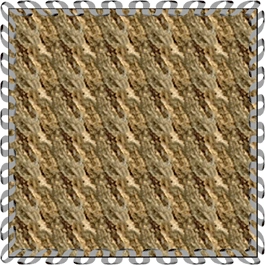
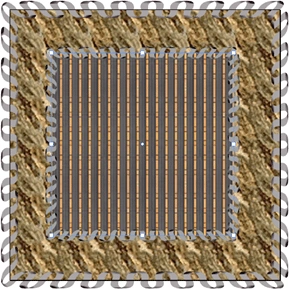
- Copy-Paste a rectangle, resize it slightly smaller than the previous and place it in between the first rectangle. Apply the same procedure to your second Rectangle as the First one. The Only Change is Appearance -> Fill -> More Swatched->Categories -> Beadwork: misc99.png. The output is :
Note: You can change the Stroke and fill according to your choice. For Example: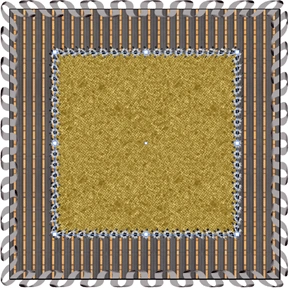
- Now Copy the xaml by clicking on Edit tab and paste it in Expression Blend :
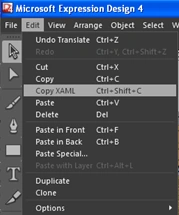
The Blend window should be like this: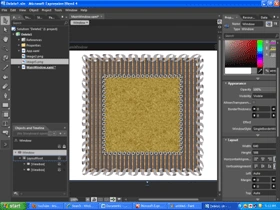
- You can also add Image to it as I have done :
Running Window: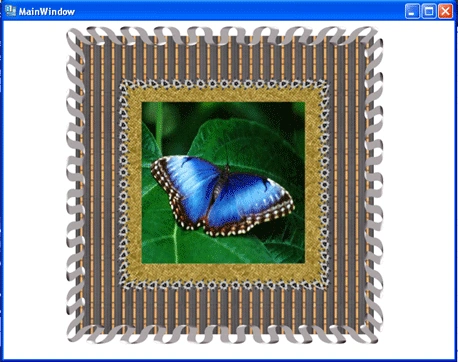
Join the conversation! Your thoughts help the community grow.