In this article we will see how to create and use it in our silverlight application.
For this example I have created the startup icon as the custom cursor in silverlight.
To create this cursor, I have used "Expression Design" as my designing tool.
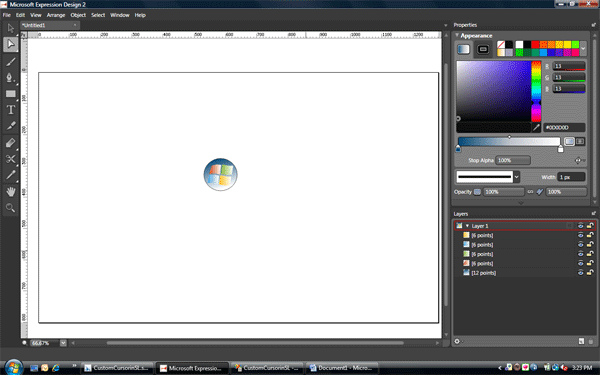
I have created this design using circle and four paths. Then I have exported this design as a jpeg file.
Now create an application in Silverlight. Add the above created image in the project. Now drag the image to the workarea and named the image as "cc".
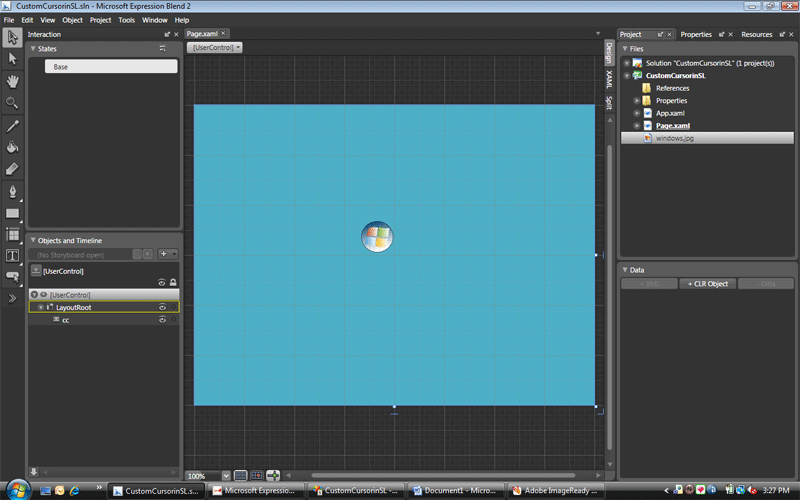
Now right click on the LayoutRoot and change the layout type as Canvas.
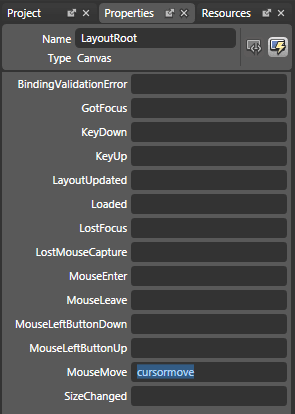
Now add an event handler in the "MouseMove" event to the LayoutRoot by clicking the Events button in the Properties panel. Here name of event handler is "cursormove".
Add the following namespace in the code behind file(if not there already).
using System.Windows.Input;
Now in the event handler "cursormove", I have added the following code.
private void cursormove(object sender, MouseEventArgs e)
{
Point pt = e.GetPosition(null);
Cursor = Cursors.None;
Canvas.SetTop(cc, pt.Y);
Canvas.SetLeft(cc, pt.X);
}
That's it, now test your application by pressing the F5 button.
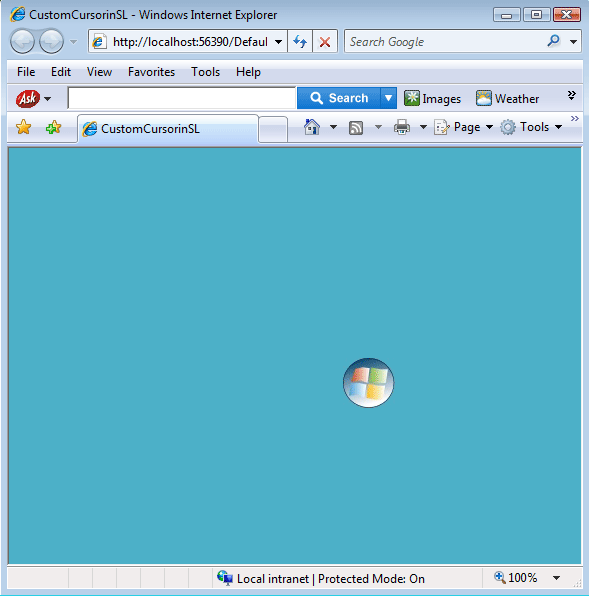
The output will be as follows