

In this article, I am going to discuss the language converter in ASP.NET using the free Website Translator plugin of Google. This Google language converter plugin is a very powerful tool which will convert your website content to different languages within fractions of a second. This plugin supports more than 90 languages.
Here, I am explaining you the steps to integrate the language plugin in our website.
STEP 1: Open the following link to create an account in Google,
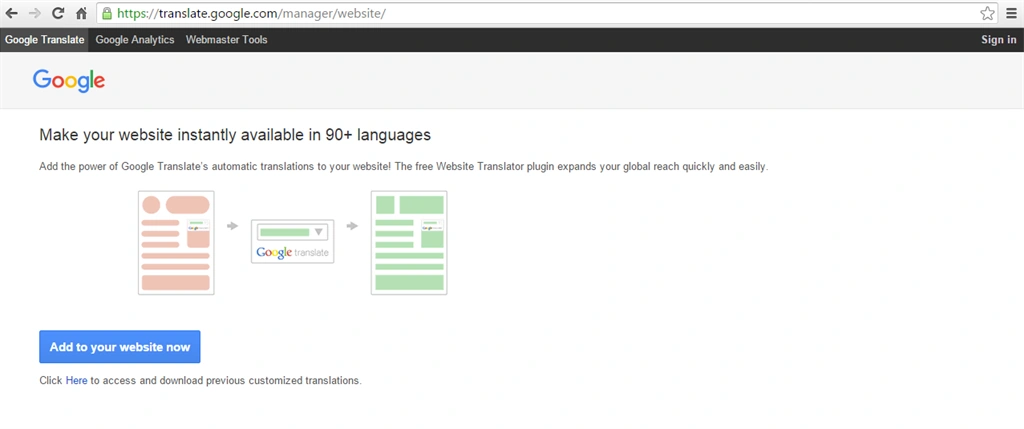
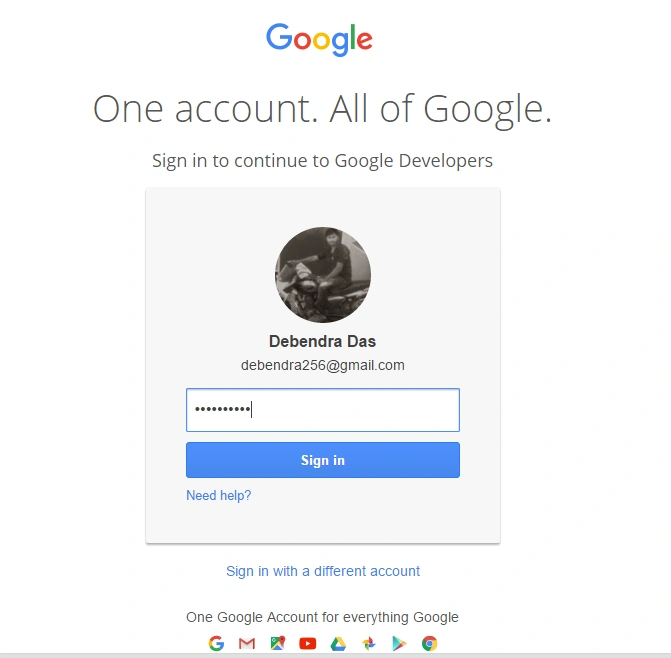
STEP 2: If you have any Google account, just login with that account, otherwise, create a new one.
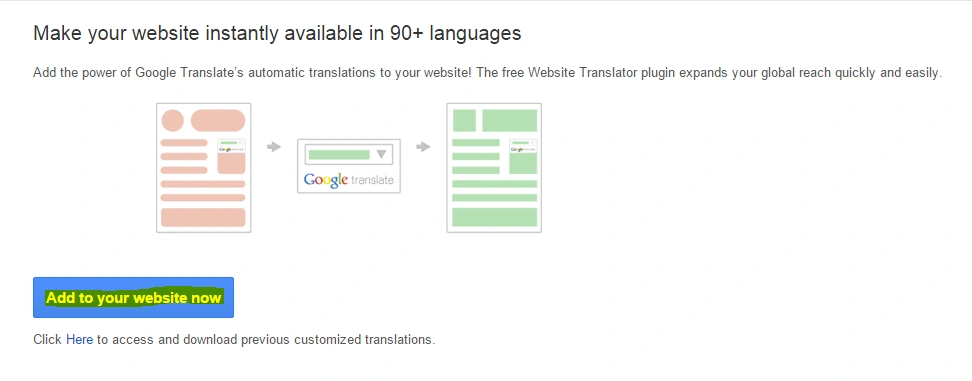
STEP 3: After login, just click (Add to your website now) button. Here's the figure:
STEP 4: Add any URL as your website URL.
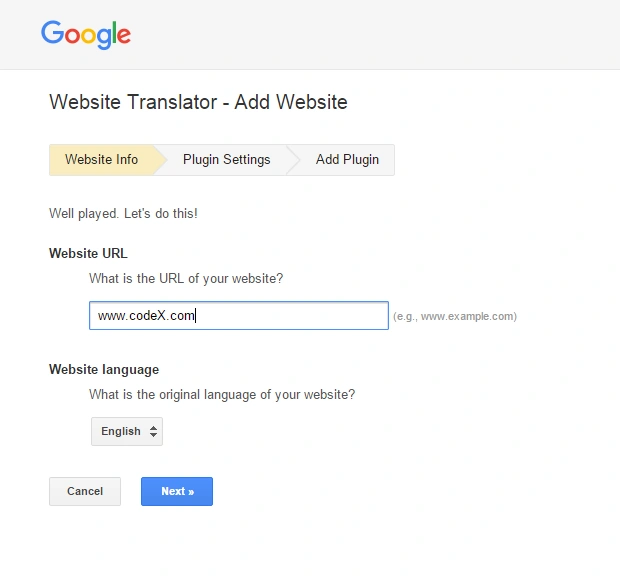
STEP 5: Click Next and choose the following setting as in the following image:
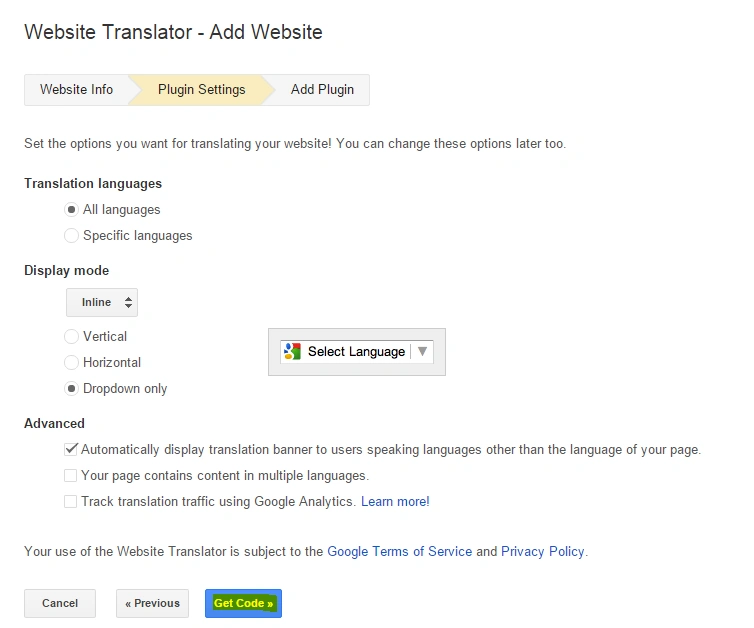
STEP 6: Click on
getCode to get the code and copy paste the code where you want to show the Language converter on your website. 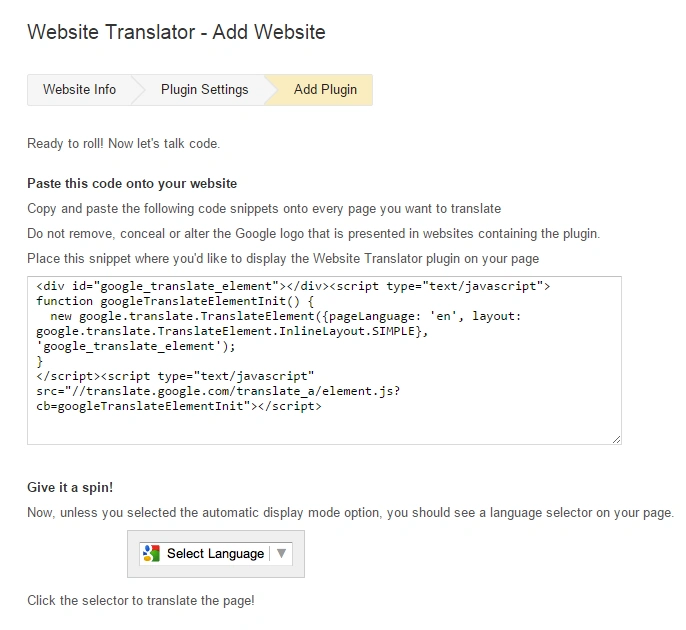
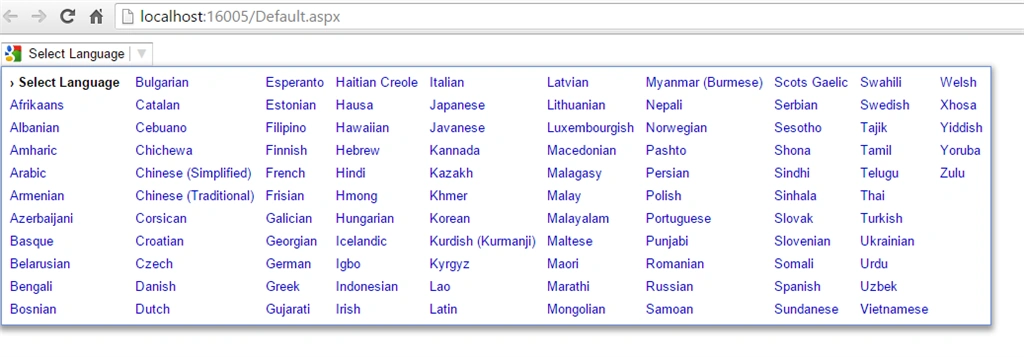
It will populate a dropdownlist with nearly 90+ languages in option.
Now, I am pasting it in my website as follows:
- <div>
- <div id="google_translate_element"></div>
- <script type="text/javascript">
- function googleTranslateElementInit() {
- new google.translate.TranslateElement
- ({ pageLanguage: 'en',
- layout: google.translate.TranslateElement.InlineLayout.SIMPLE },
- 'google_translate_element');
- }
- </script><script type="text/javascript"
- src="//translate.google.com/translate_a/element.js?cb=googleTranslateElementInit">
- </script>
- </div>
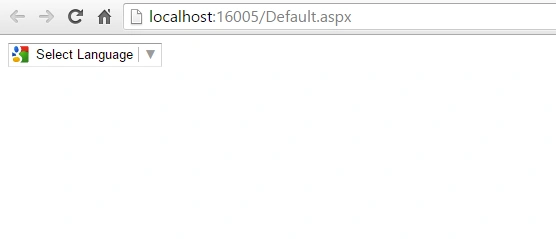
Here are the languages,
STEP 7: Now create your own UI or content which you want to change using this Google plugin. I want to change my UI language using this plugin. Here is the UI design.
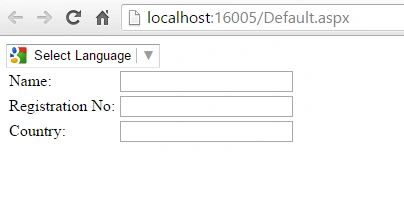
Now, here is the HTML code of my UI design.
- <div>
- <table>
- <tr>
- <td>
- Name:
- </td>
- <td>
- <asp:TextBox ID="txt_name" runat="server"></asp:TextBox>
- </td>
- </tr>
- <tr>
- <td>
- Registration No:
- </td>
- <td>
- <asp:TextBox ID="Textxt_regtBox1" runat="server"></asp:TextBox>
- </td>
- </tr>
- <tr>
- <td>
- Country:
- </td>
- <td>
- <asp:TextBox ID="txt_country" runat="server"></asp:TextBox>
- </td>
- </tr>
- </table>
- </div>
head section. - <head runat="server">
- <title></title>
- <meta name="google-translate-customization"
- content="3280487709591956-dc3fc45d489f056a-g5378ebab0cbcd0a4-12"/>
- </head>
Now link your UI content
div with google_translate_element as follows. Here, I have given the complete code.- <%@ Page Language="C#" AutoEventWireup="true"
- CodeFile="Default.aspx.cs" Inherits="_Default" %>
- <!DOCTYPE html>
- <html xmlns="http://www.w3.org/1999/xhtml">
- <head runat="server">
- <title></title>
- <meta name="google-translate-customization"
- content="3280487709591956-dc3fc45d489f056a-g5378ebab0cbcd0a4-12"/>
- </head>
- <body>
- <form id="form1" runat="server">
- <div>
- <div id="google_translate_element"></div>
- <script type="text/javascript">
- function googleTranslateElementInit() {
- new google.translate.TranslateElement({ pageLanguage: 'en',
- layout: google.translate.TranslateElement.InlineLayout.SIMPLE },
- 'google_translate_element');
- }
- </script><script type="text/javascript"
- src="//translate.google.com/translate_a/element.js?cb=googleTranslateElementInit">
- </script>
- </div>
- <div id="google_translate_element">
- <table>
- <tr>
- <td>
- Name:
- </td>
- <td>
- <asp:TextBox ID="txt_name"
- runat="server"></asp:TextBox>
- </td>
- </tr>
- <tr>
- <td>
- Registration No:
- </td>
- <td>
- <asp:TextBox ID="Textxt_regtBox1"
- runat="server"></asp:TextBox>
- </td>
- </tr>
- <tr>
- <td>
- Country:
- </td>
- <td>
- <asp:TextBox ID="txt_country"
- runat="server"></asp:TextBox>
- </td>
- </tr>
- </table>
- </div>
- </form>
- </body>
- </html>

So in this way, you can change the language of your website using the Google Translator Plugin.
Read more articles on ASP.NET:
gurumurthy jvPosted Apr 4, 2021, 2:53 PM
Is this plugin is not available currently? any alternative for this.
Sujit SahooPosted Jul 3, 2020, 1:17 AM
Currently https://translate.google.com/intl/en/about/website/ not available.
Digambar SonavdekarPosted May 31, 2018, 1:55 AM
I want to make it as onLoad lang change to Hindi, plz help me.
anu vallapureddyPosted Jan 30, 2018, 11:37 AM
Hi This artical is good. working fine for mvc application. but reports like csv and print not converting to selcted language. is any body have any idea
Sandeeep LambaPosted Jan 8, 2018, 12:04 PM
Hi am new gor MVC, i have to use multilingual for a website..no doubt this above mentioned code is very nice, but i have to use default language Hindi and other language is english only plz help me out
Sonu ChaudharyPosted Mar 1, 2016, 12:46 AM
really good artical
Thiru RPosted Feb 29, 2016, 5:22 AM
wow. definitely i will try this
Rajeev PunhaniPosted Feb 29, 2016, 4:47 AM
Nice
Humayun Kabir MamunPosted Feb 28, 2016, 11:46 PM
Nice...
Gowtham KPosted Feb 28, 2016, 12:38 PM
Good One
Asfend YarPosted Feb 28, 2016, 11:50 AM
nice
Ehsan SajjadPosted Feb 28, 2016, 11:26 AM
Good man, thanks
Senthil KiumarPosted Feb 28, 2016, 1:04 AM
Nice article
Sibeesh VenuPosted Feb 28, 2016, 12:23 AM
Nice Share
Pankaj Kumar ChoudharyPosted Feb 27, 2016, 11:01 PM
Nice Information Sir........
Vignesh ManiPosted Feb 27, 2016, 5:43 PM
Good one
Asfend YarPosted Feb 27, 2016, 2:27 PM
nice
Ammar ShaukatPosted Feb 27, 2016, 1:41 PM
Good