Introduction
Client-side reporting is a very important feature in enterprise applications. It means producing reports on a local machine rather on a central server. Before VS 2005, Microsoft provided several choices to develop reports such as Crystal Reports from Business Objects. Then VS 2005 introduces Reporting Services at the client-side which is a serious tool to develop reports. In future articles, I will show how to produce customized reports from scratch for Reporting Services; but this article is concerned about illustrating the reporting enhancements of VS 2008 and specifically how to produce reports for the Reporting Services using the Report Wizard. For beginners, this wizard allows the generation of reports very easily based on pre-defined template and later it can be changed to satisfy the solution requirements.
Report Wizard in Action
We're going to work with AdventureWorks database shipped with Microsoft SQL Server 2005. Our key requirements dictate to develop a Product Profitability Report illustrating the products by its name, product name, price, cost and profitability.
Getting started the application
The first step is to write the underlying query in SQL as shown in Listing 1.
select ProductID, [Name], ProductNumber, StandardCost, ListPrice, ListPrice-StandardCost as Profit
from Production.Product ;
Listing 1
Then, open Visual Studio 2008 and create a new Windows application project and add a dataset to hold the ResultSet of the query in Listing 1. Right-click on the Solution Explorer and select Add | New Item | DataSet. Enter dsProductProfitability as the DataSet name. Then configure the DataSet using the TableAdapter Wizard and introducing the query in the Listing 1. So far, you have generated our strong typed data set (see Figure 1).
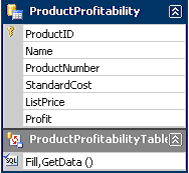
Figure 1
Now it's time to create the report using the Report Wizard. Select Project | Add New Item. In the Add New Item dialog box, choose the Reporting node on the Visual C# Items pane and the select Report Wizard icon in the Templates plane (see Figure 2).
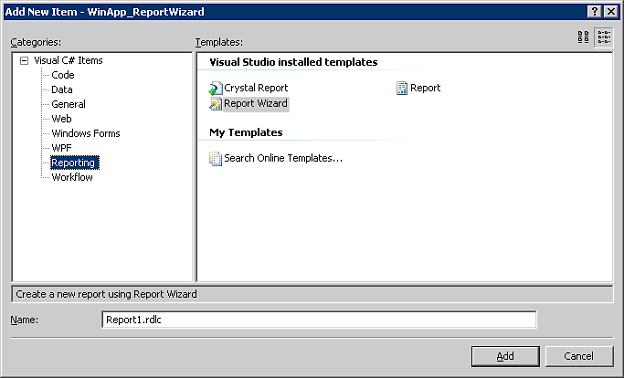
Figure 2
As soon as you click on the OK button, the Report Wizard will launch starting with a Wellcome page (see Figure 3).
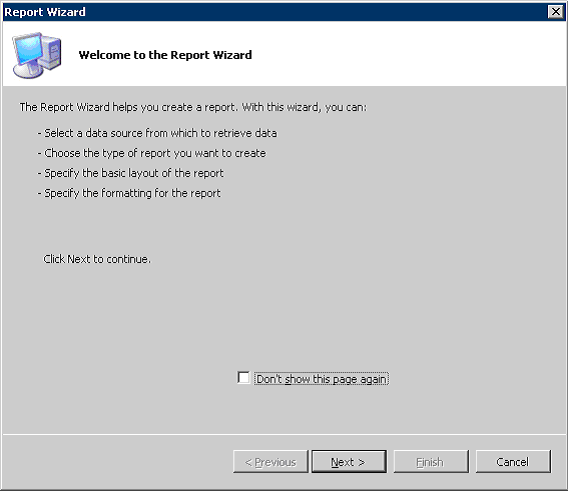
Figure 3
Click the Next button on the Wellcome page and the Select Data Source page will appear. You can select the actual data sources (such as the strong typed data set defined before) or add new ones. Select the ProductProfitability data table within the strong typed data set dsProductProfitability.
Then click on the Next button and the Select the Report Type page will appear. We're going to display the data in the traditional way, thus you should select the Tabular option. If were displaying the data in a complex way such as cross-tab, then you should have selected the Matrix option (see Figure 4).
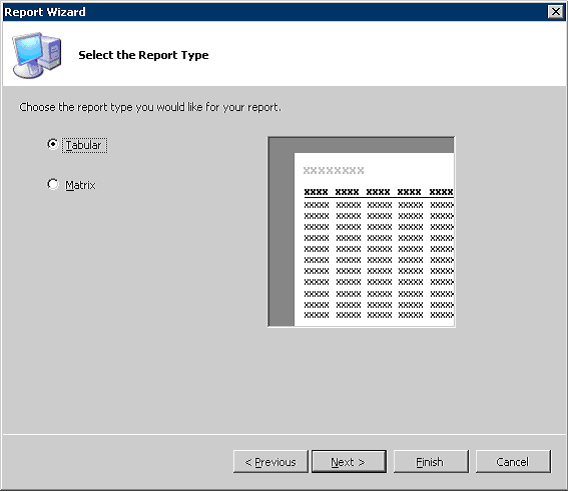
Figure 4
Click on the Next button and the Design the Table section will appear. This section will let you make use of as many fields as you like from the table onto the report design surface. Because we don't need to group inside the table report item, then all the fields are moved to the details section (see Figure 5).
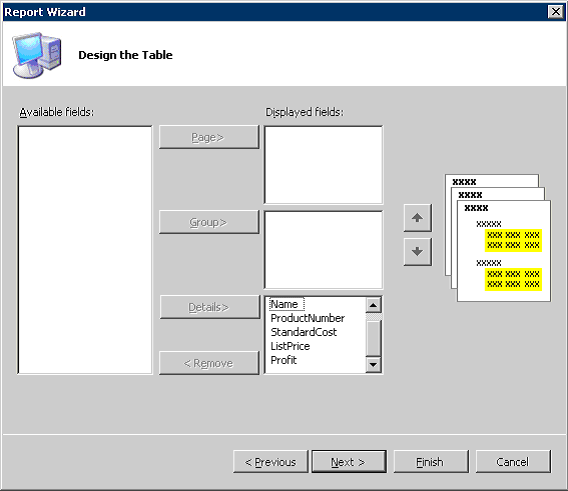
Figure 5
Click on the Next button, the Choose the Table Layout page will appear. You have two options to select the layout: Stepped or Block. Most of the reports we have done so far have used a stepped layout. It means that group output appears with related details inside the group header and footer. Block layout is similar to stepped layout functionally, and the difference is that the group and related details appears as a block surrounded by borders. Select Stepped option (see Figure 6).
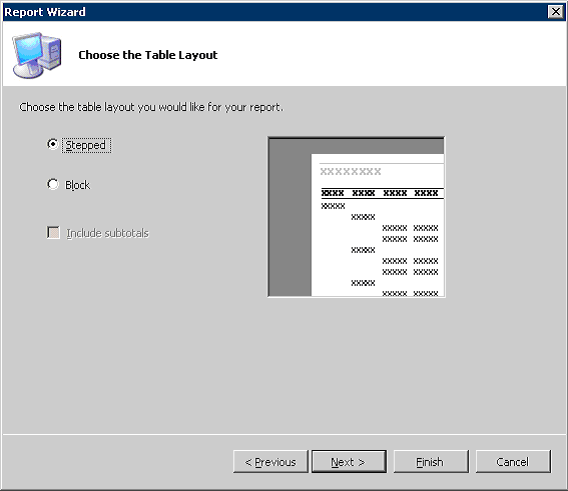
Figure 6
Then click on the Next button, and the Choose the Table Style page will appear. I select the Corporate style (see Figure 7).
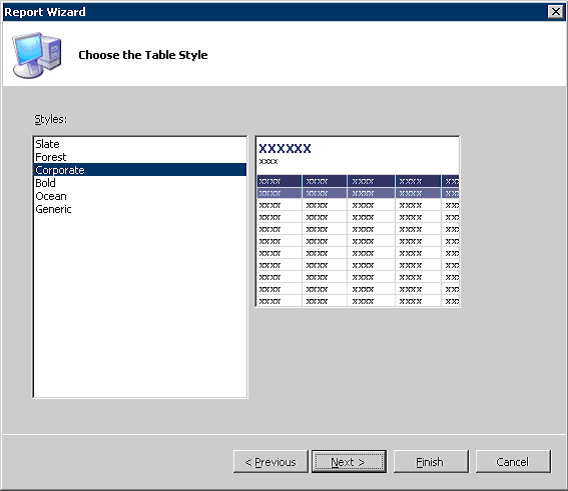
Figure 7
Finally, we have come to the end of the Report Wizard. This last page is summary of actions the wizard is performing to generate the report.
Click on the Finish button and then you can see the report generated by Visual Studio 2008.
In order to test the report output, then add a new Windows Form to the application. Then add a Microsoft Report Viewer component from the Reporting Tab within the Toolbox window (see Figure 8).
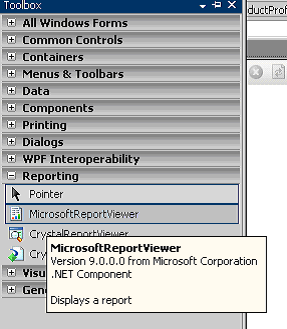
Figure 8
Then configure this Report Viewer associating the created report and binding a data source in order to create correctly the report. Finally, execute the application and see the results (see Figure 9).
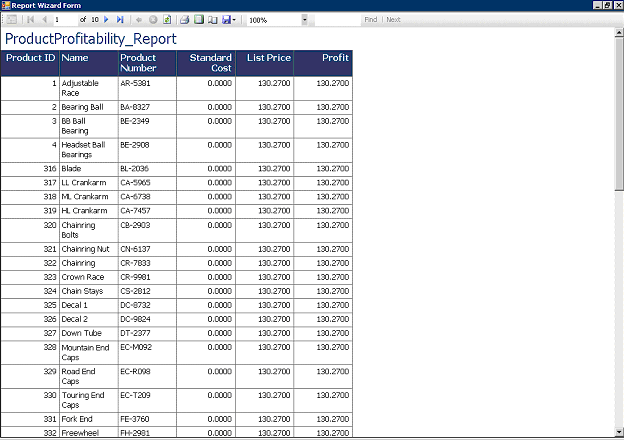
Figure 9
Conclusion
In this article, I covered the Report Wizard (a new feature of Visual Studio 2008) which allows creating reports rapidly without knowing advance concepts related to reporting technologies. After you read this article, you can create your own reports and customize them according to your requirements.