

Introduction
Some days ago, I wrote an article to introduce how to consume RabbitMQ messages via background service in ASP.NET Core.
And in this article, you will learn how to publish RabbitMQ messages.
Run Up RabbitMQ Service
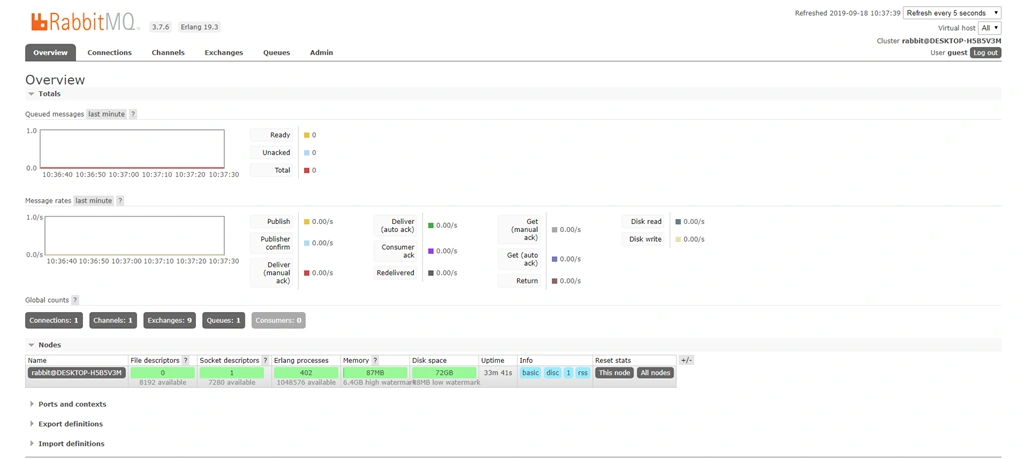
RabbitMQ Settings
- {
- "Logging": {
- "LogLevel": {
- "Default": "Warning"
- }
- },
- "AllowedHosts": "*",
- "rabbit": {
- "UserName": "guest",
- "Password": "guest",
- "HostName": "localhost",
- "VHost": "/",
- "Port": 5672
- }
- }
Creating a class that maps the rabbit section in appsettings.json
- public class RabbitOptions
- {
- public string UserName { get; set; }
- public string Password { get; set; }
- public string HostName { get; set; }
- public int Port { get; set; } = 5672;
- public string VHost { get; set; } = "/";
- }
Reuse Channels of RabbitMQ Connection
Why should we reuse channels?
Based on the official .NET/C# Client API Guide document, we can consider reusing channels because these are long-lived but since many recoverable protocol errors will result in channel closure, the closing and opening of new channels per operation are usually unnecessary.
Here, we will use the object pool to do this job! Microsoft provides a package named Microsoft.Extensions.ObjectPool can help us simplify some of the work.
Before using the object pool, we should declare the policy of the channel at first. Here, we create a class named RabbitModelPooledObjectPolicy that implements IPooledObjectPolicy<IModel>.
- using Microsoft.Extensions.ObjectPool;
- using Microsoft.Extensions.Options;
- using RabbitMQ.Client;
- public class RabbitModelPooledObjectPolicy : IPooledObjectPolicy<IModel>
- {
- private readonly RabbitOptions _options;
- private readonly IConnection _connection;
- public RabbitModelPooledObjectPolicy(IOptions<RabbitOptions> optionsAccs)
- {
- _options = optionsAccs.Value;
- _connection = GetConnection();
- }
- private IConnection GetConnection()
- {
- var factory = new ConnectionFactory()
- {
- HostName = _options.HostName,
- UserName = _options.UserName,
- Password = _options.Password,
- Port = _options.Port,
- VirtualHost = _options.VHost,
- };
- return factory.CreateConnection();
- }
- public IModel Create()
- {
- return _connection.CreateModel();
- }
- public bool Return(IModel obj)
- {
- if (obj.IsOpen)
- {
- return true;
- }
- else
- {
- obj?.Dispose();
- return false;
- }
- }
- }
There are two important methods in it, one is Create, the other one is Return.
The Create method tells the pool how to create the channel object.
The Return method tells the pool that if the channel object is still in a state that can be used, we should return it to the pool; otherwise, we should not use it the next time.
RabbitMQ Manager
We create a management interface to handle the Publish method.
- public interface IRabbitManager
- {
- void Publish<T>(T message, string exchangeName, string exchangeType, string routeKey)
- where T : class;
- }
The following code demonstrates an implementing class of it.
- public class RabbitManager : IRabbitManager
- {
- private readonly DefaultObjectPool<IModel> _objectPool;
- public RabbitManager(IPooledObjectPolicy<IModel> objectPolicy)
- {
- _objectPool = new DefaultObjectPool<IModel>(objectPolicy, Environment.ProcessorCount * 2);
- }
- public void Publish<T>(T message, string exchangeName, string exchangeType, string routeKey)
- where T : class
- {
- if (message == null)
- return;
- var channel = _objectPool.Get();
- try
- {
- channel.ExchangeDeclare(exchangeName, exchangeType, true, false, null);
- var sendBytes = Encoding.UTF8.GetBytes(JsonConvert.SerializeObject(message));
- var properties = channel.CreateBasicProperties();
- properties.Persistent = true;
- channel.BasicPublish(exchangeName, routeKey, properties, sendBytes);
- }
- catch (Exception ex)
- {
- throw ex;
- }
- finally
- {
- _objectPool.Return(channel);
- }
- }
- }
We create an object pool in the constructor. Before publishing messages to RabbitMQ, we should get a channel from the object pool, then construct the payload.
After publishing, we should return this channel object to the object pool whether the publish succeeds or fails.
RabbitMQ Extension
Create an extension method to simplify the registration.
- public static class RabbitServiceCollectionExtensions
- {
- public static IServiceCollection AddRabbit(this IServiceCollection services, IConfiguration configuration)
- {
- var rabbitConfig = configuration.GetSection("rabbit");
- services.Configure<RabbitOptions>(rabbitConfig);
- services.AddSingleton<ObjectPoolProvider, DefaultObjectPoolProvider>();
- services.AddSingleton<IPooledObjectPolicy<IModel>, RabbitModelPooledObjectPolicy>();
- services.AddSingleton<IRabbitManager, RabbitManager>();
- return services;
- }
- }
Go to Startup class.
- public void ConfigureServices(IServiceCollection services)
- {
- services.AddRabbit(Configuration);
- services.AddMvc().SetCompatibilityVersion(CompatibilityVersion.Version_2_2);
- }
Usage of RabbitMQ Manager
We add some code in ValuesController .
- [Route("api/[controller]")]
- [ApiController]
- public class ValuesController : ControllerBase
- {
- private IRabbitManager _manager;
- public ValuesController(IRabbitManager manager)
- {
- _manager = manager;
- }
- // GET api/values
- [HttpGet]
- public ActionResult<IEnumerable<string>> Get()
- {
- // other opreation
- // if above operation succeed, publish a message to RabbitMQ
- var num = new System.Random().Next(9000);
- // publish message
- _manager.Publish(new
- {
- field1 = $"Hello-{num}",
- field2 = $"rabbit-{num}"
- }, "demo.exchange.topic.dotnetcore", "topic", "*.queue.durable.dotnetcore.#");
- return new string[] { "value1", "value2" };
- }
- }
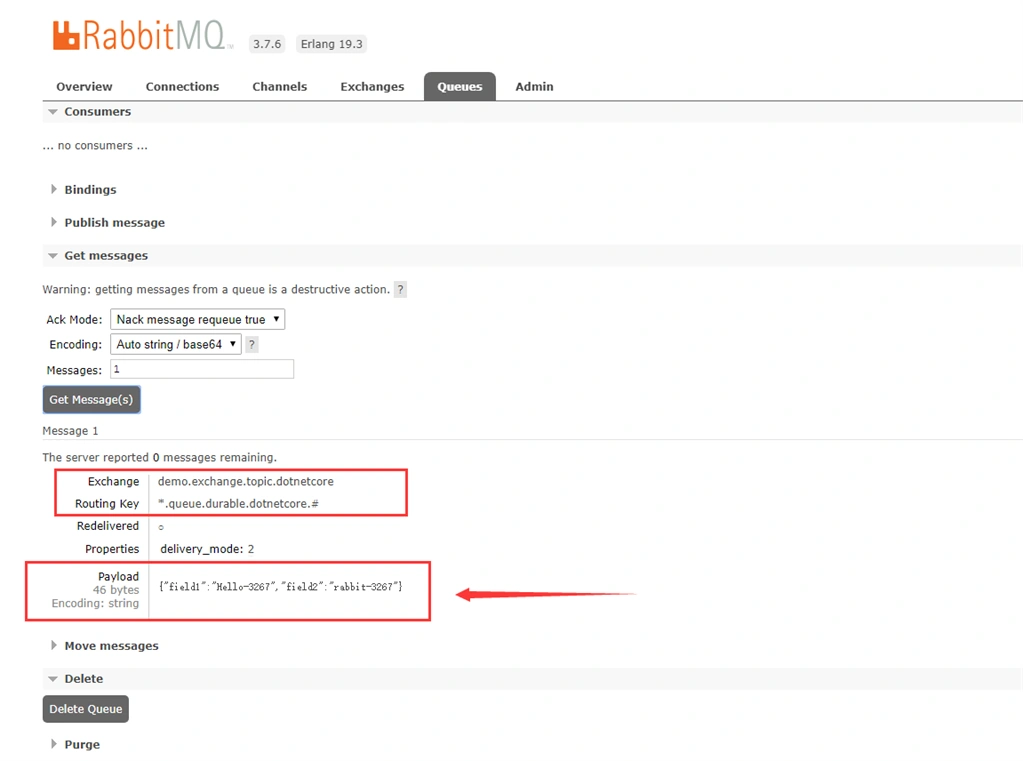
Here we will create a topic type exchange named demo.exchange.topic.dotnetcore, and it also will send the message to the queues that are binding the routing key named *.queue.durable.dotnetcore.#.
Note
A message in a queue will only be consumed by one consumer.
Result
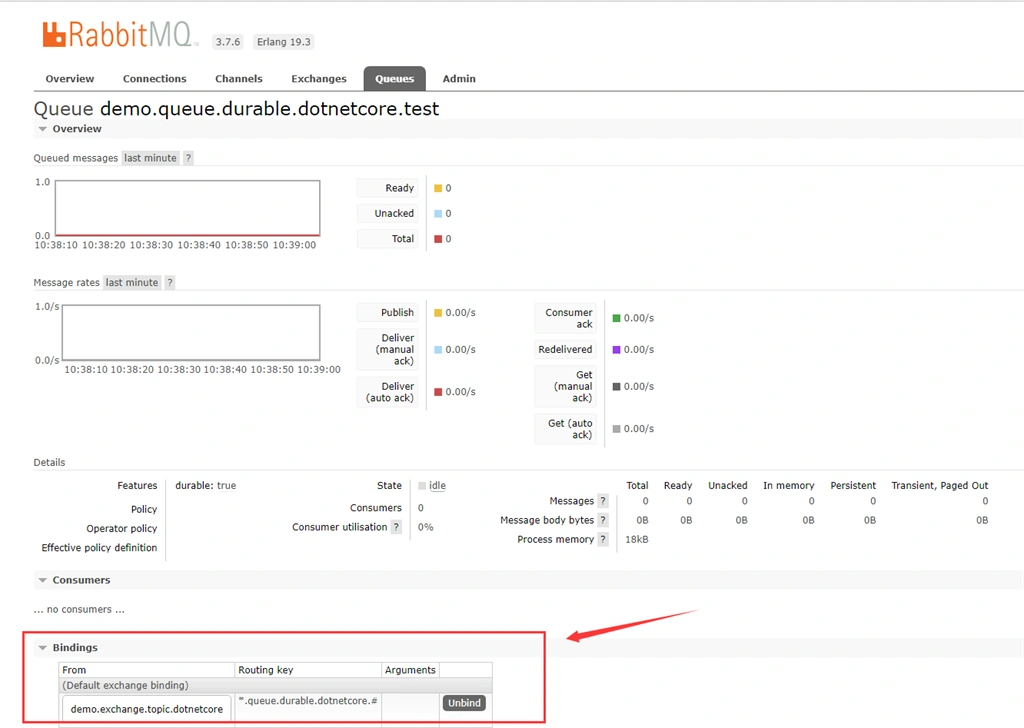
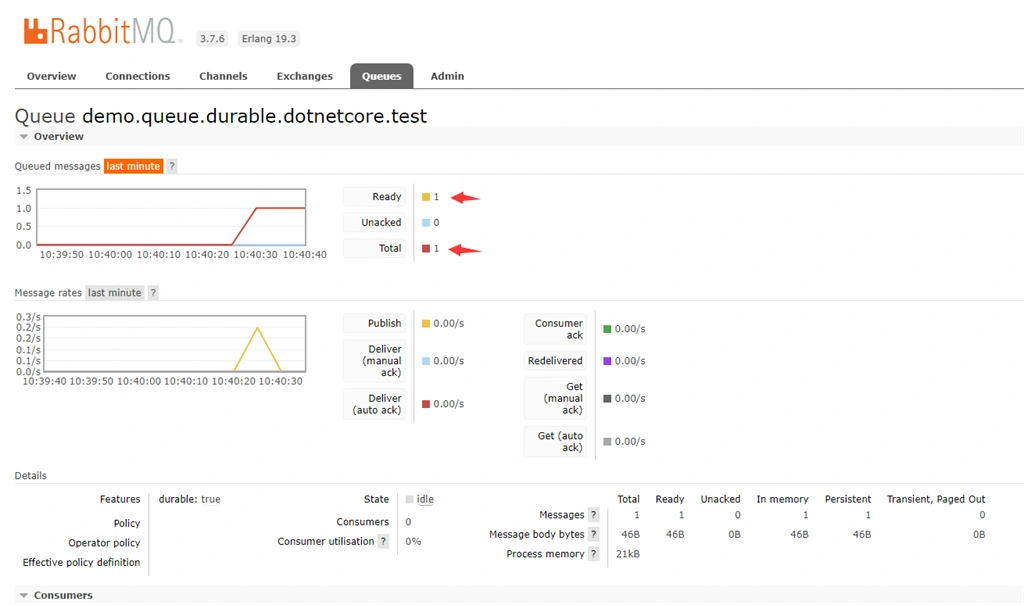
After publishing a message, we can find out if the message is ready.
We can use the GetMessage button to check the message.
Summary
This article showed you how to publish the RabbitMQ message in ASP.NET Core. I hope this will help you!
Tanapoom JaisabayPosted Feb 18, 2021, 9:26 AM
Work for me. Thankyou
Jerzy StacheraPosted Oct 14, 2019, 2:13 AM
Catcher what do you think of using flat buffers to serialize messages?