

Introduction
This is part 2 of the MVVM Mobile App development series.
In this part, we'll discuss navigation in Xamarin forms. We already set up our home page in the previous part. So far, if you haven't seen part 1, you can easily visit the link here.
Okay, so now we'll start part 2.
Step 1
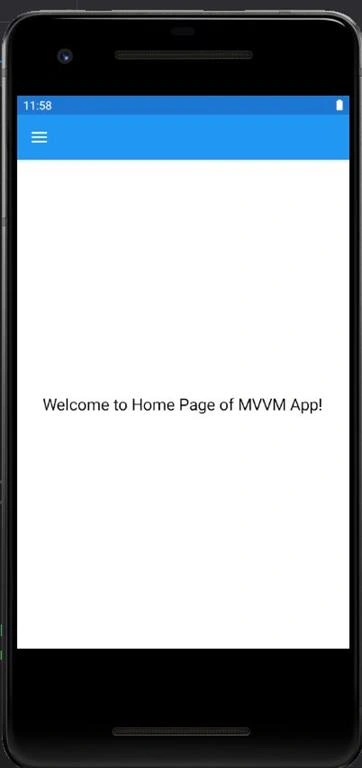
Go to the root directory where you saved your app, open the project, and run your app in the Android emulator. I'm using 'API 29 (Android 10.0)'. You can use any version, but my suggestion is to use this version for better performance. Even though you can use your external Android device, for this you will have to do some configuration. For sure I'll write one blog to set up an external android device with the visual studio when we will discuss Web API and how to connect them to the client-side using the localhost. Finally, we are running our application as shown in the below image.
Step 2
Create a new XAML page and ViewModel class for the existing HomePage.xaml because we have to navigate from the home page to another page. Follow the below steps.
Right-click on Views Folder -> Add -> New Item, under 'visual c# items' Select 'Content Page' and give it a name. I named it NewNavigationPage.xaml.
To create a ViewModel class for the respective XAML page, follow these steps:
Right click on ViewModels folder -> Add -> New Item, under 'visual c# items' select class and name it as HomeViewModel.cs
Follow the same step to create ViewModel class(NewNavigationViewModel.cs) for NewNavigationPage.xaml.
Step 3
Now register the route for the NewNavigationPage in AppShell.xaml.cs
Open AppShell.xaml.cs and update it with the below code:
- using System;
- using System.Collections.Generic;
- using MvvmApp.ViewModels;
- using MvvmApp.Views;
- using Xamarin.Forms;
- namespace MvvmApp
- {
- public partial class AppShell : Xamarin.Forms.Shell
- {
- public AppShell()
- {
- InitializeComponent();
- Routing.RegisterRoute(nameof(ItemDetailPage), typeof(ItemDetailPage));
- Routing.RegisterRoute(nameof(NewItemPage), typeof(NewItemPage));
- Routing.RegisterRoute(nameof(NewNavigationPage), typeof(NewNavigationPage));
- }
- }
- }
Step 4
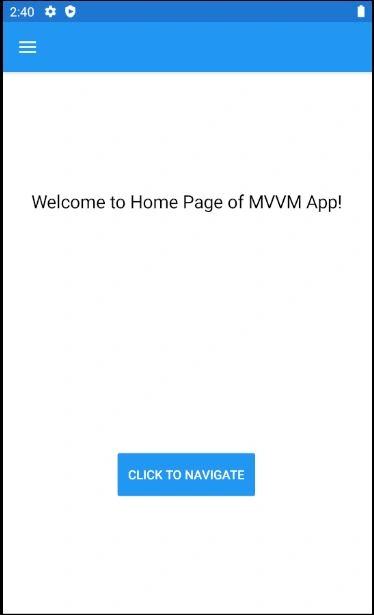
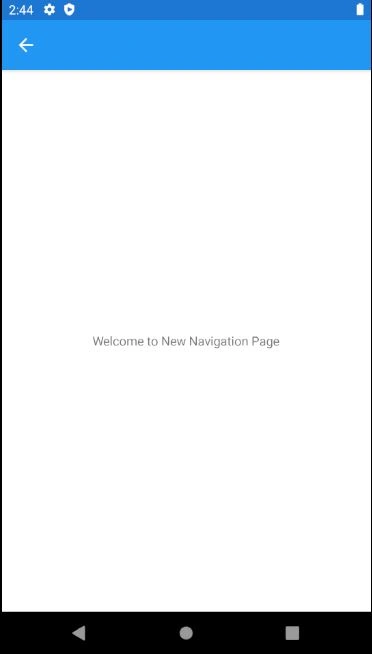
Create a Command to bind it with a button on the XAML page and create one method to perform navigation action in HomeViewModel.cs . Open HomeViewModel.cs and update it with the below code:
- using MvvmApp.Views;
- using System;
- using System.Collections.Generic;
- using System.Text;
- using System.Threading.Tasks;
- using System.Windows.Input;
- using Xamarin.Forms;
- namespace MvvmApp.ViewModels
- {
- public class HomeViewModel
- {
- public ICommand NewNavigationCommand { get; set; }
- public HomeViewModel()
- {
- NewNavigationCommand = new Command(async () => await NewNavigationAction());
- }
- async Task NewNavigationAction()
- {
- await Shell.Current.GoToAsync(nameof(NewNavigationPage));
- }
- }
- }
Join the conversation! Your thoughts help the community grow.