If you are new to ODBC data provider, please try Understanding ODBC .NET Data Provider
To test text database connectivity, I've exported the Employees table of the Northwind database using the File Export option of Access 2000. In this section, I'll export a table to a text file, and I'll show you how to use it using the ODBC data adapter.
Exporting an Access Table to a Text File
You can export an Access database table to a text file using the Export option. As you can see from Figure 1, I select the Employees table and the selected the Export option from the File menu.
Note: You can also select the Export option by right-clicking on the table.
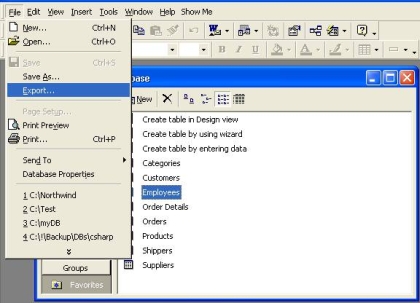
Figure 1. Exporting the Employees table of Northwind.mdb
The next dialog box lets you pick a path and filename you want to export. There are many export options are available. As you can see from Figure 2, I selected the Text Files option, left the exported filename as Employees, and saved the file to the C:\ root directory.
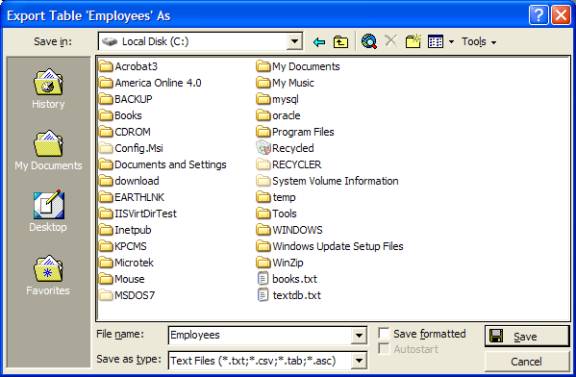
Figure 2. Selecting a path of exported file
Now, the Export Text Wizard lets you define the format of the text file. A dialog box lets you select either delimited or fixed width (see Figure 3).
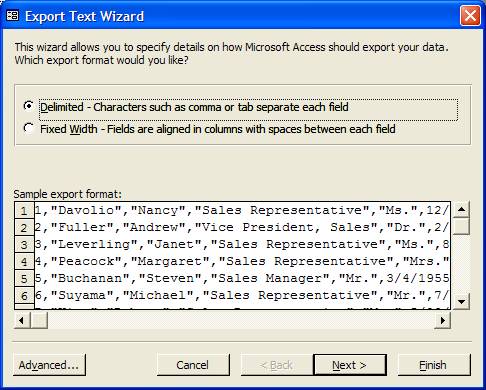
Figure 3. Export Text Wizard options.
You can also select the Advanced option to set more options (see Figure 4).
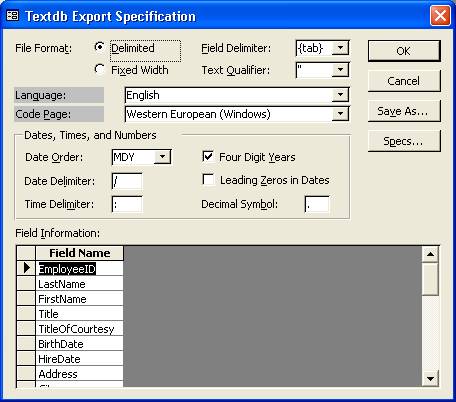
Figure 4. The Advanced option of Export Text Wizard
The next screen lets you pick the delimiter including comma, tab, semicolon, space, and others. I left the Comma option checked (see Figure 5).
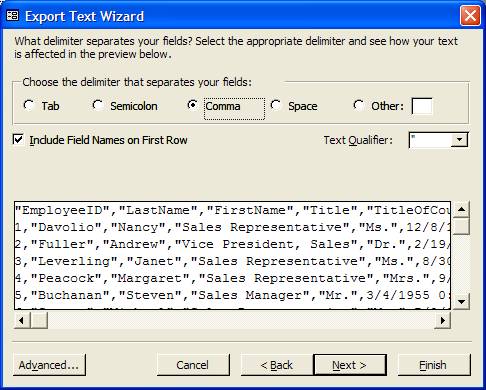
Figure 5. Delimiter options of Export Text Wizard
I also checked the Include Field Names on First Row check box. This option adds the first row of the text file as field names.
The last page asks you the filename (see Figure 6).
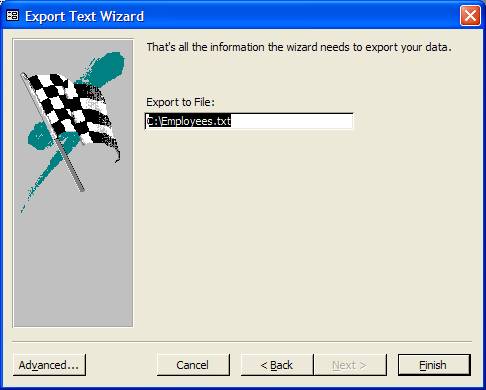
Figure 6. Filename page of the Export Text Wizard
Now click the Finish button. When the wizard done exporting, you'll see a message saying the export is finished. Click OK and close Access.
Now if you view C:\Employees.txt (see Figure 7).
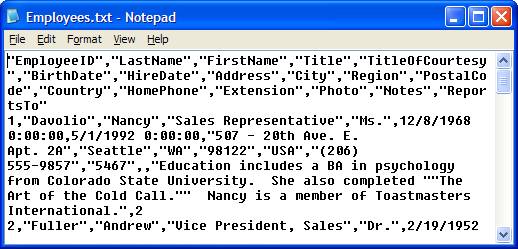
Figure 7. Exported Employees.txt file from Nothwind.mdb
Accessing a Text File
You can access a text file using the ODBC data provider. There are two ways to access text files. Either you can create a DSN from the ODBC Data Source Administrator or you access the text file directly in your application. To create a data source for a text file, you go to ODBC Data Source Admin, click the New button (or the Add button if you're using Windows XP), and select the Microsoft Text Driver (*.txt, *.csv) option (see Figure 8).

Figure 8. Selecting the Microsoft Text Driver (*.txt, *.csv) option
You define the DSN name and description in the ODBC Text Setup dialog box. Uncheck the Use Current Directory option to enable the Select Directory button and click on Options to see more options (see Figure 9).
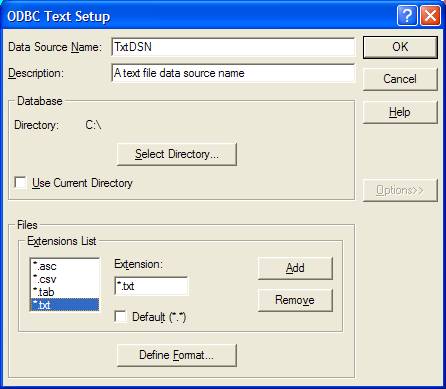
Figure 9. Setting the DSN name and description
After that you select your DSN name. You can select any directory you want to use. An entire text file is used as a database table (see Figure 10).
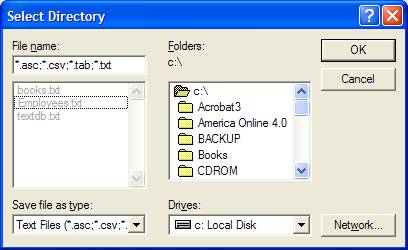
Figure 10. Selection of directory and file types
You can even define different formats by using the Define Format button. As you can see from Figure 11, all files are treated as a database table. From the Format drop-down box, you can select the type of format you want such as comma - or tab - delimited. The Guess button guesses the column names for you. If it doesn't find a proper format file, it creates F1,..Fn columns for you. You can also add, modify, and remove columns and their types.

Figure 11. Defining a text file format and column settings
After creating a DSN, you can use DSN as a connection source for your connection:
OdbcConnection conn = new OdbcConnection("DSN=TxtDSN");
Another way to access text files is directly using the text ODBC driver in the connection string. For example, ConnectionString in the following code defines a connection having the Microsoft Text Driver and source directory as c:\:
// Connection string for a Text File
string ConnectionString = @"Driver={Microsoft Text Driver (*.txt; .csv)};DBQ=c:\";
Every text or .csv file in the C:\ directory will be treated as a database table, which you pass in your SQL string:
OdbcConnection conn = new OdbcConnection(ConnectionString);
OdbcDataAdapter da = new OdbcDataAdapter
("Select * FROM Employees.txt", conn
To test this code, I created a Windows application, dropped a DataGrid control on the form, and used the code shown in Listing 1 on the Form_Load event.
Listing 1. Accessing the TextDB.txt file
private void Form1_Load(object sender, System.EventArgs e)
{
// Connection string for a Text File
string ConnectionString = @"Driver={Microsoft Text Driver (*.txt; .csv)};DBQ=c:\";
// Query the Employees.txt file as a table
OdbcConnection conn = new OdbcConnection(ConnectionString);
conn.Open();
OdbcDataAdapter da = new OdbcDataAdapter("Select * FROM Employees.txt", conn);
DataSet ds = new DataSet();
da.Fill(ds, "TextDB");
dataGrid1.DataSource = ds.DefaultViewManager;
// Close the connection
conn.Close();
}