

Introduction
Normally a Delete button is used to remove unwanted information. Whenever we have unwanted data then we use a delete button. In this article you learn how to disable and enable a delete button in LightSwitch.
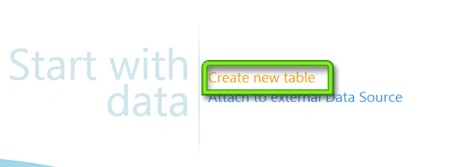
Step 1: Open Visual Studio LightSwitch->File->New->Project->Create new table.
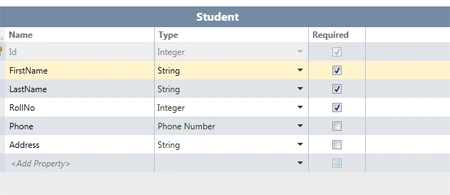
Step 2: Now we will make a table like student.
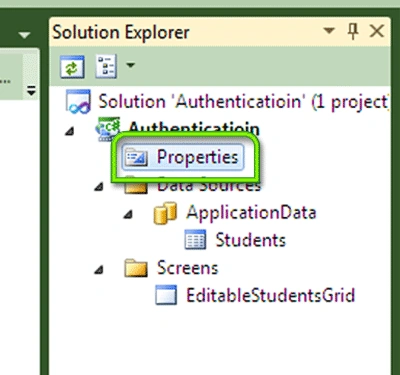
Step 3: Go to Properties in solution explorer.
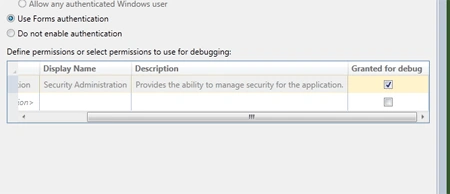
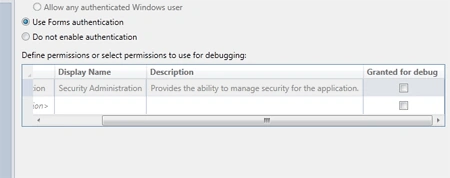
Step 4: Select Use form authentication->Mark Granted for debug.
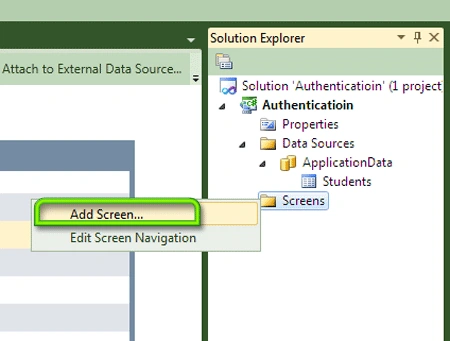
Step 5: Right click on screen->Add screen.
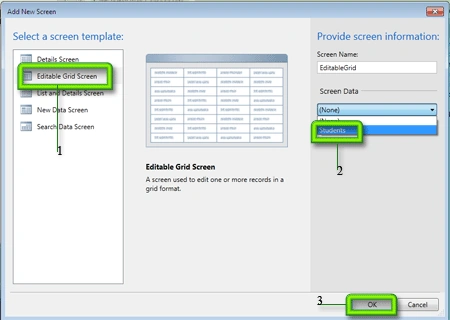
Step 6: Select Editable grid screen->Select screen data (student)->Ok.
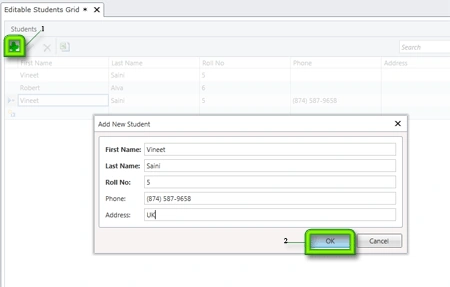
Step 7: Run Application (Press F5)->Click + sign->Fill data->Ok->Save.
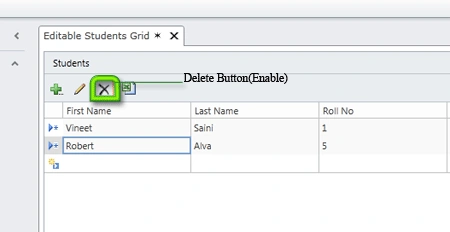
Step 8: Now you can delete any student data using the delete button.
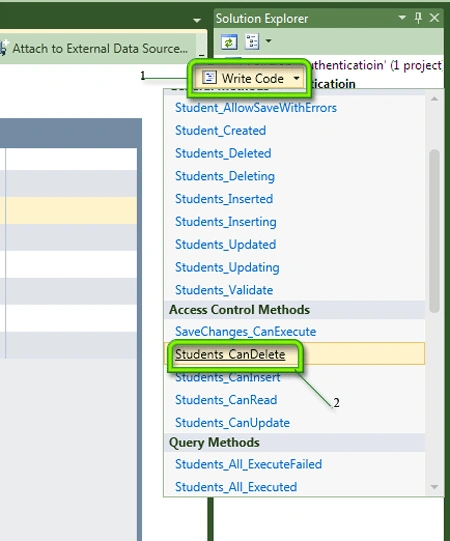
Step 9: If you want to disable the delete button then click write code->Student_CanDelete->Now write the below code.
using System;
using
System.Collections.Generic;
using
System.Linq;
using
System.Text;
using
Microsoft.LightSwitch;
using
Microsoft.LightSwitch.Security.Server;
namespace
LightSwitchApplication
{
public partial
class
ApplicationDataService
{
partial void
Students_CanDelete(ref
bool result)
{
result = this.Application.User.HasPermission(
Permissions.SecurityAdministration);
}
}
}
Step 10: Go to properties in
Solution explorer->Use form authentication->Unmark Granted for debug.
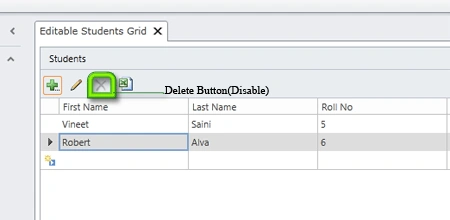
Step 11: Run application (Press F5)->Now you can't delete student data because delete button is disabled.
Summary
A Delete button is very useful for remove unwanted data. Whenever we have we have wrong data the we use a delete button. This article is very useful for enable and disable a delete button in LightSwitch Application.
Join the conversation! Your thoughts help the community grow.