

Introduction
This article describes the procedure to create an Applet using the NetBeans IDE. There are mainly two ways to create an Applet in the NetBeans IDE, they are:
- To simply write the code of the Java applet in the NetBeans Editor and "Run File" as usual.
- Otherwise we can use the GUI Builder to make the task easer than writing long code.
In this article we will be using the GUI Builder to create an Applet siince everyone might be familiar with the traditional method of writing the code and executing it.
Creating Project
The following is the procedure to start a new project:
- Click on "File" -> "New Project".
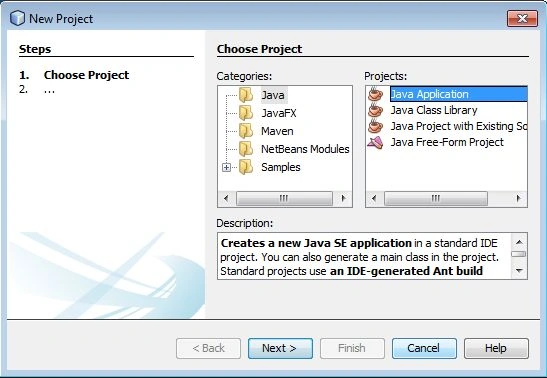
- A wizard named "New Java Application" will appear, write the project name as "NewApplet" and unselect the Create main class checkbox.
- Finally click on the "Finish" button.
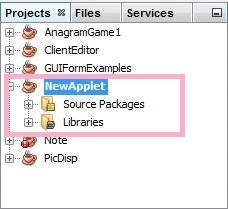
- You will see that your project is added in the project window.
Creating JApplet Form
The following is the procedure to create a jApplet Form:
- In your project window, expand your project node and right-click on the "Source Package" folder.
- Select "New" -> "Other...", then a file named "New File" will appear.
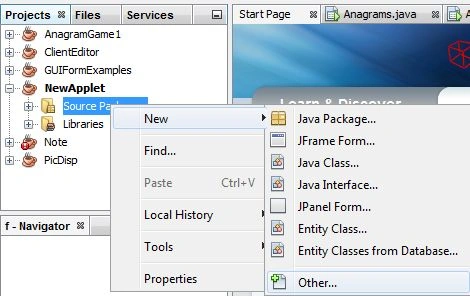
- In that select "Swing GUI Forms" in category and jApplet Form in file type, then click on the "Next>" button.
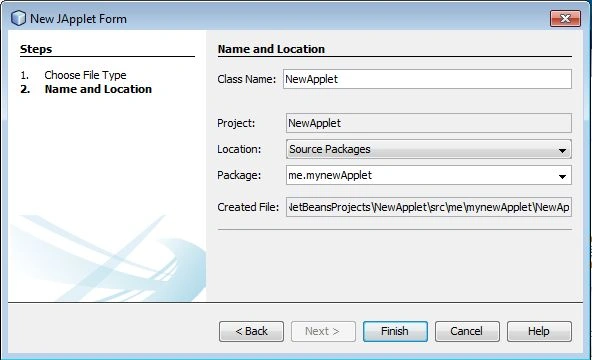
- Now write the class name and package name as indicated in the following screenshot and click on the "Finish" button.
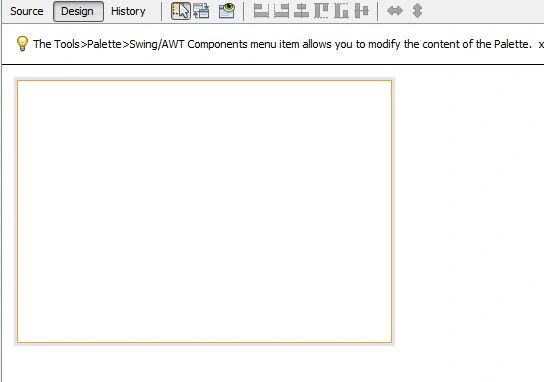
Now you will be able to see the design view of your applet.
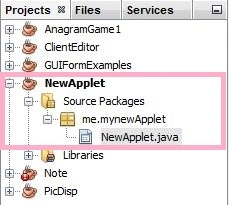
And in the project window the packages that are included are also visible now.
Adding the perfect compiler Version to the project
This step is very important to be applied; to do it, we need to use the following procedure:
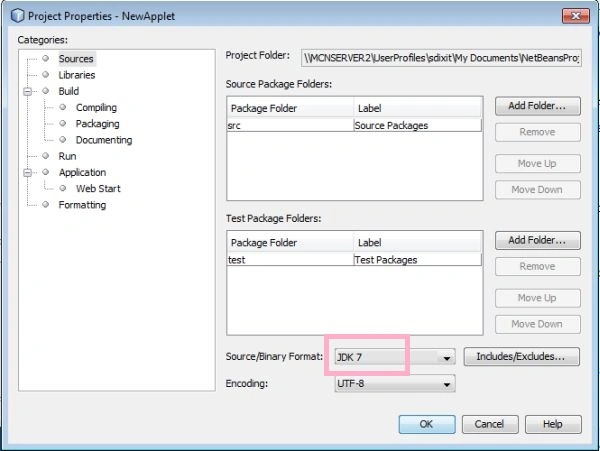
- Right-click on the project and select "Properties".
- Select the Source/Binary Format as JDK 7 and then click on the "Ok" button.
Making the GUI Builder to use the correct Libraries
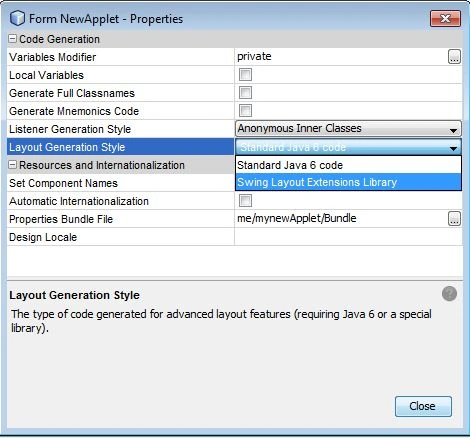
- In the navigator window, right-click on the "Form NewApplet" and go to properties.
- In this properties window set the Layout Generation Style as "Swing Layout Extension Library".
Adding Components to Your Applet
- Choose and add the components to your applet from the palette window.
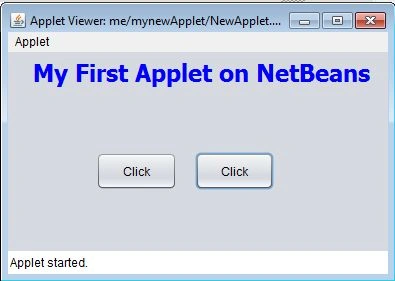
Output Screenshots:
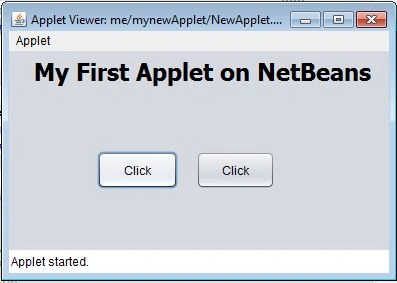
When we click on the first "Click" button:
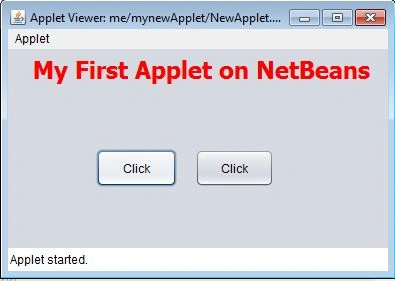
When we click on the second "Click" button:
Abhishek DubeyPosted Sep 20, 2013, 7:59 AM
good
Raj KumarPosted Jul 27, 2013, 4:32 AM
well explained...keep it up