

Background
I have seen many articles in the past few days using a lot of scripting code to capture the screenshots but the .Net Framework capable of doing this type of thin in a few lines of code. So by considering that requirement I decided to write this article especially focusing on beginners and those who want to learn how to capture the screen using ASP.Net and C# without using any scripting language.
Let us see step-by-step how to do this.
Step 1
Create the project as:
- "Start" - "All Programs" - "Microsoft Visual Studio 2010".
- "File" - "New Project" - "C#" - "Empty Project" (to avoid adding a master page).
- Provide the Project name such as CaptureScreenShots or another as you wish and specify the location.
- Then right-click on Solution Explorer and select "Add New Item" then select Default.aspx page.
- One Button
Now the Default.aspx source code will be as follows:
- <%@ Page Language="C#" AutoEventWireup="true" CodeBehind="Default.aspx.cs" Inherits="CaptureScreenShots.Default" %>
- <!DOCTYPE html PUBLIC "-//W3C//DTD XHTML 1.0 Transitional//EN" "http://www.w3.org/TR/xhtml1/DTD/xhtml1-transitional.dtd">
- <html>
- <head id="Head1" runat="server">
- <title></title>
- </head>
- <body bgcolor="Silver">
- <form id="form1" runat="server">
- <br />
- <h2 style="color: #808000; font-size: x-large; font-weight: bolder;">
- Article by Vithal Wadje</h2><br />
- <asp:Label style="color: #808000;" ID="Label1" runat="server" Text="Label"></asp:Label>
- <br />
- <div>
- <br />
- <asp:Button
- ID="Button1" runat="server"
- Text="Capture" onclick="Button1_Click" />
- </div>
- </form>
- </body>
- </html>
Step 2
Add a Reference for a Windows Form to use Screen Class Methods.
We are using the Screen class of Windows Forms to get our requirement that contains the many methods related to screenshots, so we need to add the reference for Windows Forms in our project. To add a reference, right-click on the project as in the following:

After clicking on Add Reference, one window is shown, click the .Net tab and locate the System.Windows.Form namespace and click on OK. We also need to add a namespace to the top of the class file as in the following:
- using System.Windows.Forms;
- using System.Drawing;
- using System.Drawing.Imaging;
Step 3
Create a method to capture the screenshots as in the following:
- public static void Capture(string CapturedFilePath)
- {
- Bitmap bitmap = new Bitmap
- (Screen.PrimaryScreen.Bounds.Width, Screen.PrimaryScreen.Bounds.Height);
- Graphics graphics = Graphics.FromImage(bitmap as System.Drawing.Image);
- graphics.CopyFromScreen(25, 25, 25, 25, bitmap.Size);
- bitmap.Save(CapturedFilePath, ImageFormat.Bmp);
- }
The preceding capture Method takes one parameter, CapturedFilePath, that specifies where to save the captured files. I have saved the files in my E drive, you can also save them on a server folder of the application as you wish.
Now call the receding function on button click as in the following:
- protected void Button1_Click(object sender, EventArgs e)
- {
- Capture( "E:/ScreenShot.bmp");//path to Save Captured files
- }
- using System;
- using System.Drawing;
- using System.Drawing.Imaging;
- using System.Windows.Forms;
- namespace CaptureScreenShots
- {
- public partial class Default : System.Web.UI.Page
- {
- protected void Page_Load(object sender, EventArgs e)
- {
- Label1.Text = "This Screen Shot Taken at "+DateTime.Now.ToString();
- }
- protected void Button1_Click(object sender, EventArgs e)
- {
- Capture( "E:/ScreenShot.bmp");//path to Save Captured files
- }
- public static void Capture(string CapturedFilePath)
- {
- Bitmap bitmap = new Bitmap
- (Screen.PrimaryScreen.Bounds.Width, Screen.PrimaryScreen.Bounds.Height);
- Graphics graphics = Graphics.FromImage(bitmap as System.Drawing.Image);
- graphics.CopyFromScreen(25, 25, 25, 25, bitmap.Size);
- bitmap.Save(CapturedFilePath, ImageFormat.Bmp);
- }
- }
- }

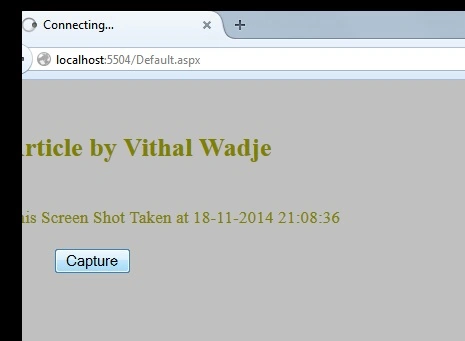
Now click on the capture button, then the screenshot will be saved into the E drive as my given path, the screenshot will look such as follows:
Similarly, you can capture any part of the System, just minimize the browser window of our application and click on the capture button, it will capture the screenshot such as follows:
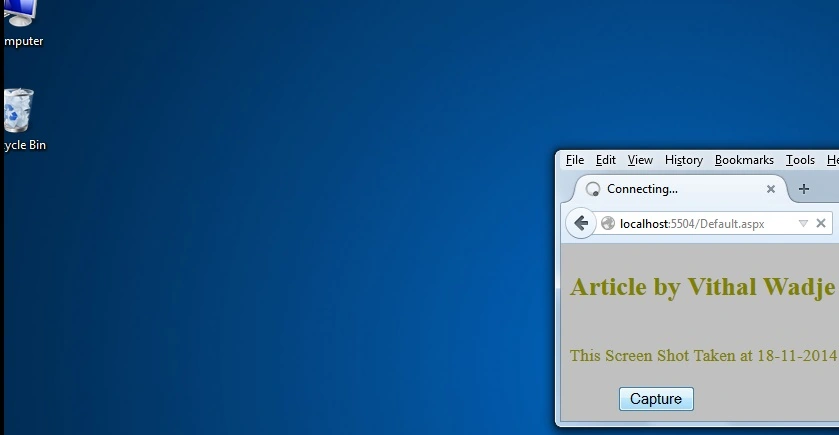
As you have seen above, I have captured a screenshot of my desktop. Similarly, you can capture any part of the system.
Notes
- Download the Zip file from the attachment for the full source code of the application.
- Don't forget to specify the location for the captured file.
- Don't forget to add the reference of Windows.Form.
I hope this article is useful for all readers, if you have any suggestion then please contact me including beginners also.
Bushra khanPosted Oct 25, 2025, 8:02 AM
How to add a asp.net web forms guide with screen shoots
Sumit PatiPosted Nov 11, 2019, 5:02 AM
Working fine in localhost not in server.
Jitendra RajputPosted Jul 24, 2019, 1:55 AM
This code is not working for this url
priyanka topiwalaPosted Dec 10, 2017, 4:15 AM
Can i do this same to store captured image on server in windows form application?
Sadwik ParvathaneniPosted May 23, 2017, 10:24 AM
Code is not working in IIS
Vithal WadjePosted Jan 9, 2016, 4:24 AM
make sure proper references added or not
Divya RPosted Jan 8, 2016, 11:58 PM
bitmap.Save(CapturedFilePath, ImageFormat.Bmp); this line showing error: A generic error occurred in GDI+.
Sarath JasrinPosted Sep 24, 2015, 2:57 AM
A generic error occurred in GDI+. I tried your project file.
Vithal WadjePosted Apr 7, 2015, 1:02 PM
thanks ,working fine my side.send me your code i will check
ahemd ahmedPosted Apr 7, 2015, 10:32 AM
it's working very well over asp.net but not working over iis any advice
Vithal WadjePosted Nov 19, 2014, 11:42 AM
thanks sir
Damodara NaiduPosted Nov 19, 2014, 9:25 AM
really nice
Vithal WadjePosted Nov 18, 2014, 9:57 PM
thanks
Jeetendra GundPosted Nov 18, 2014, 8:54 PM
Nice article and good explanation!!!