

Introduction
SQL connectivity is more important to access data in wide applications. It provides the best solution for data access in a class. It enables the development of high performance applications in various widely applications.
Use the following procedure to create a sample of connectivity of SQL Server.
Step 1: Open the QlikView application
It is the first step, in this step you need to open the QlikView application then go to File-> New then this window will be opened.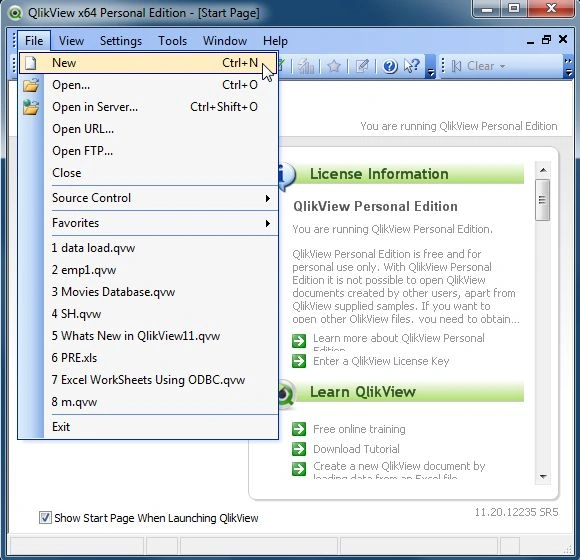
Step 2: Open Edit Script
The second step is to open the edit script window from:
File-> Edit Script.
Then this window will be opened.
Step 3: Select Database
The third step is to select the database from the data tab and click on the Connect Button.
Step 4: Data link property window: In this window we select the SQL Server and click on the Next Button.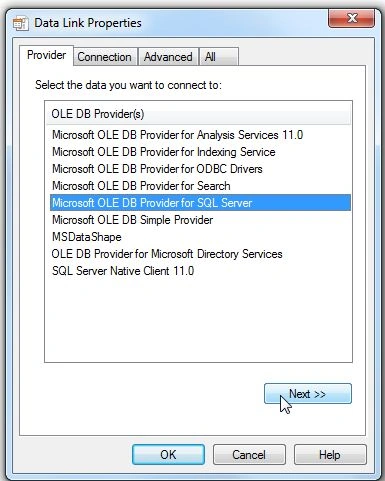
Step 5: Connection tab
In the connection tab, you enter the server name and user name and password and select the database from your server and click on Test Connection.
- Then you find that the test connection has succeeded and click on the OK button.
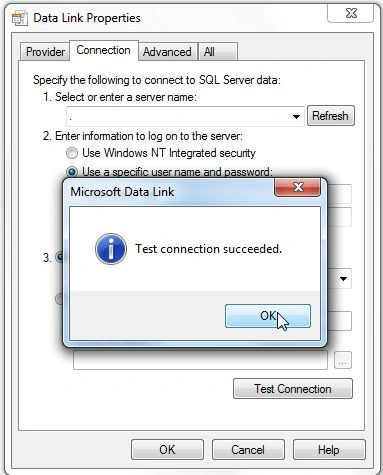
- Then click on the OK button.
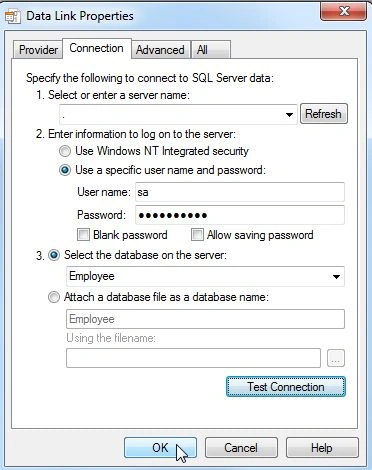
Step 6: SQL Server login
Then they require a SQL Server login so you enter a valid login id and password and click on the OK button.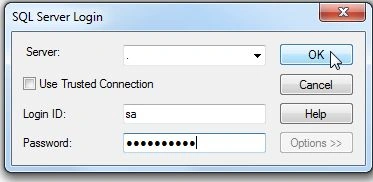
- Then this window will be opened.

Step 7: Create select statement
When we click on the Select button on the data tab then this window will be opened.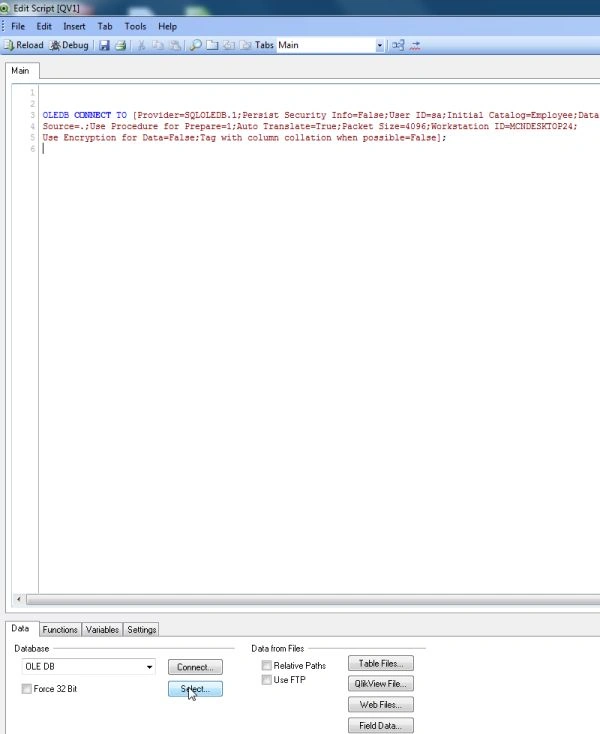
- Then this window will be opened and click on the OK button.
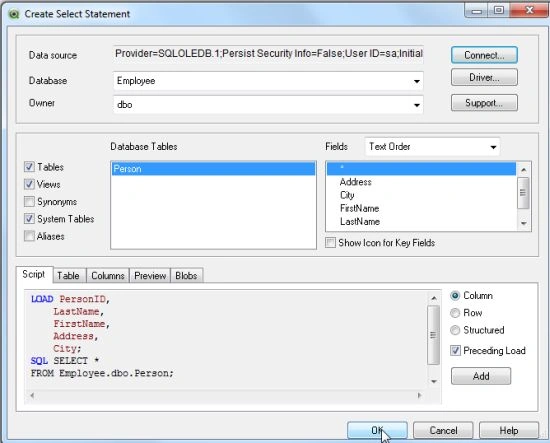
Step 8: Code of edit script
After login to the SQL Server, the edit script window will be opened and reload it.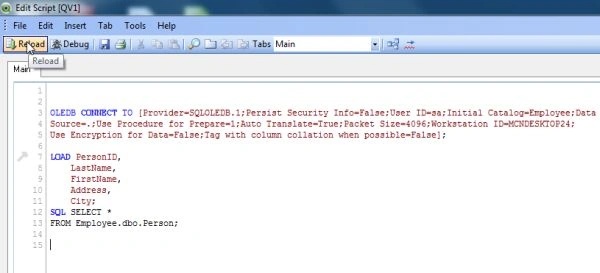
Step 9: Save QlikView file: After reloading the edit script, the next step is to save the QlikView file and click on the Save button.
Step 10: Script execution progress
Then the script execution progress window will be opened and requires a login Id and password and click on the OK button..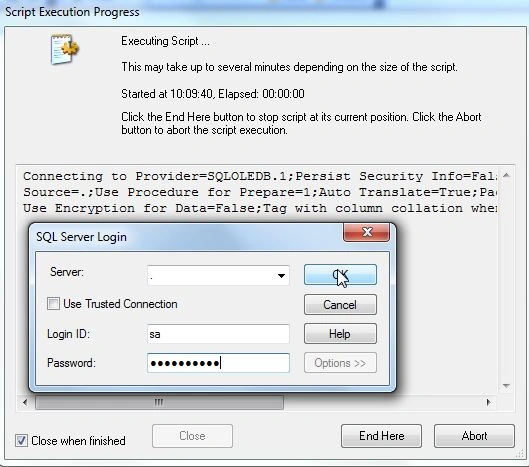
Step 11: Sheet property Window
After this process, the sheet property window will be opened. If you want to add a field then select a field from the available fields and click on the OK button.
- Then this window will be opened:

Step 12: Final Window: Then it shows the following final window:
Summary
This article describes how to connect to SQL Server in a QlikView application and also introduces why SQL Server connectivity is important for widely applications.
Join the conversation! Your thoughts help the community grow.