

See in the following:
- Add a ContentQueryWebpart to the page.
- Click on editwebpart and choose your list or Document Library from which you want to show your data.
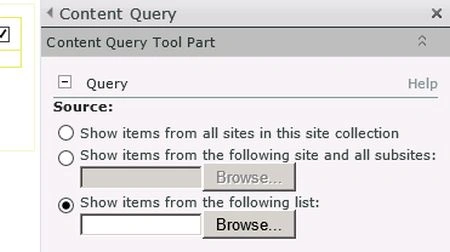
- Export the Document Library.
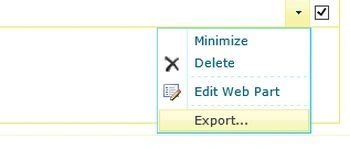
- Download this .webpart file and open it in Visual Studio.
- Find the CommonViewField Property and enter the Internal name of the Document Library column that you like to display. Then save this file.
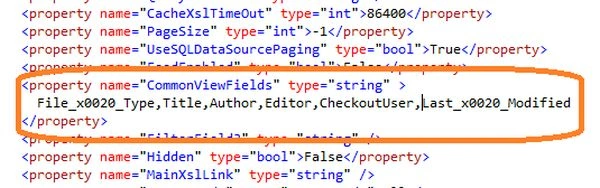
- Go to the page and uplode this .webpart file and add this to the page.
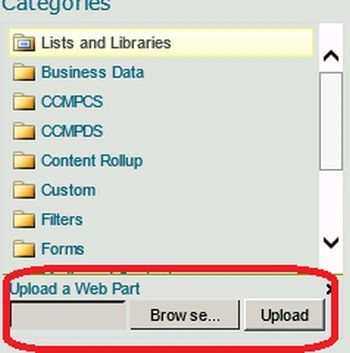
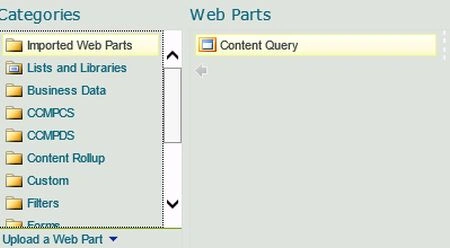
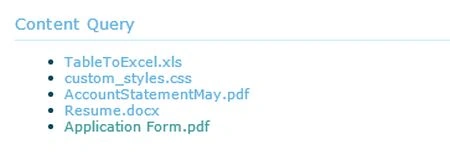
- Next open SharePoint Designer and navigate to:
AllFiles->StyleLibrary->XSL Style Sheet->ItemStyle.xsl
- Add the following code just above the </xsl:StyleSheet> and give a name to it.
Here the name is TitleOnlyWithIcon.
- <xsl:template name="TitleOnlyWithIcon" match="Row[@Style='TitleOnlyWithIcon']" mode="itemstyle">
- <xsl:variable name="SafeLinkUrl">
- <xsl:call-template name="OuterTemplate.GetSafeLink">
- <xsl:with-param name="UrlColumnName" select="'LinkUrl'"/>
- </xsl:call-template>
- </xsl:variable>
- <xsl:variable name="DisplayTitle">
- <xsl:call-template name="OuterTemplate.GetTitle">
- <xsl:with-param name="Title" select="@Title"/>
- <xsl:with-param name="UrlColumnName" select="'LinkUrl'"/>
- </xsl:call-template>
- </xsl:variable>
- <xsl:variable name="LinkTarget">
- <xsl:if test="@OpenInNewWindow = 'True'" >_blank</xsl:if>
- </xsl:variable>
- <div class="item link-item">
- <!-- Here comes the icon -->
- <div style="background-color:rgb(242, 242, 242);height:25px">
- <span class="icon">
- <img src="/_layouts/images/{ddwrt:MapToIcon(string(@HTML_x005F_x0020_File_x005F_x0020_Type),string(@File_x005F_x0020_Type))}" alt="{@DocIcon}" style="vertical-align: middle;margin-right:4px" />
- </span>
- <a href="{$SafeLinkUrl}" target="{$LinkTarget}" title="{@LinkToolTip}">
- <xsl:value-of select="$DisplayTitle"/>
- </a>
- </div>
- <table style="margin-left:10px !important">
- <tr>
- <td>
- Name
- </td>
- <td>
- :
- </td>
- <td>
- <xsl:call-template name="OuterTemplate.GetTitle">
- <xsl:with-param name="Title" select="@Title"/>
- <xsl:with-param name="UrlColumnName" select="'LinkUrl'"/>
- </xsl:call-template>
- </td>
- </tr>
- <tr>
- <td>
- Author
- </td>
- <td>
- :
- </td>
- <td style="margin-left:40px !important">
- <div class="description">
- <xsl:value-of select="@Author" />
- </div>
- </td>
- </tr>
- <tr>
- <td>
- Editor
- </td>
- <td>
- :
- </td>
- <td style="margin-left:40px !important">
- <div class="description">
- <xsl:value-of select="@Last_x0020_Modified " />
- </div>
- </td>
- </tr>
- </table>
- </div>
- </xsl:template>
- Modify the <xsl:Value-of > based on your column internal name that you want to display and save this file.
Note: only the column name given in .the webpart page that we have uploaded will be available here.
- Now go to the webpart page and click the edit webpart and open the Presentation section.
Select the ItemStyle dropdown. You will find the name “TitleOnlyWithIcon” that we created in Step 8.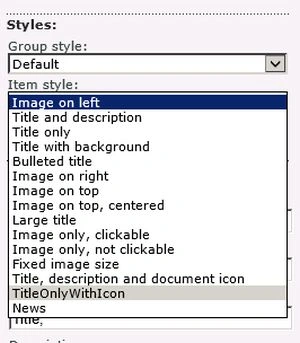
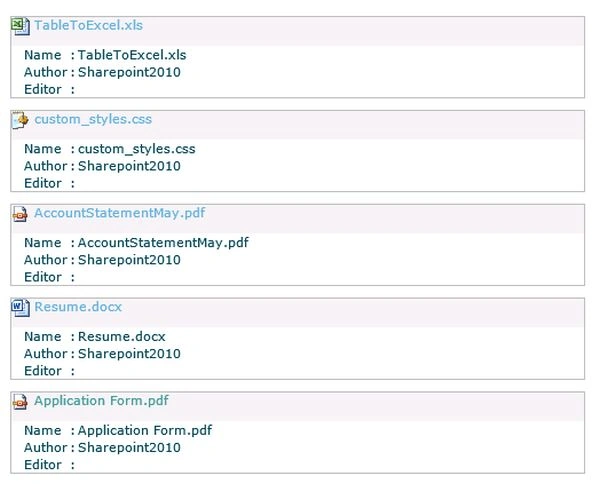
- Select TitleOnlyWithIcon and click OK and you will get this.
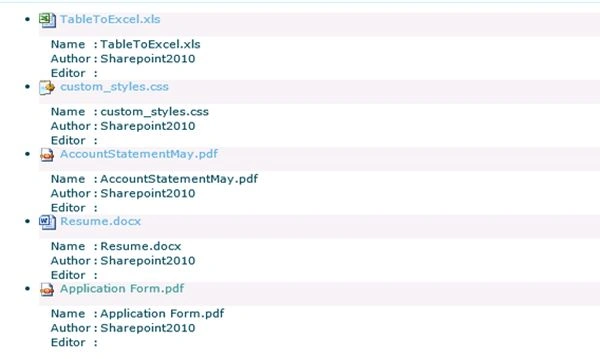
- Then click on the edit page and open the HTML Source.

- Add this CSS at the start and save it.
- <style>
- .ExternalClass256C53619A0D4194B4662B09B7F799ED .dfwp-item {
- MARGIN-BOTTOM: 10px; BORDER-TOP: #bfbfbf 1px solid; BORDER-RIGHT: #bfbfbf 1px solid; BORDER-BOTTOM: #bfbfbf 1px solid; BORDER-LEFT: #bfbfbf 1px solid; WIDTH: 500px
- }
- .ExternalClass256C53619A0D4194B4662B09B7F799ED UL {
- LIST-STYLE-TYPE: none
- }</style>
- Finally you will get this.
Join the conversation! Your thoughts help the community grow.