

Introduction
This article shows how to remove a DOM element using jQuery. I hope you will like it.
Background
I know we are all working on the client-side technologies, especially in jQuery. Sometimes we may need to write more client-side code rather than server-side code. In that case, you may need to remove some DOM elements pragmatically. Here I will provide you a demo of how to satisfy this requirement.
Using the code
To start with, as you all know we need to load the jQuery reference.
- <script src="https://code.jquery.com/jquery-2.1.4.min.js"></script>
Once you load the reference you are ready to go.
Since this is a demo, we will explain with a procedure. Sounds good? So we will do the following.
- Add the elements to the DOM
- Delete the DOM elements using the .remove(), .get() functions
Add the elements to the DOM
We need to set our UI first, right?
- <body id="body">
- Remove a DOM element from the UI using JQuery- Sibeesh Passion
- <br/>
- <br/>
- <p id="addMe">Generate 10 Elements</p>
- </body>
Add CSS
- <style>
- p {
- color: red;
- width: 170px;
- cursor: pointer;
- border: 1px solid #ccc;
- text-align: center;
- }
- #deleteMe {
- color: white;
- width: 170px;
- cursor: pointer;
- border: 1px solid #ccc;
- text-align: center;
- background-color: blue;
- }
- </style>
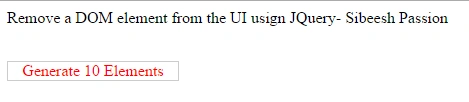
So we have set our UI and now if you run your page you can see the output as follows.
Now we will add the necessary scripts.
- < script > $(document).ready(function() {
- $("#addMe").click(function() {
- var html = '<table>';
- for (var i = 1; i <= 10; i++) {
- html += "<tr><p>My Elements</p></tr>";
- }
- html += '</table>';
- $('#body').append(html).append('<div id="deleteMe">Delete 5 Elements</div>');
- $("#addMe").hide();
- });
- $(document).on('click', '#deleteMe', function() {
- for (var i = 1; i <= 5; i++) {
- $('#body').find('p').get(i).remove();
- }
- $("#addMe").hide();
- $("#deleteMe").hide();
- });
- }); < /script>
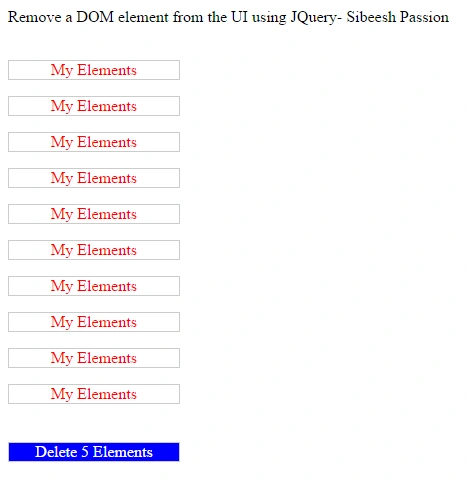
As you can see, we are adding elements to the DOM with a loop. Once you run the page you can see the output as follows.
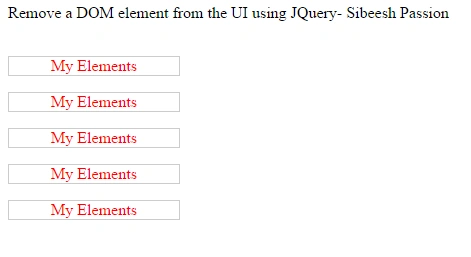
And once you click on the “Delete 5 Elements” button, 5 DOM elements will be deleted.
The following code block describes how to use the .remove() function.
- $('#body').find('p').get(i).remove();
- <html>
- <head>
- <title>emove a DOM element from the UI usign JQuery- Sibeesh Passion</title>
- <style>
- p {
- color: red;
- width: 170px;
- cursor: pointer;
- border: 1px solid #ccc;
- text-align: center;
- }
- #deleteMe {
- color: white;
- width: 170px;
- cursor: pointer;
- border: 1px solid #ccc;
- text-align: center;
- background-color: blue;
- }
- </style>
- <script src="https://code.jquery.com/jquery-2.1.4.min.js"></script>
- </head>
- <body id="body">
- Remove a DOM element from the UI using JQuery- Sibeesh Passion
- <br/>
- <br/>
- <p id="addMe">Generate 10 Elements</p>
- <script>
- $(document).ready(function() {
- $("#addMe").click(function() {
- var html = '
- <table>';
- for (var i = 1; i <= 10; i++) {
- html += "
- <tr>
- <p>My Elements</p>
- </tr>";
- }
- html += '
- </table>';
- $('#body').append(html).append('
- <div id="deleteMe">Delete 5 Elements</div>');
- $("#addMe").hide();
- });
- $(document).on('click', '#deleteMe', function() {
- for (var i = 1; i <= 5; i++) {
- $('#body').find('p').get(i).remove();
- }
- $("#addMe").hide();
- $("#deleteMe").hide();
- });
- });
- </script>
- </body>
- </html>
Conclusion
I hope you will like this article. Please share with me your valuable thoughts and comments. Your feedback is always welcomed.
Thanks in advance. Happy coding!
Santhakumar MunuswamyPosted Jul 3, 2015, 3:08 PM
Thanks for nice article.:)
Manoj KulkarniPosted Jul 1, 2015, 10:56 PM
Nice article. Thank you for sharing
Sibeesh VenuPosted Jul 1, 2015, 1:35 PM
Gopi Chand thank you
Sibeesh VenuPosted Jul 1, 2015, 1:34 PM
Debasis Saha thank you
Sibeesh VenuPosted Jul 1, 2015, 1:34 PM
Vipul Malhotra thank you
Gopi ChandPosted Jul 1, 2015, 1:24 PM
Nice one
Debasis SahaPosted Jul 1, 2015, 10:36 AM
Good one
Vipul MalhotraPosted Jul 1, 2015, 10:10 AM
Great...Thanks for sharing
Sibeesh VenuPosted Jul 1, 2015, 9:53 AM
Upendra Pratap Shahi Thank you :)
Upendra Pratap ShahiPosted Jul 1, 2015, 8:40 AM
again a big blast Sibeesh Venu....nice demonstration..