

Introduction
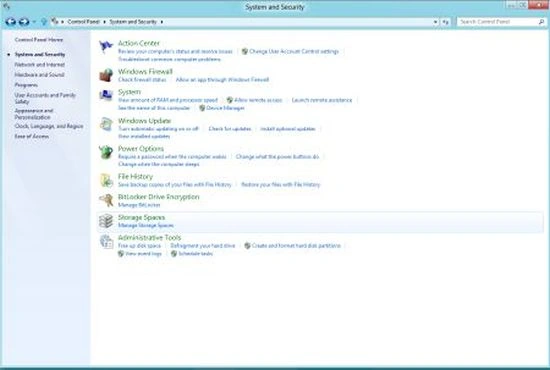
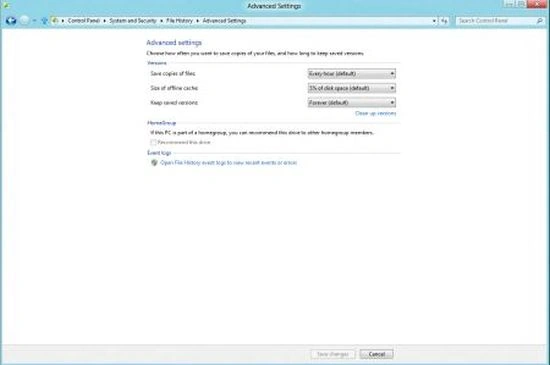
In this article, I will explain Backup your Files using File History. The Backup and Restore features are available in Control Panel for example Backup and Restore in Windows 7. You have a file and folder where you want to store your backup. You can move your library or create a new library. The Windows 8 Consumer Preview replaces it with File History as shown in the screenshot below. File history is a new feature of File Backup and Restore in Windows 8. The File History Backup replaces the old previous version. The File History did not support extra file backup. It is the most important feature. The File History can be accessed only from the Control Panel view.
The File History has features to automatically detect when an external storage device is plugged in. File History combines the old Windows functionality with the time machine and can easily restore multiple versions of old files. The Windows Backup existed in Windows 7. So it is now called Windows 7 File Transfer. There are two versions of Remote Desktop Client; one is Metro UI and the second is classic Remote Desktop Client. File History starts moving data to a new target. If you want to change the location from an external storage device to a network device when you restore your File Backup, then choose to Restore Personal file option in the navigation bar and choose the file to be restored to the original locations.
File History - Create Backup
Choose You to want on your Desktop and Backup Libraries, Contact
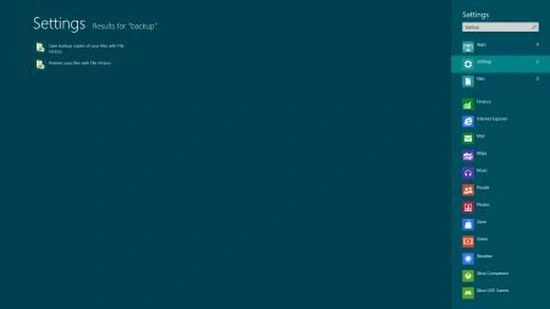
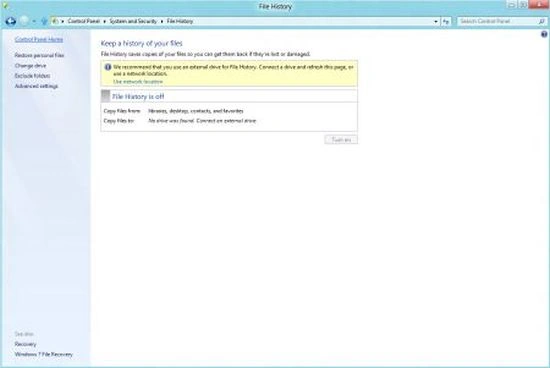
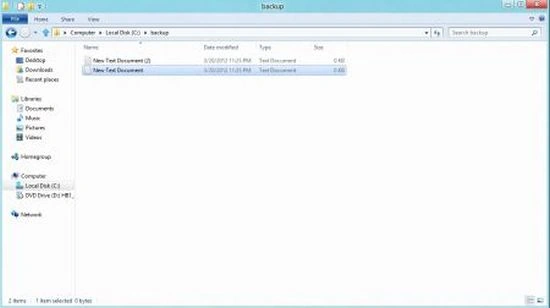
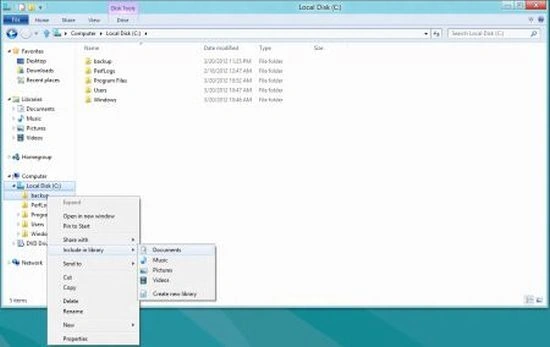
First, open the Control Panel and then select the File History. You can search for "backup" in the setting from the charms bar in Metro UI and select the save backup copies with File History.
You can use the external device or network location to turn on File History.
Deepak DwijPosted Mar 24, 2012, 7:48 AM
Nice way to represent the concept. Thanks for Sharing