
Introduction
GTK# applications are written using MonoDevelop, which provides a visual designer for creating GTK# GUIs.
Step 1: Open MonoDevelop.
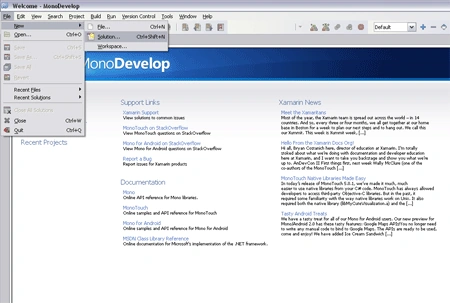
Step 2: Click on File menu.
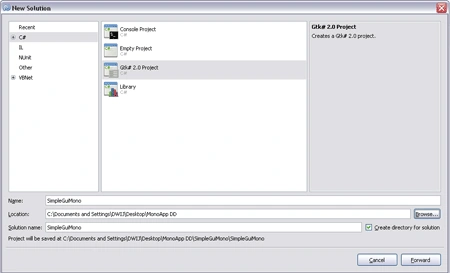
Step 3: Select the C# and Gtk# 2.0 Project.
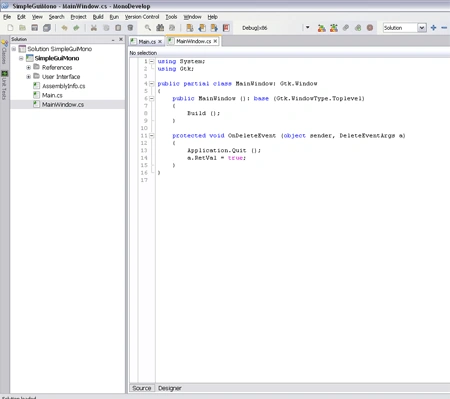
Step 4: Select MainWindow.cs and go to the Designer.
Step 5: Select vbox from ToolBox.
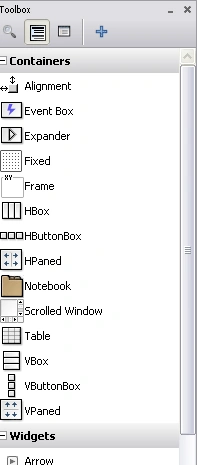
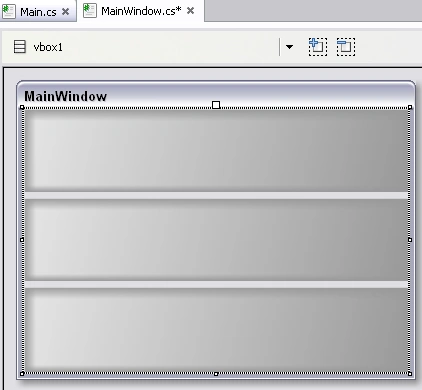
Step 6: Select Menu Bar and Toolbar from ToolBox.
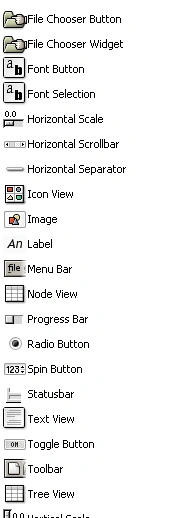
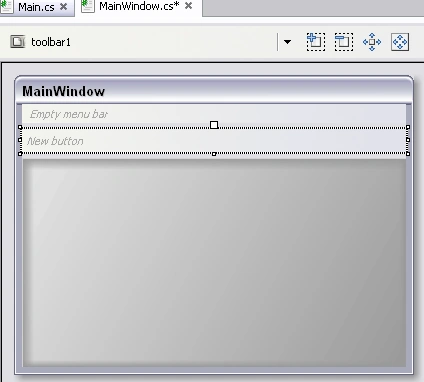
Step 7: Go to Empty menu bar in Main Window and create File menu.
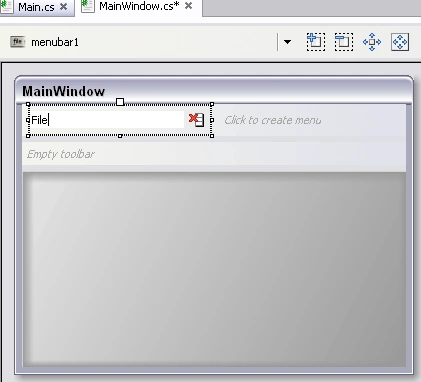
Add Gtk new.
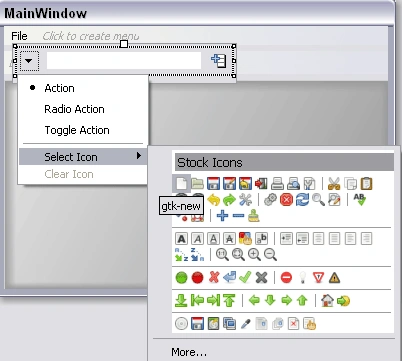
Same for other Adding file menu Items.
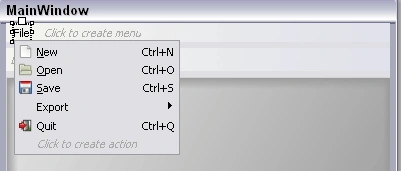
Step 8: Again Click to Menu Bar and Create Edit.
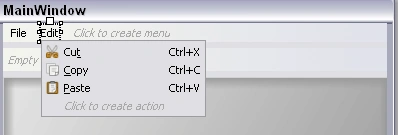
Step 9: Go to ToolBox and Access Actions/Default.
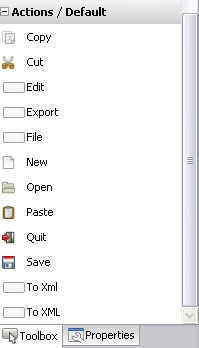
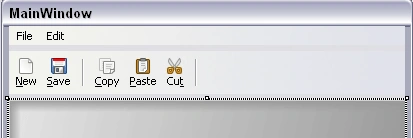
Drag n drop New, Save put separator After and Drag drop cut, copy and Paste.
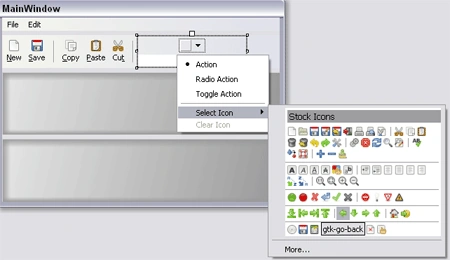
Add gtk go-back and gtk go-forward.
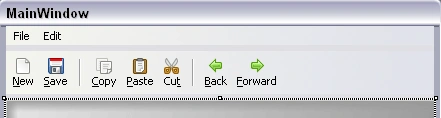
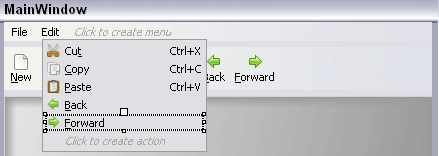
Step 10: Add goBackAction and goForwardAction from ToolBox to Edit Menu.
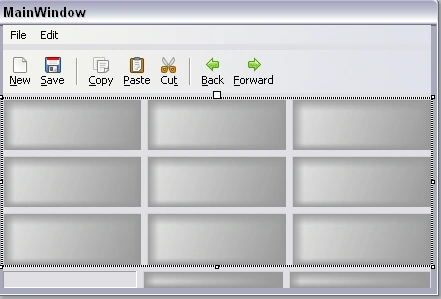
Step 11: Drag n drop Status Bar and Table form ToolBox.
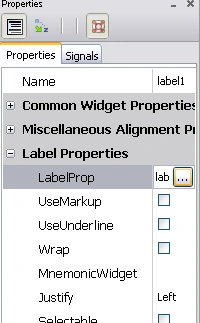
Put 3 label in Table of Main Window and Rename them.
Drag n drop 3 entry from ToolBox and Delete the extra column.
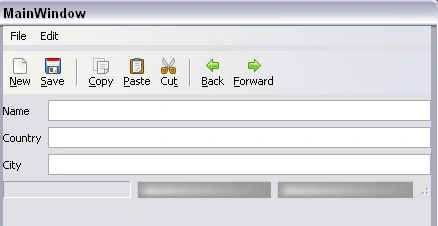
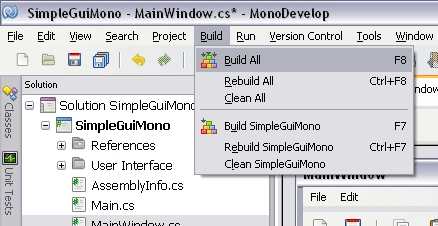
Step 12: Build the application.
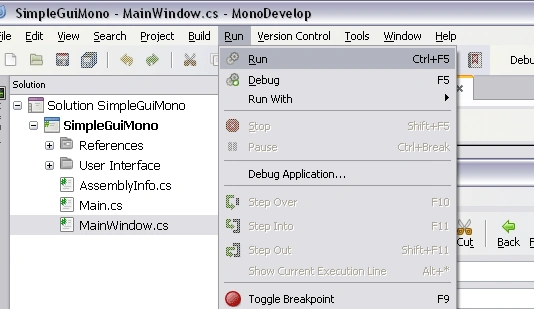
Run
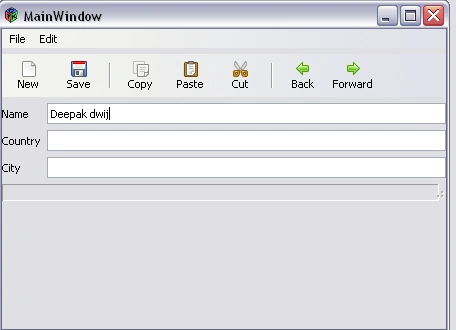
Output

Join the conversation! Your thoughts help the community grow.