

Introduction
Parts of list
- Arduino Mega2 560
- Bluetooth (HC05)
- Breadboard
- Hookup wires
Software required
Connection:
Step 1: Connection from the Bluetooth (HC05) to the Arduino Mega 2560.
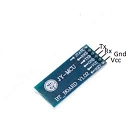 Figure1: Bluetooth(HC05)
- In the Bluetooth the Vcc can be connected to the 5v supply of the Arduino Mega board.
- In the Bluetooth the Gnd can be connected to the Gnd supply of the Arduino Mega board.
- In the Bluetooth the Tx can be connected to the Rx of the Arduino Mega board.
- In the Bluetooth the Rx can be connected to the Tx of the Arduino Mega board.
Step2: Connection from the LED to the Arduino Mega2560.
- The positive pin of the LED can be connected to the digital pin 13 to the Arduino Mega board.
- The negative pin of the led can be connected to the Gnd to the Arduino Mega board.
Software steps:
- Open the MIT App Inventor
- Click Start, then a new project
- Design the Bluetooth connection in the app inventor.
- Click the toolbar and add the buttons and set the device of the Bluetooth.
- In the program set the code and click the connect, than Al companion.
- Scan the code and see the output on the board.
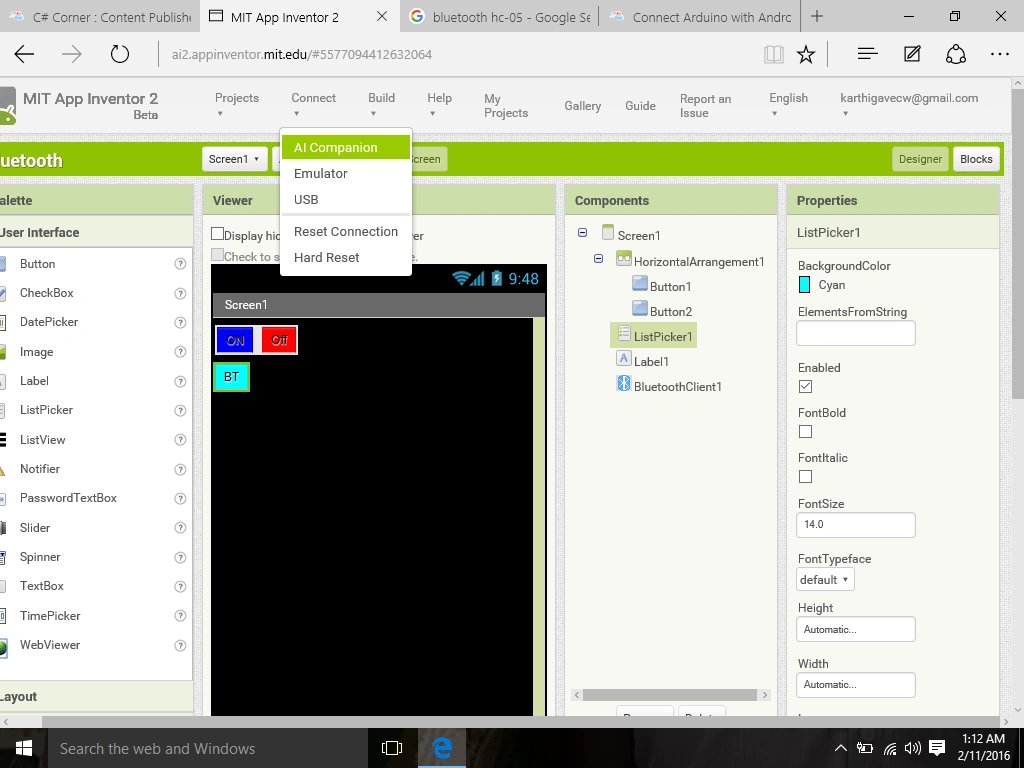
Programming
- int led - turn - on - off - in -bluetooth - using - android - apps - in -arduinompin = 13;
- String readString;
- void setup()
- {
- Serial.begin(9600); // Baud Rate
- pinMode(led - turn - on - off - in -bluetooth - using - android - apps - in -arduinompin, OUTPUT);
- }
- void loop()
- {
- while (Serial.available()) //Send data only when you receive data
- {
- delay(4); //delay time
- char c = Serial.read();
- readString += c;
- }
- if (readString.length() > 0)
- {
- Serial.println(readString);
- if (readString == "ON")
- {
- digitalWrite(led - turn - on - off - in -bluetooth - using - android - apps - in -arduinompin, HIGH); // LED ON
- }
- if (readString == "OFF")
- {
- digitalWrite(led - turn - on - off - in -bluetooth - using - android - apps - in -arduinompin, LOW); //LED OFF
- }
- readString = "";
- }
- }
Explanation
- In this article it can work through the Android and Bluetooth set up.
- The LED turns on clicking the ON button.
- The LED turns off clicking the OFF button.
- In another case, we can see the LED on/off in the serial monitor also.
Output
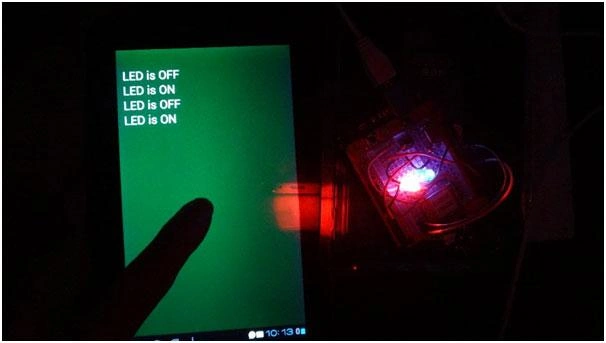
Figure 3: Output
Read articles on Arduino:
Sr KarthigaPosted Feb 29, 2016, 7:42 PM
thank you asfend sir
Asfend YarPosted Feb 29, 2016, 2:23 PM
good
Sr KarthigaPosted Feb 24, 2016, 7:49 PM
Thank you vignesh mani sir
Vignesh ManiPosted Feb 24, 2016, 6:13 PM
Nice
Sr KarthigaPosted Feb 13, 2016, 4:21 AM
Thank you santhakumar sir
Santhakumar MunuswamyPosted Feb 13, 2016, 3:00 AM
Thanks for nice share
Sr KarthigaPosted Feb 12, 2016, 1:38 AM
Thank you sir
Sibeesh VenuPosted Feb 12, 2016, 12:37 AM
Nice Share
Sr KarthigaPosted Feb 11, 2016, 7:27 PM
Thank you Mohammed sir
Mohammed IbrahimPosted Feb 11, 2016, 1:16 PM
nice
Sr KarthigaPosted Feb 11, 2016, 10:42 AM
Thank you gowtham sir
Gowtham KPosted Feb 11, 2016, 10:30 AM
Good One
Sr KarthigaPosted Feb 11, 2016, 9:53 AM
Thank you raja sir
Raja TPosted Feb 11, 2016, 8:16 AM
Nice, Thanks for sharing
Sr KarthigaPosted Feb 11, 2016, 8:08 AM
Thank you shubham sir
Shubham KumarPosted Feb 11, 2016, 7:38 AM
Nice one
Sr KarthigaPosted Feb 11, 2016, 7:10 AM
Thank you kumaresh sir
Kumaresh RajalingamPosted Feb 11, 2016, 7:10 AM
Good one