

Step 1
Open Expression Blend 4 -> select WPF -> select WPF Application, change the Name and Location accordingly -> hit OK, a Blank Window appears.
Step 2
Select Wrap Panel Tool from the ToolBox located to the Left Side of the Workspace, draw a Wrap Panel, manage the width & height, background color, margin and alignment. Have a look at the coding also as shown below: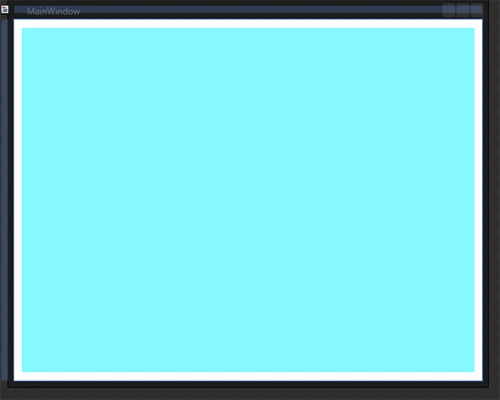
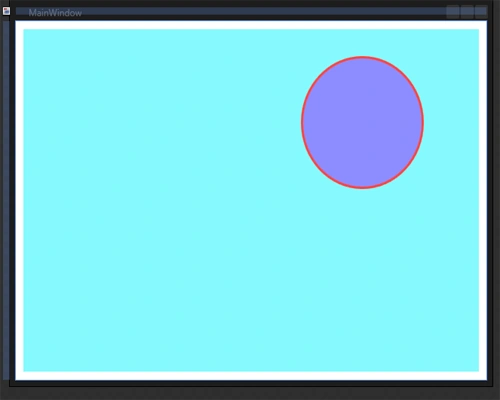
Select Ellipse from the ToolBox, draw an ellipse, manage the width & height, background color, margin, stroke color, stroke thickness and alignment as shown below:
Step 4
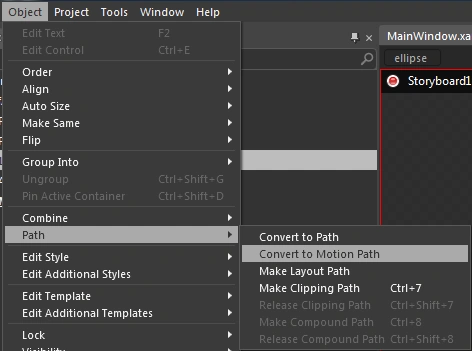
Select Ellipse -> select Object Menu -> select Path -> select Convert to Motion Path Option as shown below:
Step 5
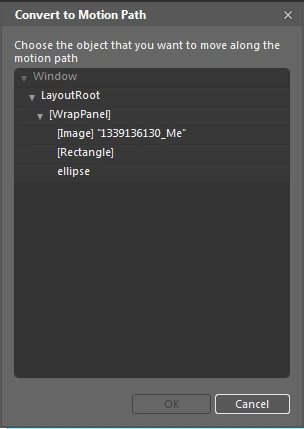
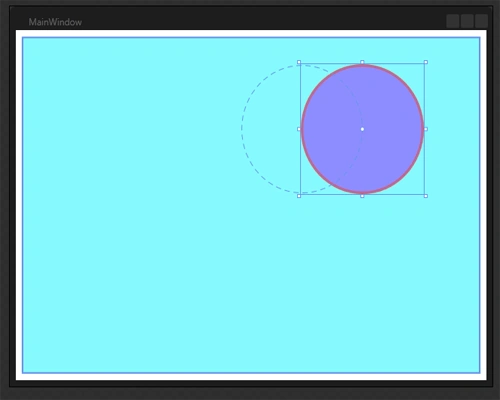
A Dialog Box appears containing the options, Select Ellipse from Options and hit OK. Another ellipse appears with a dashed line in the form of an ellipse as shown below:
Step 6
The Magic is here, when we choose the Convert to Motion Path Option the Storyboard Timeline Window appears automatically which is used for the animation.
Step 7
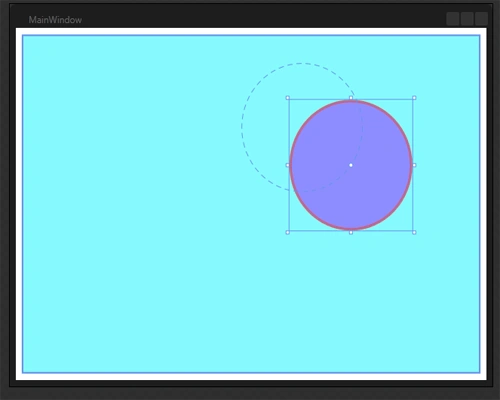
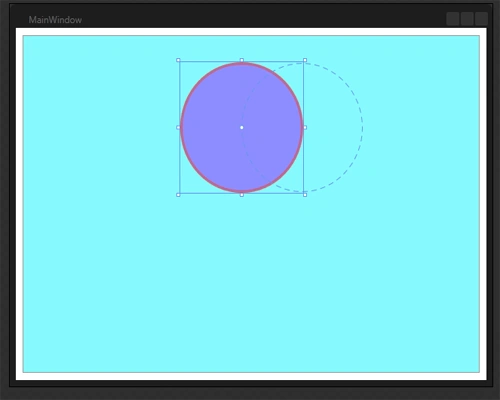
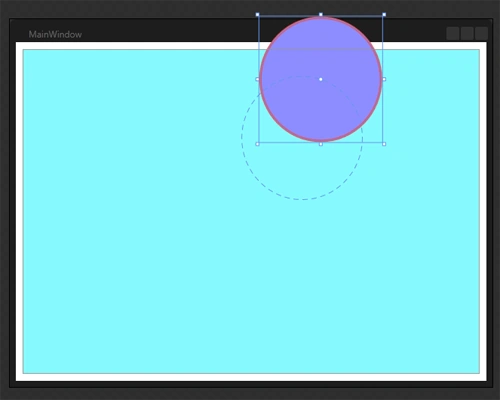
When we play the animation, everytime the dashed ellipse revolves with the ellipse as shown below:
Summary
This article shows us the use of animation in a different way.
Join the conversation! Your thoughts help the community grow.