

Introduction
This article explains listeners supported by Swing components. The NetBeans IDE is used to create "ComponentListener".
Common Listeners
The following listeners are common to all Swing components.
- KeyListener
fires a key event when a key is pressed by the user.
- ComponentListener
changes the size, visibility or position of components.
- HierarchyBoundsListener
occurs when the hierarchy of a component changes in size or movement.
- mousemotion Listener
shows an alert when the mouse cursor changes its position.
- FocusListener
provides a focus to the components.
- HierarchyListener
occurs when the hierarchy of components change.
- MouseListener
generates an event when the mouse is moved, clicked, released or pressed.
- mousewheel listener
shows an alert when the mouse wheel position changes.
Component Listener in Java
This listener works on components of Swing. A component is an object that has a graphical representation that's shown on the display. Components are like buttons, checkboxes, textfields, etcetera.
The following procedure is required to write a Component Listener as described below:
- First declare a class that implements its.
- Now define the component on which you want to fire this listener. For example: frame, panel, label, checkbox, and so on.
- Now add a component to your defined components. For example:
...
frm.addComponentListener(this);
- Finally, catch the various events of these components by using four methods of Component Listener as shown below:
public void componentShown(ComponentEvent ey)
{
showMessage(ey.getClass().getName() + ">Component Visible");
}
public void componentHidden(ComponentEvent ey)
{
showMessage(ey.getComponent().getClass().getName() + ">Component Hidden");
}
public void componentResized(ComponentEvent ey)
{
showMessage(ey.getComponent().getClass().getName() + ">Component Resized ");
}
public void componentMoved(ComponentEvent ey)
{
showMessage(ey.getComponent().getClass().getName() + ">Component Moved");
}
Let's use an example
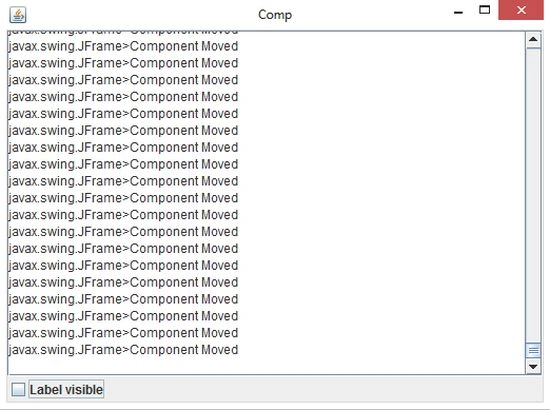
In this example; we show the use of component listener. In this program we create a window that contains a panel that has a label and a check box. The visibility of the label is controlled by a check box. A text area is used to display the message when any component fires an event.
The following procedure is included in this example.
Step 1
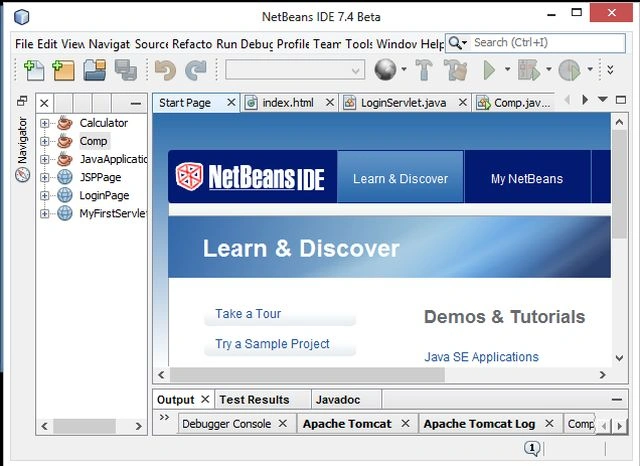
Open the NetBeans IDE.
Step 2
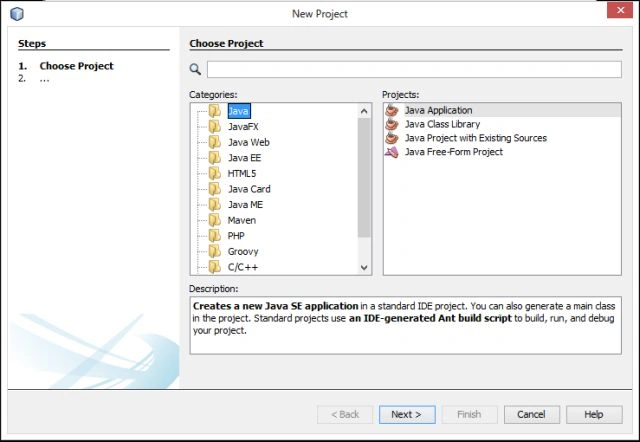
Now go to the File Menu and choose "New Project", a new window appears like this.
Step 3
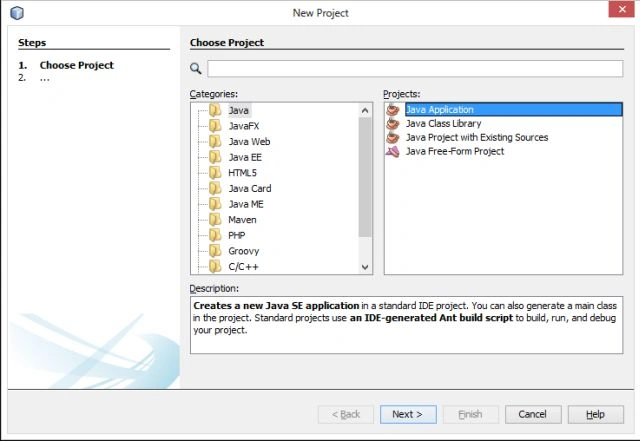
Choose "Java"-> "Java application" as shown below:
Step 4
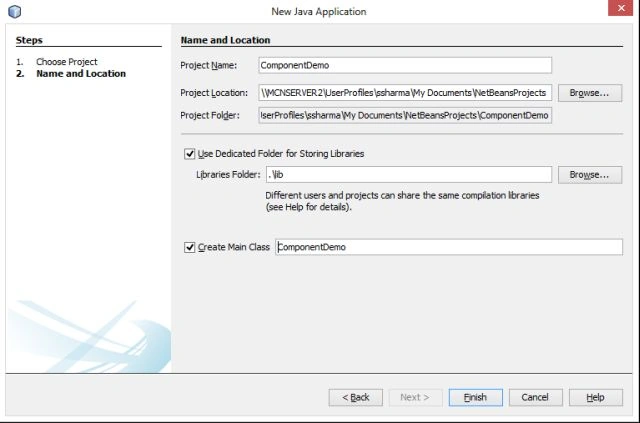
Click on "Next" and then type your project name. I specified "ComponentDemo" as shown below:
Step 5
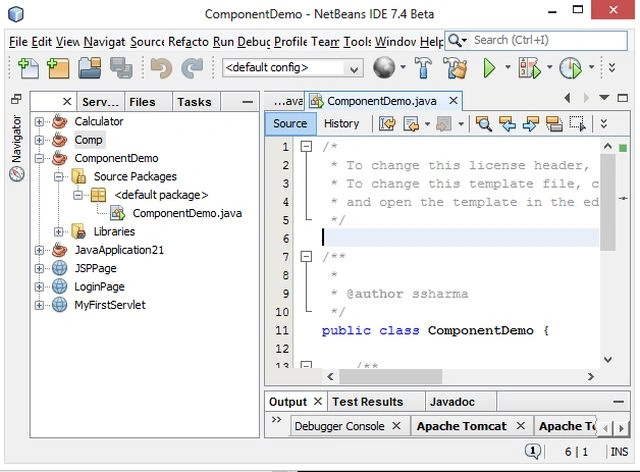
Click on "Finish"; your project is set up with a default Java file "ComponentDemo.java" as shown below.
Step 6
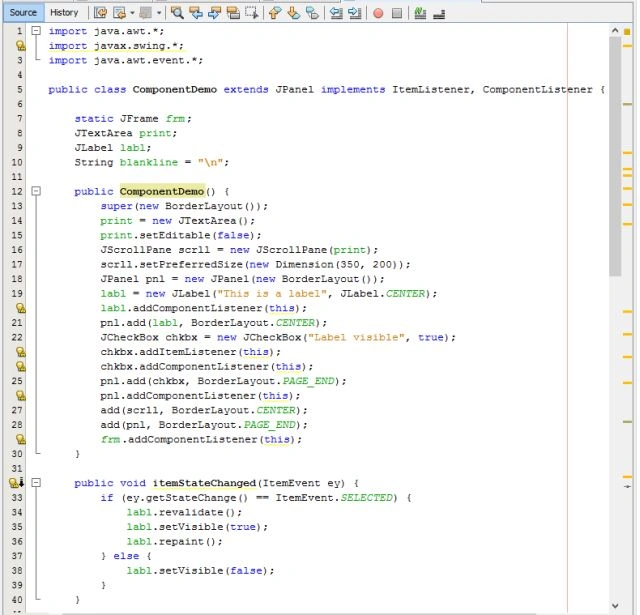
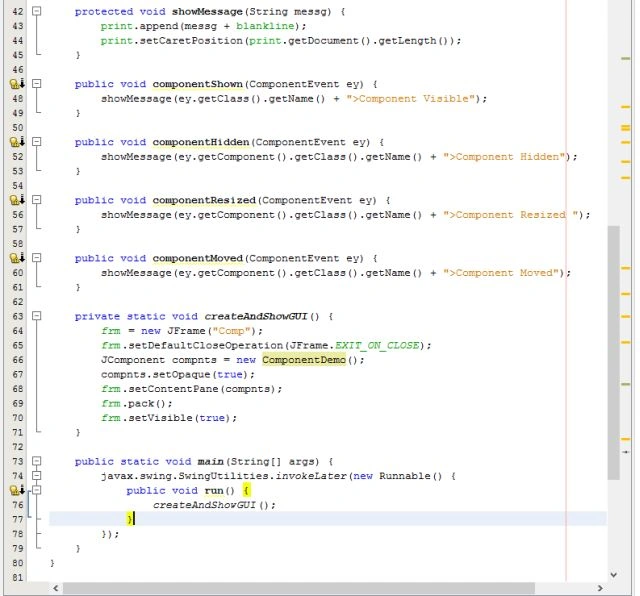
Now change the code and write the following code in the "ComponentDemo.java" file.
ComponentDemo.java
import java.awt.*;
import javax.swing.*;
import java.awt.event.*;
public class ComponentDemo extends JPanel implements ItemListener,ComponentListener {
static JFrame frm;
JTextArea print;
JLabel labl;
String blankline = "\n";
public ComponentDemo() {
super(new BorderLayout());
print = new JTextArea();
print.setEditable(false);
JScrollPane scrll = new JScrollPane(print);
scrll.setPreferredSize(new Dimension(350, 200));
JPanel pnl = new JPanel(new BorderLayout());
labl = new JLabel("This is a label", JLabel.CENTER);
labl.addComponentListener(this);
pnl.add(labl, BorderLayout.CENTER);
JCheckBox chkbx = new JCheckBox("Label visible", true);
chkbx.addItemListener(this);
chkbx.addComponentListener(this);
pnl.add(chkbx, BorderLayout.PAGE_END);
pnl.addComponentListener(this);
add(scrll, BorderLayout.CENTER);
add(pnl, BorderLayout.PAGE_END);
frm.addComponentListener(this);
}
public void itemStateChanged(ItemEvent ey)
{
if (ey.getStateChange() == ItemEvent.SELECTED)
{
labl.revalidate();
labl.setVisible(true);
labl.repaint();
}
else
{
labl.setVisible(false);
}
}
protected void showMessage(String messg)
{
print.append(messg + blankline);
print.setCaretPosition(print.getDocument().getLength());
}
public void componentShown(ComponentEvent ey)
{
showMessage(ey.getClass().getName() + ">Component Visible");
}
public void componentHidden(ComponentEvent ey)
{
showMessage(ey.getComponent().getClass().getName() + ">Component Hidden");
}
public void componentResized(ComponentEvent ey)
{
showMessage(ey.getComponent().getClass().getName() + ">Component Resized ");
}
public void componentMoved(ComponentEvent ey)
{
showMessage(ey.getComponent().getClass().getName() + ">Component Moved");
}
private static void createAndShowGUI()
{
frm = new JFrame("Comp");
frm.setDefaultCloseOperation(JFrame.EXIT_ON_CLOSE);
JComponent compnts = new ComponentDemo();
compnts.setOpaque(true);
frm.setContentPane(compnts);
frm.pack();
frm.setVisible(true);
}
public static void main(String[] args)
{
javax.swing.SwingUtilities.invokeLater(new Runnable()
{
public void run()
{
createAndShowGUI();
}
});
}
}
Step 7
Now our file is ready to run.
Right-click on the project then select "Run", as shown below.

Step 8
Now you get the same output as shown below.
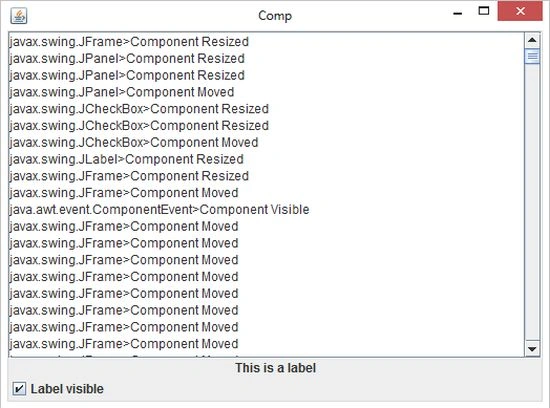
Now click on the checkbox to hide the label.
Thanks for reading.
Join the conversation! Your thoughts help the community grow.