
Step 1
Login to the SharePoint 2013 site as an administrator (System Account).
Step 2
Click the settings menu near User account (System Account) and the following menu will appear. In that item details click the Site Contents.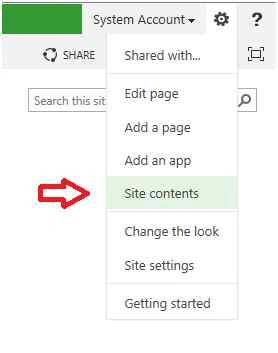
Step 3
Click Site Pages.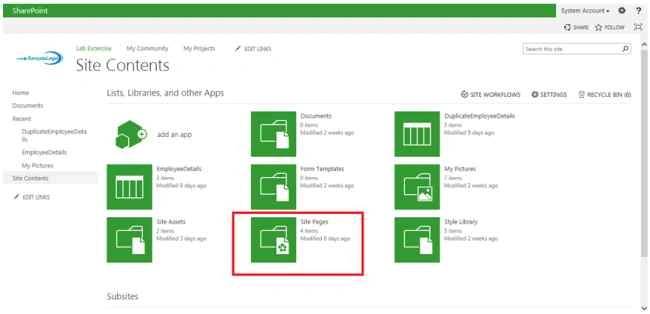
Step 4
Create a Web Part Page.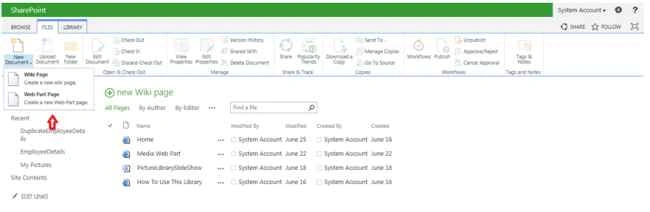
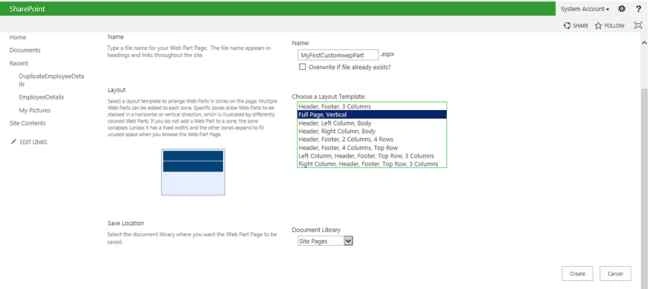
Step 5
Click Add Web Part.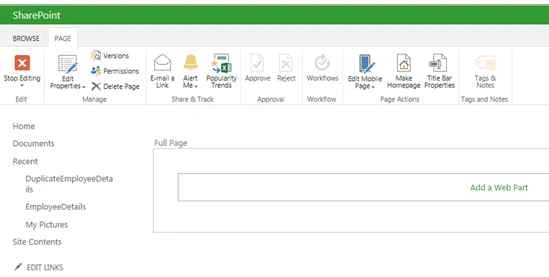
Step 6
Click Add Web Part then select Custom from the Categories menu item then choose your custom web part then click Add.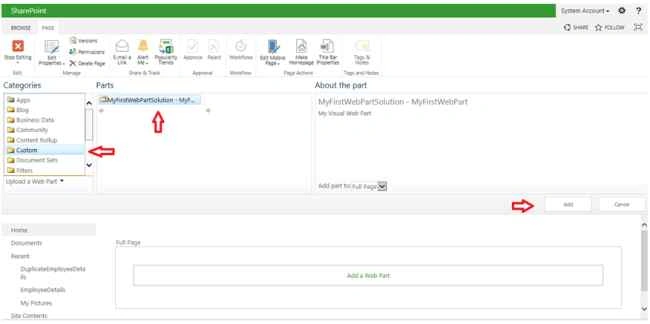
Step 7
Click the Stop editing menu to save the changes.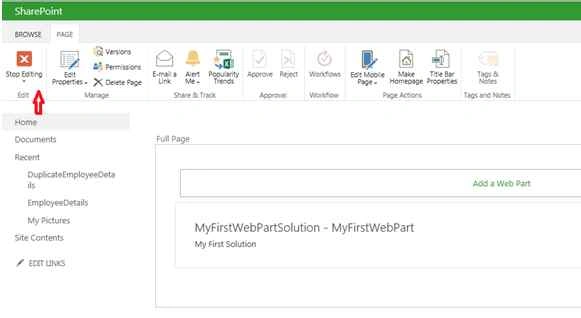
Finally the custom web part was added to the site page.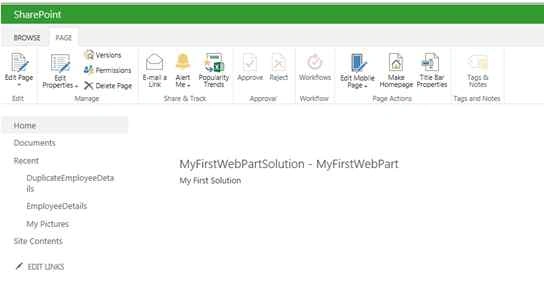
Summary
In this article we explored how to add a custom web part to SharePoint site pages.

Add Custom Web Part to Site Pages in SharePoint 2013
Join the conversation! Your thoughts help the community grow.
Sign in to leave a comment
It is the same account you read, post and publish with — and you will come straight back to this page.
SriramPosted Jul 6, 2015, 3:21 AM
Excellent...........
Gopi ChandPosted Jul 3, 2015, 10:55 PM
Nice one