

Here you will see how to add a new item to an existing LightSwitch application.
Introduction
LightSwitch is an application generator that builds data-driven applications. It's model-driven so in principle it could generate other kinds of clients, such as HTML5 or Windows 8 Metro and the best thing about LightSwitch is that much of the repetitive work is done for you, and in fact, you can create a LightSwitch application without writing any code at all.
Let's start by adding a new item.
In Visual Studio 2012 go to "File" and create a new project.
Choose "LightSwitch HTML Application".
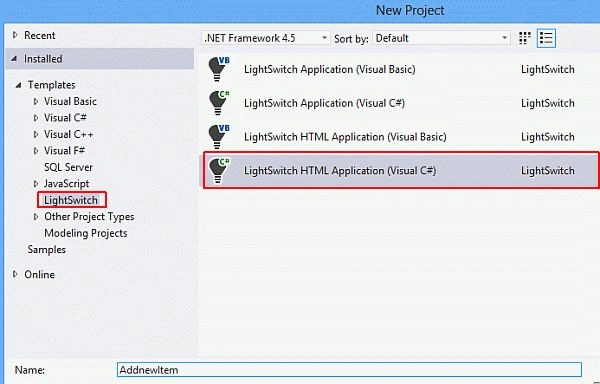
Image 1
In Solution Explorer right-click on "HTML Client" and add a new browser screen.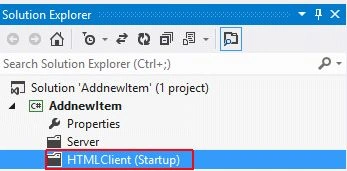
Image 2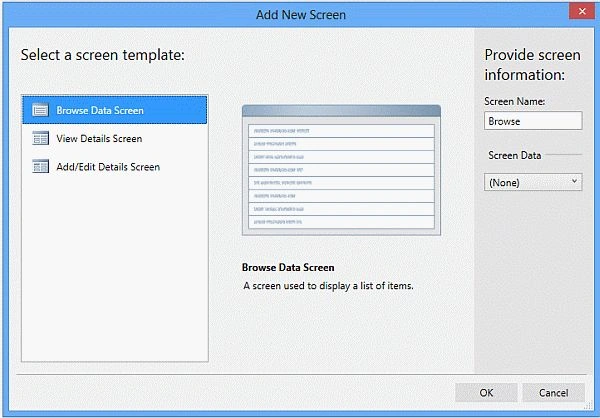
Image 3
When you create a new browser screen it will open and shows as in the following and in the left area you will see the blank area: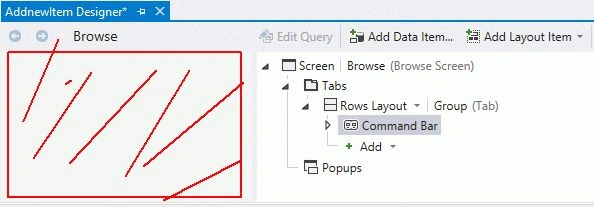
Image 4
If you have already added a data source then your area will show the table values, as in: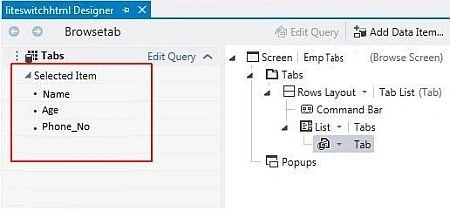
Image 5
Now choose "Add List" and click on the selected item.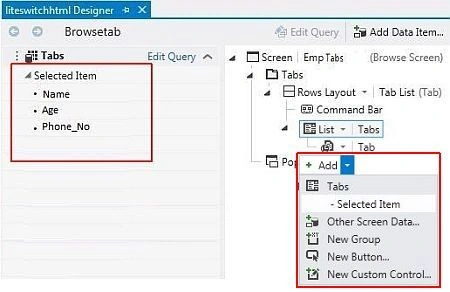
Image 6
Image 7
Now simply drag and drop the item from the left side list to the right side area.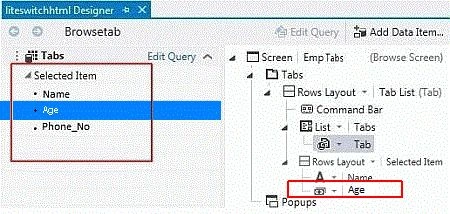
Image 8
That's it; your new item is successfully added.
Thanks
Join the conversation! Your thoughts help the community grow.