

Adding a Navigation Group using LightSwitch Visual Studio 2012
In this article I describe navigation groups in LightSwitch using Visual Studio 2012.
Navigation Groups appear on the Navigation Menu at run time.
How to add a Navigation Group in LightSwitch Visual Studio 2012
Step 1
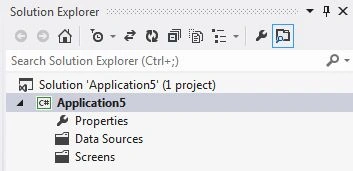
Open the Solution Explorer.
Step 2
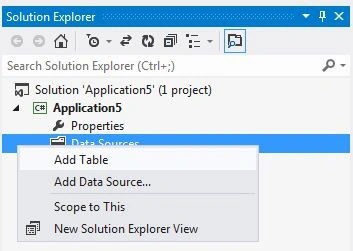
In the Solution Explorer right-click on the Data Source and choose the Add Table node.
Step 3
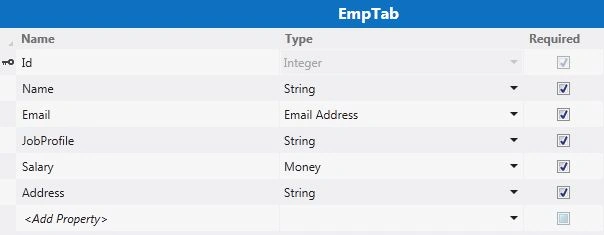
The table appears.

Step 4
Insert a value into the table.
Step 5
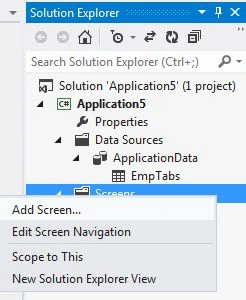
In the Solution Explorer, right-click on the "Screens" node and choose the "Add Screen" option.
Step 6
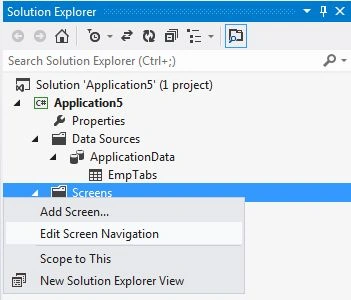
Again in the Solution Explorer, right-click on the "Screens" node and click on the "Edit Screen Navigation" option.
Step 7
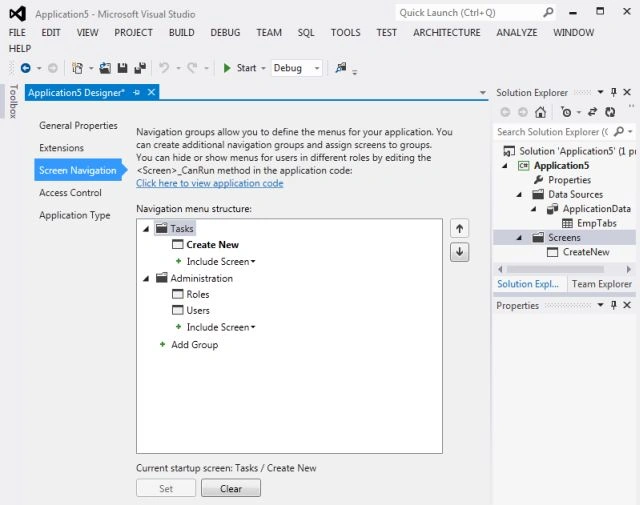
The Screen Navigation tab for the Application Designer appears.
Step 8
On the Screen Navigation tab, click the "Add Group" node.
Step 9
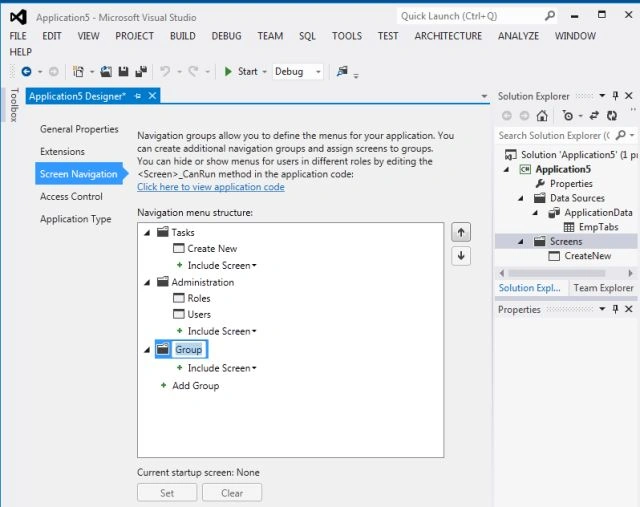
A new navigation group named "Group" appears.
Step 10
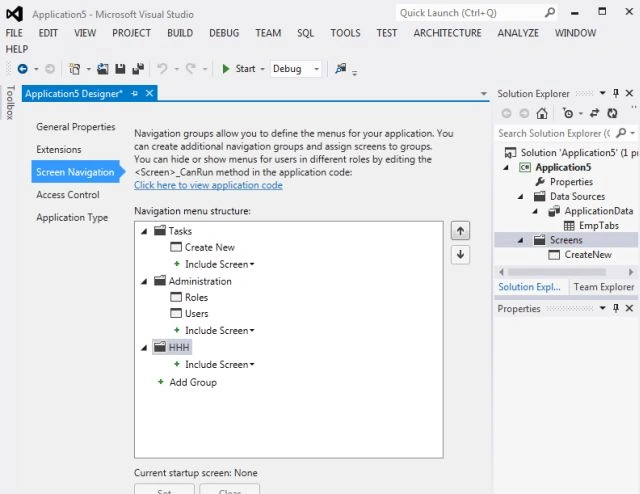
Select the Group and enter a new name for the navigation group, and then press Enter.
Join the conversation! Your thoughts help the community grow.