

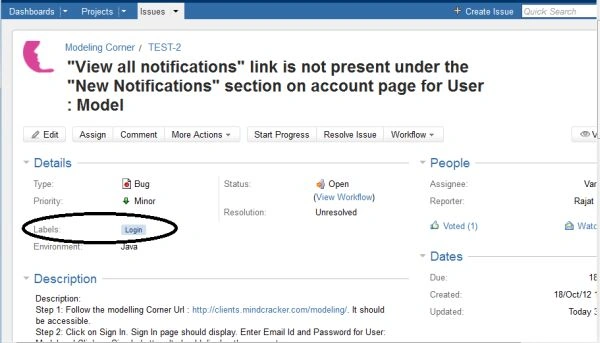
Labels are very useful when searching for issues that have been given a specific label. When viewing an issue, the issue's labels appear in the "Details" section.
How to add a label to an issue
- Click on the issue you want to label.
- Click the "pencil" icon (for label) in front of the word "Labels".
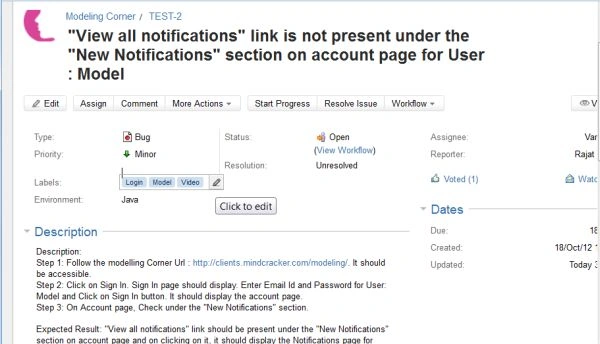
A pop-up dialog box appears.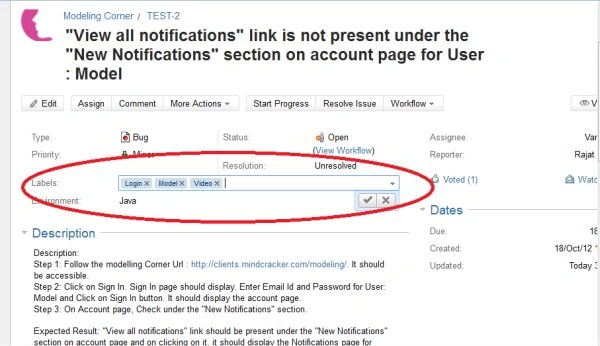
- In the pop-up dialog box that appears, do the following:
- type your label and press the Enter key, or
- press the cursor-down key or click on the down-arrow icon to select from a list of suggestions. The user can also type multiple labels, separated by spaces. It is to be noted that the issue's change history will always be updated when a label is removed.
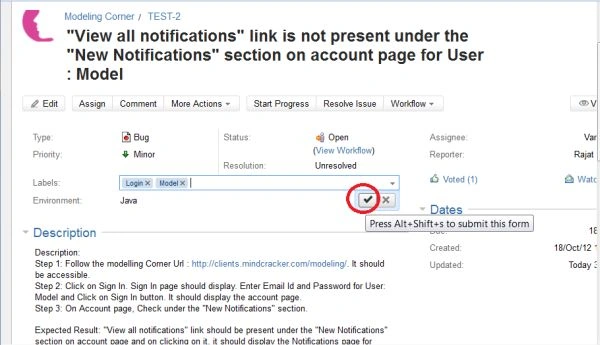
- Click the "Update" button. The new label will be saved. The user can also add a label when creating or editing an issue.
How to remove a label from an issue
- Click on the issue you want to label.
- Click the "pencil" icon (for label) in front of the word "Labels". A pop-up dialog box appears.
- In the pop-up dialog box, click on the "x" that appears on the labels.
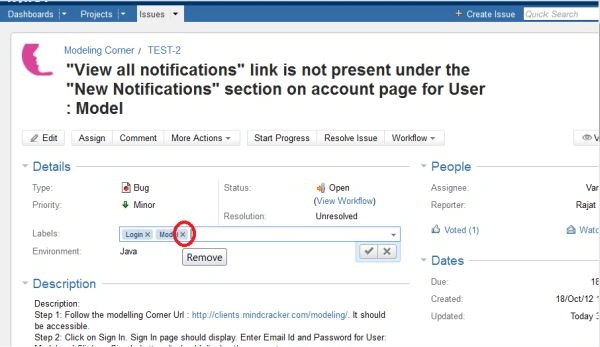
- Click the "Update" button. Your change will be saved. The user can also remove a label while editing an issue.
Join the conversation! Your thoughts help the community grow.