

Here we will see how to add a custom control to a LightSwitch Application (Visual C#) in Visual Studio 2012.
The following is the procedure for adding a Custom Control in LightSwitch.
Step 1
Open the Solution Explorer.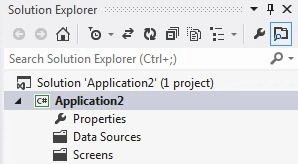
Step 2
In the Solution Explorer, right-click on the Server and choose "Add Table".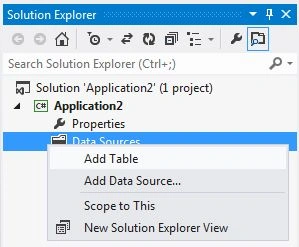
Step 3
The table appears.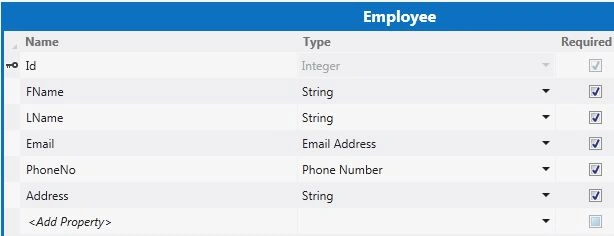
Step 4
In the Solution Explorer, right-click on the Screens and choose "Add Screen".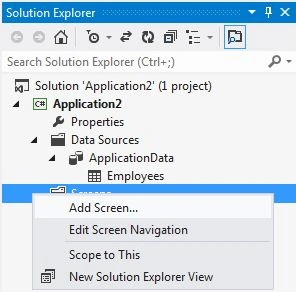
Step 5
The Add New Screen dialog box appears. Select the "New Data Screen" from the Screen Template, under screen information, choose "Employees" under screen data and provide a name to the Screen and click the "OK" button.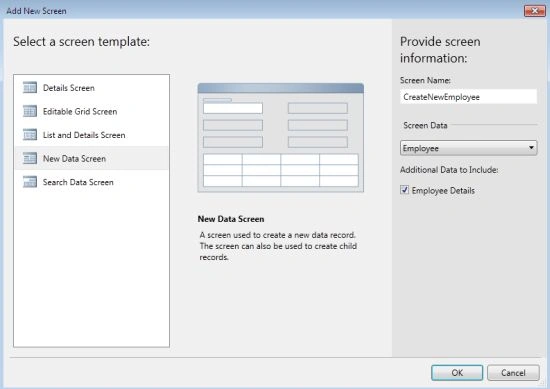
Step 6
In the Screen Designer, click the "Add" button. A drop down list will appear, from that list choose "New Custom".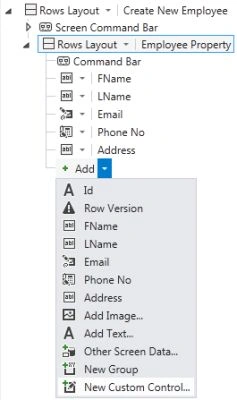
Step 7
The Add Custom Control dialog box will appear. From the dialog box select the control that you want to add and click the "OK" button.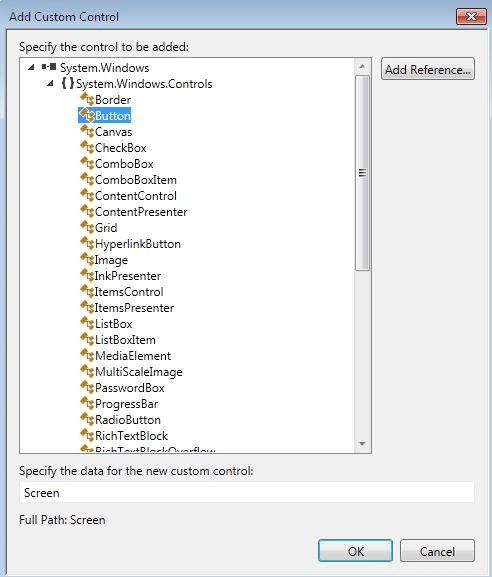
Step 8
Now the Screen designer will look as in the following: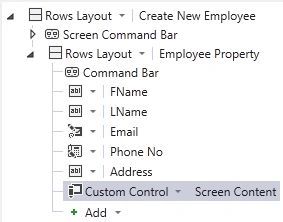
Select the Custom Control from the screen designer and go to the property window and change the size of the button. I have set the Horizontal Alignment to Center and Vertical Alignment to Bottom.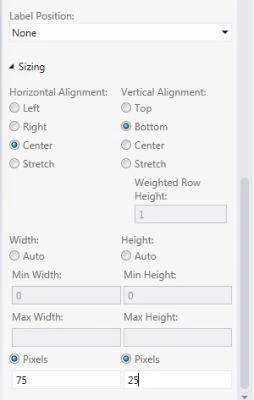
Step 9
Press F5 to run the application.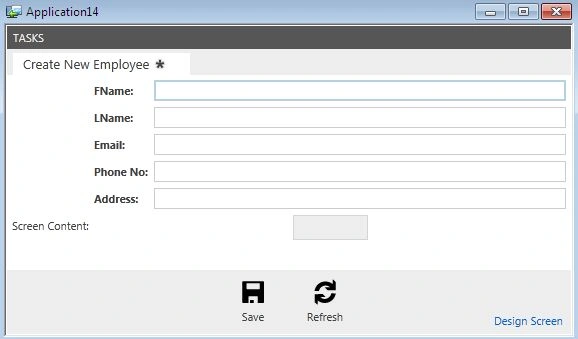
Join the conversation! Your thoughts help the community grow.