

Introduction
In this article, we will learn how to create a field to list the basic SharePoint-hosted SharePoint add-in, using Napa Office 365 development tools. Sharepoint basic operations are used by JavaScript Object Model here. If there are any changes, post your comments here.
Develop the project, using the method given below in Napa tool.
- On your developer site, open Napa Office 365 development tools and then choose Add New Project.
- Choose the app for SharePoint template, name the project, create site and then choose Create button.
- Replace APP.js with the source code given below.
- Publish your app.
Prerequisite
- The important steps given below are to be followed before creating the app.
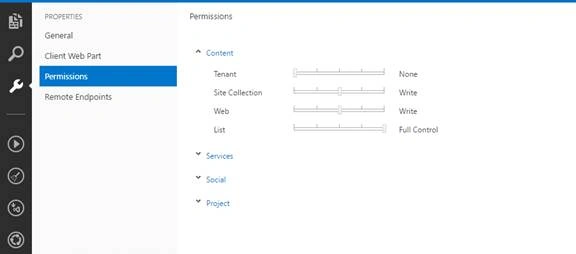
- Specify the permissions, which your app needs, as shown in the following.
- Choose the Properties button at the bottom of the page.
- In the Properties window, choose Permissions.
- In the Content category, set the Write permissions for the Tenant scope.
- In the Social category, set the Read permissions for the User Profiles scope.
- Close the Properties Window.
Basic and important things, which we want to know are given below.
Creating, updating and deleting the lists through Client Object Model works similarly to Server Object Model, using .NET Framework(CSOM,SSOM), .
The operations do not complete until and unless, you call the executeQueryAsync(succeededCallback, failedCallback) function.
SharePoint 2013 introduces a Napa tool tservice, which is comparable to the existing SharePoint Client Object Models.
With NAPA Tool, we can Create, Read, Update and Delete (CRUD) operations from their apps for SharePoint.
By following this article, you can learn how to create a simple SharePoint-hosted SharePoint add-in, using Napa. The add-in that you’ll create includes controls and code for managing the lists and list items.
Choose the kind of add-in, which you want to create, name the project and then choose the Create button.
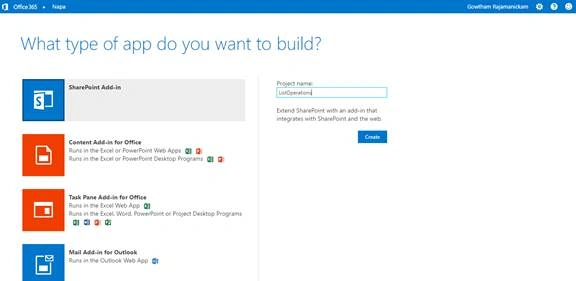
Napa is a tool, which you can use to create SharePoint-hosted SharePoint Add-ins.
We can't create a PHA (Provider Hosted APP), using Napa tool.
Click Create button.
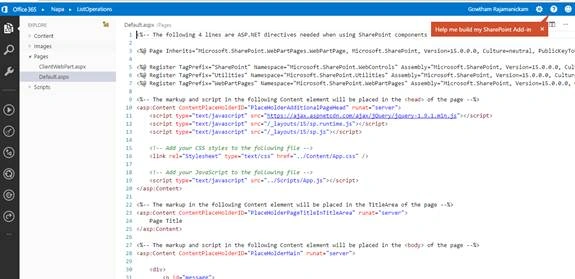
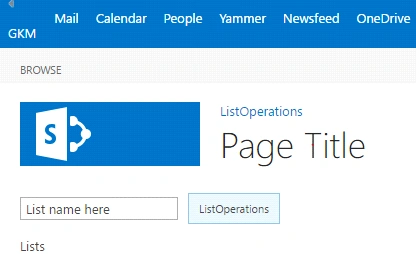
Default .aspx displays the screenshot given above.
You can add more .js file and add the code to it instead of to the existing file.
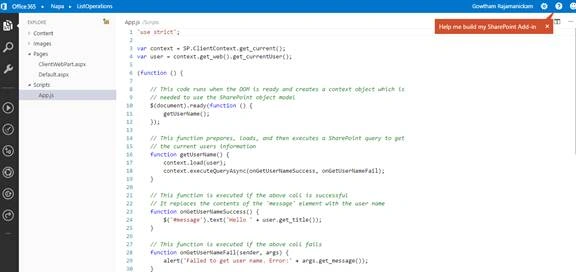
Change your code, which is based on your requirement here.
Default aspx create button is there to start this event.
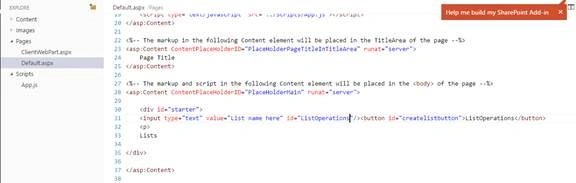
Change the APP.js file with the code given below.
Now, click settings page to give the permission to this app.
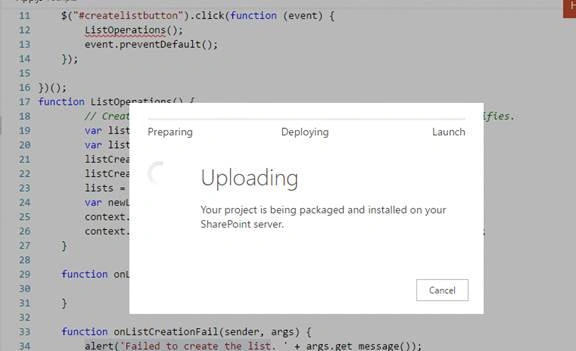
Publish your app.
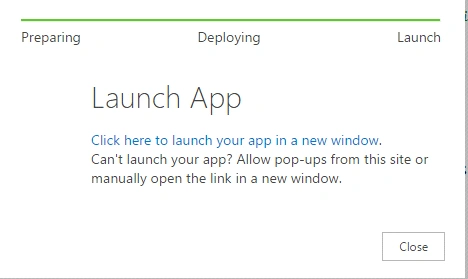
Choose Click here to launch your add-in in a new Window link.
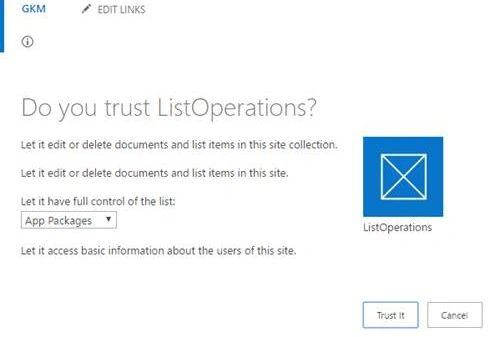
Click Trust it option to deploy your app here. Sometimes your login popup Window will come and ask your credentials.
Enter your credentials and then click OK.
List deleted successfully.
Here, if you want to delete a list, call the update();function in your code.
Default ASPX page code
- <asp:Content ContentPlaceHolderID="PlaceHolderMain" runat="server">
- <div id="starter"> <input type="text" value="List name here" id="ListOperations"/><button id="createlistbutton">ListOperations</button> <p> Lists
- </div></asp:Content>
Source code
- 'use strict';
- var context = SP.ClientContext.get_current();
- var user = context.get_web().get_currentUser();
- var web = context.get_web();
- var lists = web.get_lists();
- var listItemCollection; // This variable is used later when you add list items.
- (function () {
- // This code runs when the DOM is ready and creates a context object which is
- // needed to use the SharePoint object model.
- $(document).ready(function () {
- $("#createlistbutton").click(function (event) {
- AddColumntolist();
- event.preventDefault();
- });
- });
- function AddColumntolist() {
- var oList = clientContext.get_web().get_lists().getByTitle('Announcements');
- this.oField = oList.get_fields().addFieldAsXml('<Field DisplayName=\'NewField\' Type=\'Note\' />', true, SP.AddFieldOptions.defaultValue);
- var fieldNumber = clientContext.castTo(oField,SP.FieldNumber);
- fieldNumber.set_maximumValue(100);
- fieldNumber.set_minimumValue(35);
- fieldNumber.update();
- clientContext.load(oField);
- clientContext.executeQueryAsync(Function.createDelegate(this, this.onQuerySucceeded), Function.createDelegate(this, this.onQueryFailed));
- }
- function onQuerySucceeded() {
- alert('Column Created!');
- }function onQueryFailed(sender, args) {
- alert('Request failed. ' + args.get_message() + '\n' + args.get_stackTrace());
- }
- })();
Once the code has been executed, go back to Sharepoint site and check whether the list operations executed successfully or not.
Thanks for reading the article.
Join the conversation! Your thoughts help the community grow.