

Here we will see how to add a simple GroupBox to a LightSwitch Application (Visual C#) in Visual Studio 2012.
The following is the procedure for adding a client screen.
Step 1
Open the Solution Explorer.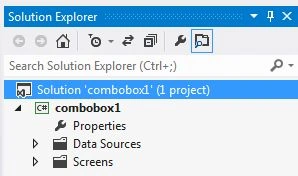
Step 2
In the Solution Explorer, right-click on the server and choose "Add Table".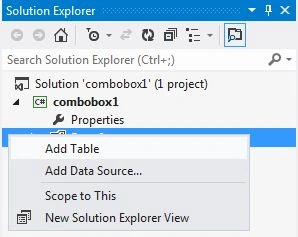
Step 3
The table appears.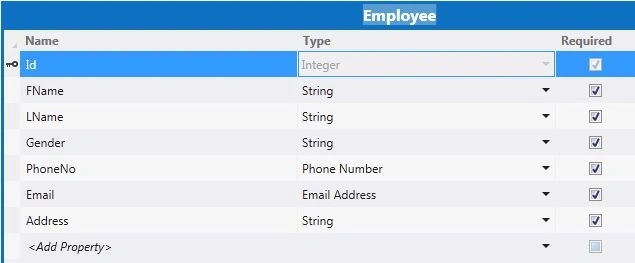
Step 4
In the Solution Explorer, right-click on "Screens" and choose "Add Screen".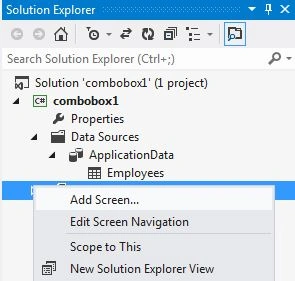
Step 5
The Add New Screen dialog box appears. Select the "New Data Screen" from the Screen Template, under screen information, choose "None" under screen data and provide a name to the Screen and click the "OK" button.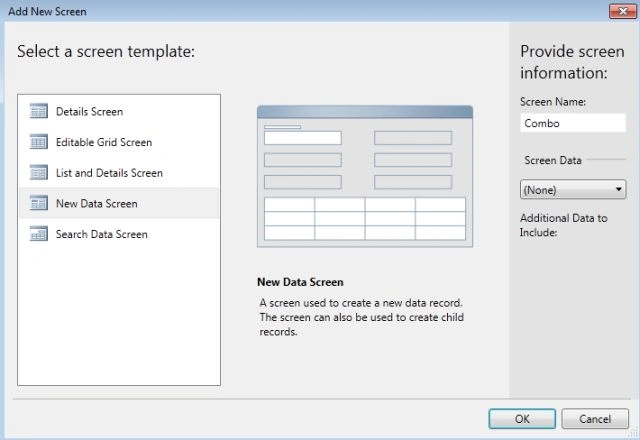
Step 6
The Screen Designer appears.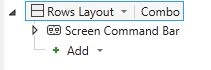
Step 7
In the screen designer, click on the "Add Data Item" button in the menu bar. 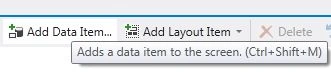
Step 8
The Add Data Item dialog box appears. Choose the "Queries" radio button and select "Employees" form the grid, provide a name and click the "OK" button.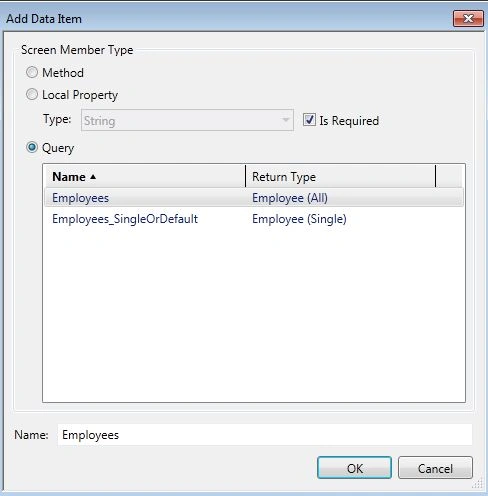
Step 9
Once again click on the "Add Data Item" button and from the dialog box choose the "Local Property" radio button and select "Employees" form the Type drop down list, provide a name and click the "OK" button.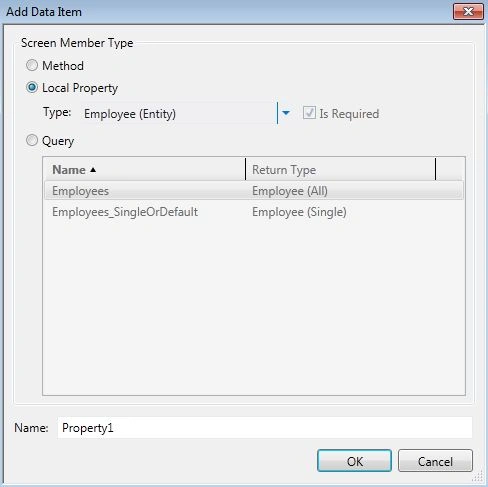
Step 10
In the Screen Designer click on the Add drop down list and select "Property1" from the list.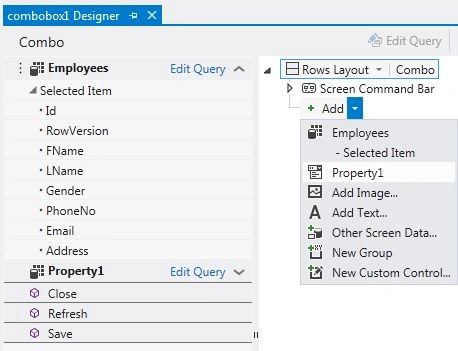
Step 11
Now click on the "Property1" option. A drop down list will appear and from that drop down list choose the "Auto Complete Box" control.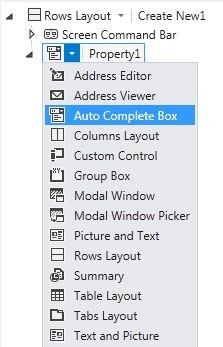
Step 12
Go to the Property window for "Property1", choose "Employees" from the "Choices" dropdown list.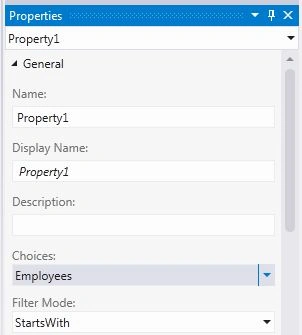
Step 13
Add an Editable Data Grid Screen to add some data of the Employees.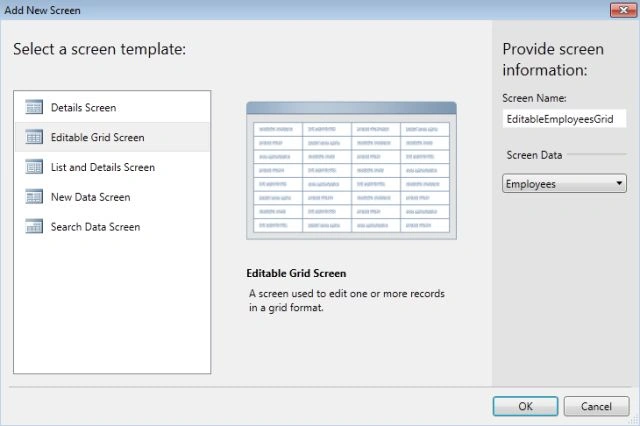
Step 14
Press F5 to run the application. Open the combo form; you will notice that the employee will be shown in the Auto Complete Box.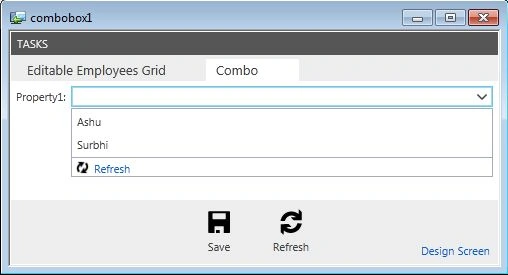
Join the conversation! Your thoughts help the community grow.