

Introduction
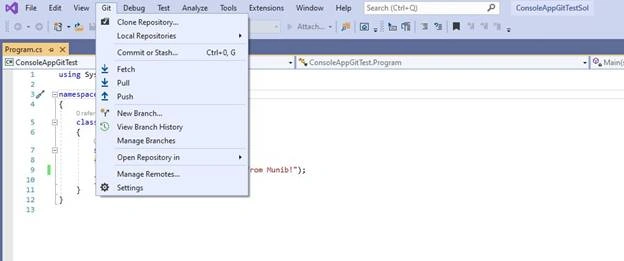
In today’s article we will look at how to add the GIT menu to Visual Studio 2019. As we all know, at this time GIT is the most popular source control system and it has been widely adopted by Microsoft. We will see how to add the GIT menu into our Visual Studio 2019 environment and use the different features available directly from Visual Studio 2019.
Adding the GIT menu in VS 2019 Community Edition
We will open Visual Studio 2019 Community Edition and select “Extensions-> Manage Extensions” from the top menu. Then, select “Online-> Visual Studio Marketplace” and search for “GIT”. You will see a list as below. We will select the option “GitHub Extension for Visual Studio” as we will be using GitHub as our Git repository source in this article. GitHub is a Git repository available for community and professional projects. You would need to visit the GitHub website and create an account to create repositories and store your data on this Git repository.
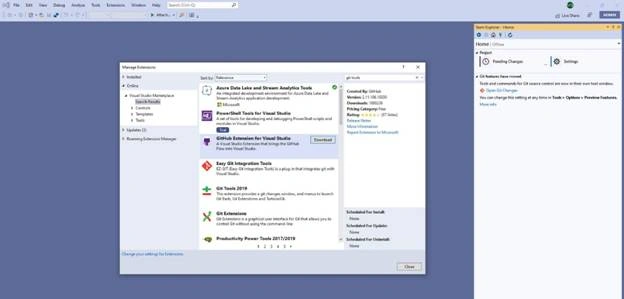
Next, download and Install it.
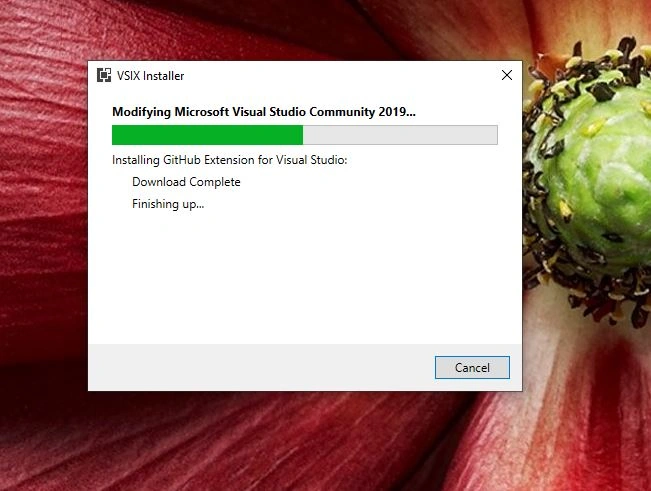
Once installed you will see “GitHub” in the Team Explorer window.
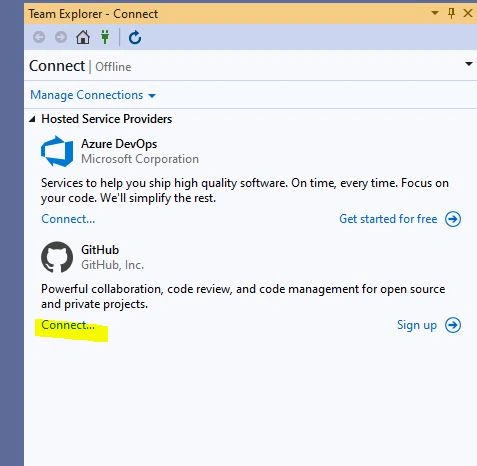
Next, we can connect to our GitHub account to integrate it into our Visual Studio 2019 environment.

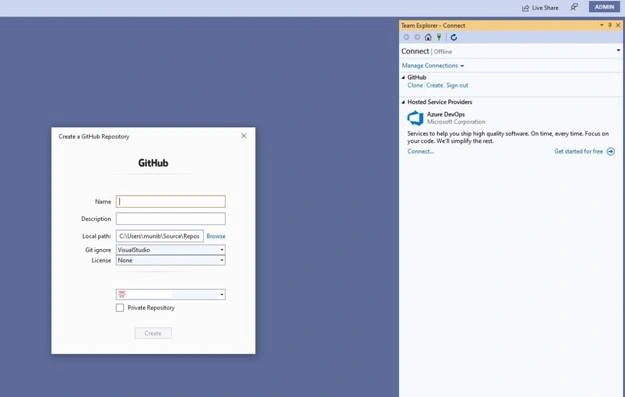
If required, we can then create a new GIT repository from here.
Using the GIT menu in VS 2019
Let us now create a new project in Visual Studio 2019. We will then add the source code of this project to our GitHub repository. We will create a simple .NET Core console application for demo purposes only.
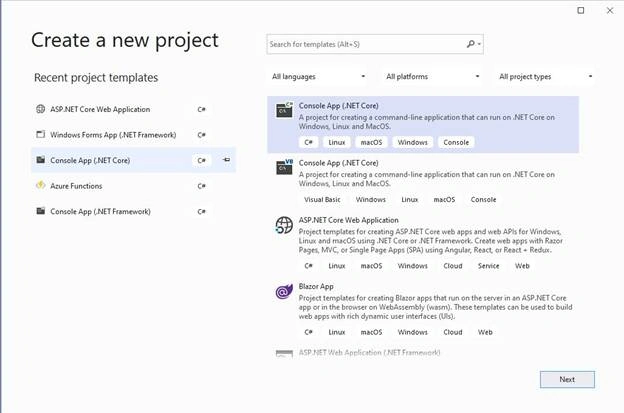
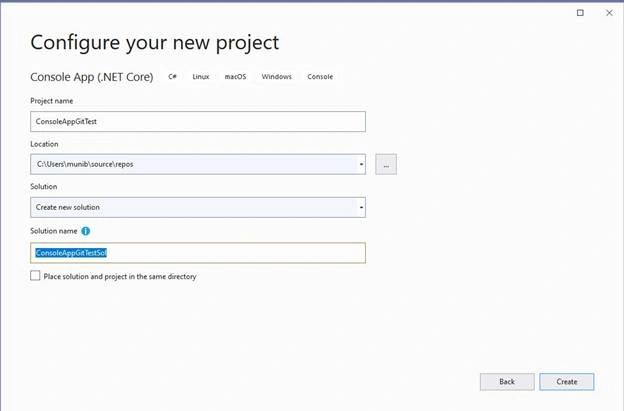
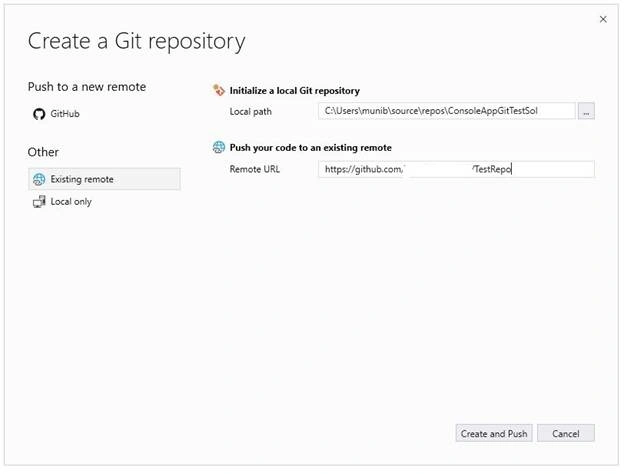
After the solution has been created, we click on the solution in “Solution Explorer” and click “Create GIT repository”
Here we can create a new remote repository on GitHub or use an existing one as the one we created earlier to store our source code.
Now, to demonstrate that our changes will be tracked in the GitHub repository, let us make a small change in the code as below.
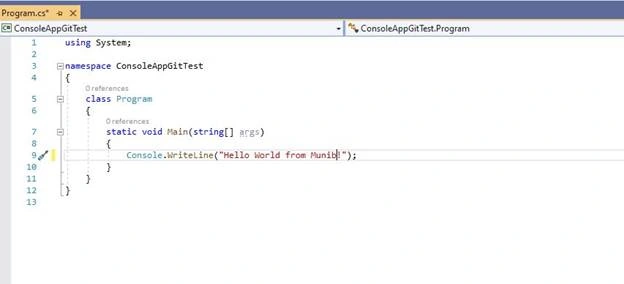
After making the change we can see in the GIT window that our change has been staged. We can add a comment for the change and commit it to our local GIT repository.
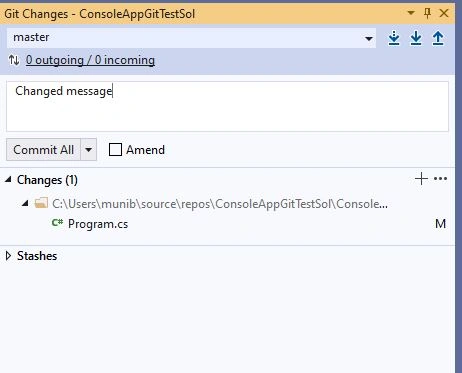
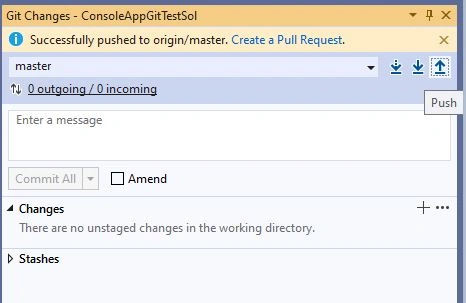
Next, we can push our changes to the remote repository as below.
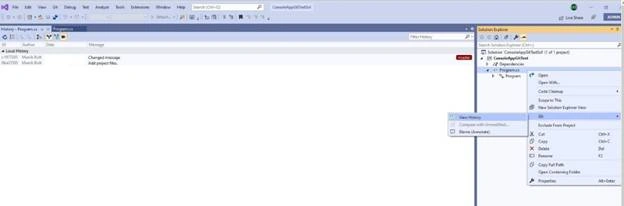
We can right click on the changed file and view history for the file.
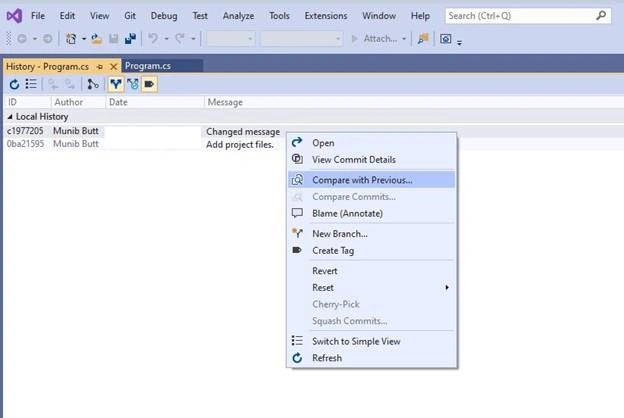
We can compare versions.

Below is the Git menu added into Visual Studio 2019.
We can also login to our GitHub repository via a browser and look at all details for this repository created and later updated from Visual Studio 2019.
Summary
In this article, we looked at how we can add the GIT source control system menu into Visual Studio 2019. By doing this we can use all features of GIT directly from Visual Studio and do not need to use the command line or some other GIT tool to carry out source control operations. This simplifies the workday for us and makes us more efficient and productive while developing software, as source control systems are an integral part of any development environment. Happy Coding!
Join the conversation! Your thoughts help the community grow.