
Introduction
The Disk Defragmentation feature is available in all versions of Windows, but Windows 7 has many new features in comparison to Windows Vista and XP. The Advanced Disk Defragmentation feature is one of them and just as for Windows 7, Windows 8 also has the same easy to use common Disk Defragmentation tools through the command line. In this article, I will describe how to perform advance Disk Defragmentation in Windows 7 and Windows 8.
For doing that follow these steps.
Step 1
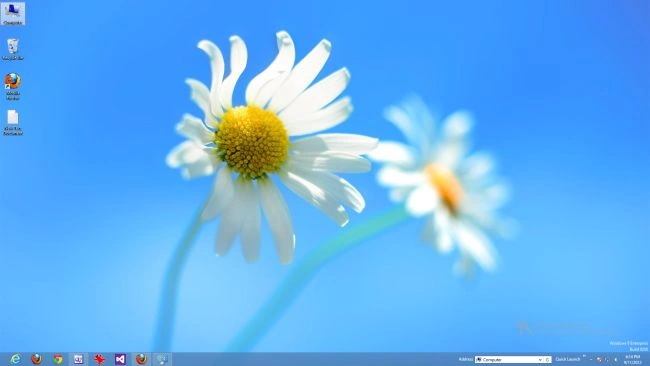
Start your Windows 8 installed system.
Step 2
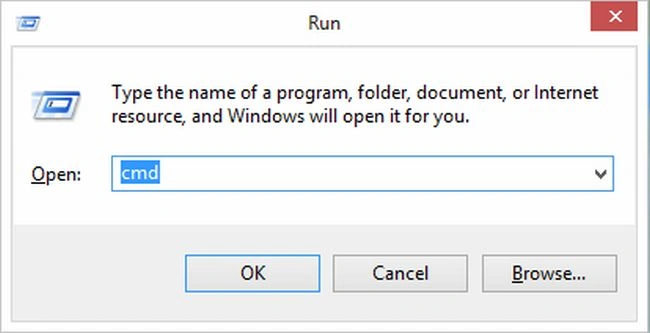
Open the Run dialog box by using Win + R and type Cmd then press Enter or click on the OK button.
Step 3
Type "defrag command" (without quotes) in the command-line tool.

Now I am going to describe some common options used with the defrag command to perform defragmentation.
- defrag –a Performs the disk defrag analysis
- defrag /r Defrags multiple drives simultaneously
- defrag –v Prints the defrag results
- defrag –w Defrags each and every thing
- defrag C: -v –w Defrags the whole C drive
Step 4
Here I have run the command "defrag -a C:" as an example.

Summary
In this article, we learned about Advanced Disk Defragmentation in Windows 8.
Sam HobbsPosted Sep 11, 2012, 1:19 PM
I might be wrong, but as ar as I know, the defragmentation tool in current versions of Windows does not have features that the DOS tool had; prmarily the current versions do not show an entertaining map of the blocks of daa being moved around. Earlier versions of Windows does too.