

Azure Logic Apps
Logic App is a cloud-based service that allows us to react to an event in one service (such as SharePoint online) and do something with the data from that event into another service (such as Twitter). It makes it practical and simple for business processes. The users build workflows that automatically perform some business tasks and processes across applications and services. We can connect our business-critical apps and services with Azure Logic Apps, automating our workflows without writing a single line of code.
Before reading this article, please go through some important article links mentioned below,
- Deep Dive Into Azure Logic Apps
- Connect OneDrive To Google Drive With Azure Logic Apps
- Connect Facebook To Twitter With Azure Logic App
- Save Specific Twitter Tweet To Excel Spreadsheet With Azure Logic App
- Save Only A Positive Tweet To Excel Spreadsheet Using Microsoft Cognitive
- Using Cognitive Service Face API with Azure Logic App
- Using Cognitive Service Computer Vision API, Text Analytics API With Azure
- Get Daily Weather Reports Delivered To Your Phone Using Azure Logic Apps
- How To Retweet A Specific Tweet With An Approval Email In Azure Logic App
- How to Mark an Email as Read When Logic App Performs an Action
- How to Delete a Specific Email using Azure Logic App
- Alert on Saving Email Attachment to Blob Storage Account
- Save specific Email to Excel File using Azure Logic App
- Alert on Saving Email Attachment to Blob Storage Account
- How to Delete a Specific Email using Azure Logic App
- How to Mark an Email as Read When Logic App Performs an Action
- Build an Approval-Based Automated Workflows Using Azure Logic Apps
- Connect Blob Storage & OneDrive via Azure Logic Apps
Prerequisites
- Microsoft Azure Account
Here, we are going to see how to create Approval-Based contacts save in email using Azure Logic App
Follow the below steps to build a Workflow using a template.
Step 1
- Log into https://portal.azure.com/.
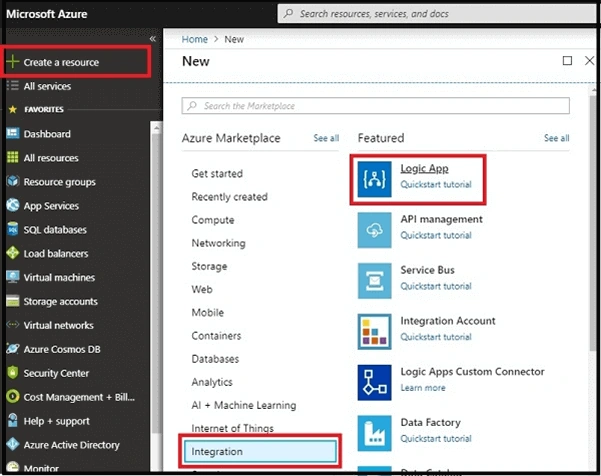
- In the dashboard, choose to create a resource and click on Integration. Now, select "Logic App".
Step 2
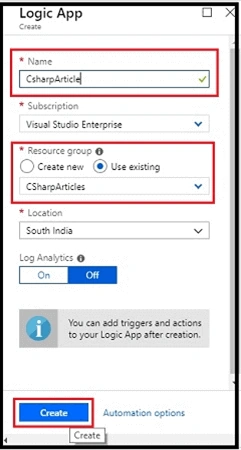
- Enter the name you want to assign to the logic. Select the subscription and resource group where you organize the related resources and location where your logic app is stored. Then, click on "Create".
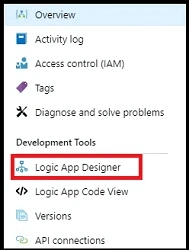
- Here is the dashboard. Click "Logic App Designer".
Step 3
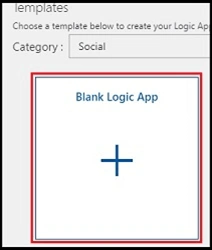
Now, click on the Blank Logic App.
Step 4
Configure the Email by signing into the Outlook
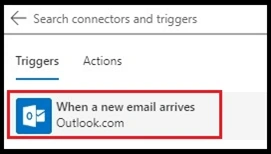
- Search for Outlook in the search bar.
- Choose the Triggers.
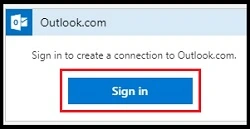
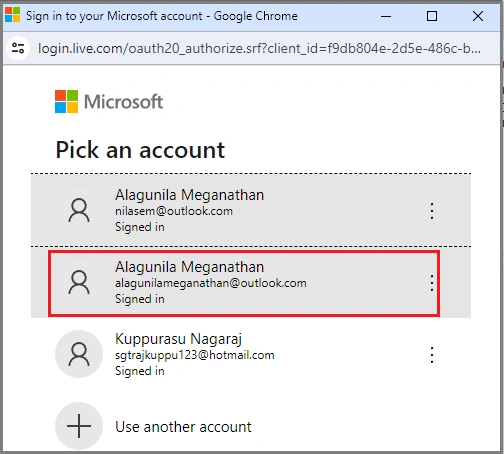
- Sign into Outlook.
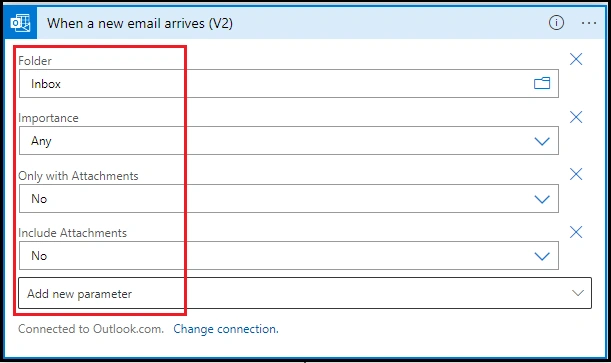
Step 6
Configure outlook for send approval mail
- Search for outlook mail.
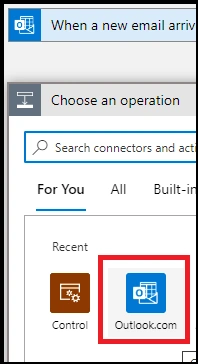
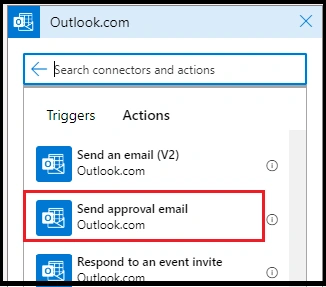
- Choose the action as send approval mail
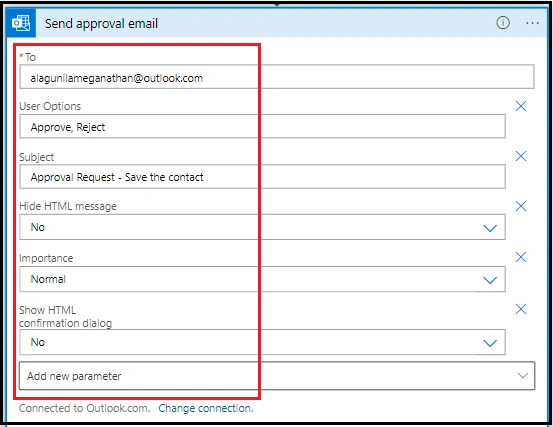
- Mapping To address and subject
Step 7
Configure Control for checking the approval mail.
- Search for Control operation
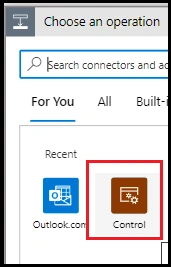
- Choose condition as actions
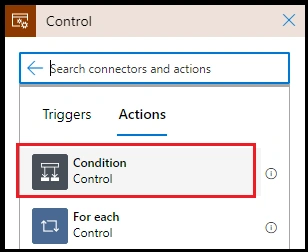
- Choose Selected options is equal to Approve
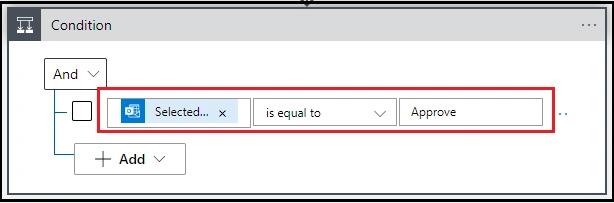
True
- Then, if true, choose an operation such as outlook for creating contacts.
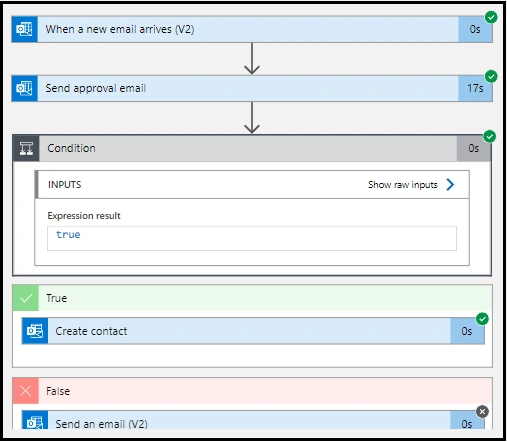
- The final workflow will be like this.
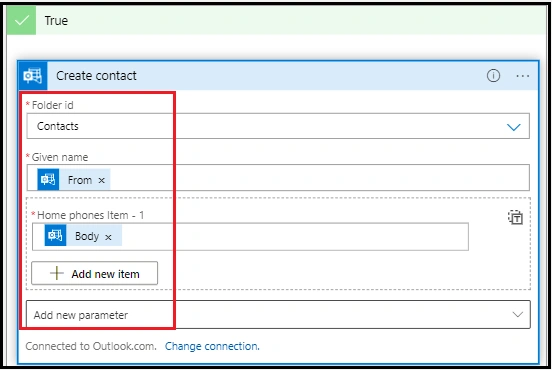
The final workflow
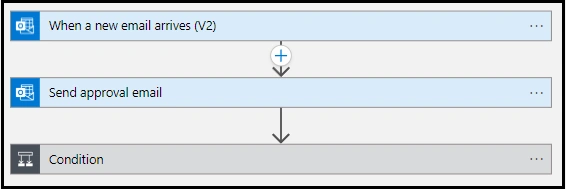
Now, let us save and run the workflow.
Output
Run the Logic App
Its successfully run
Just sent the demo mail.
.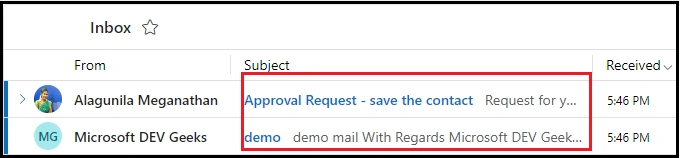
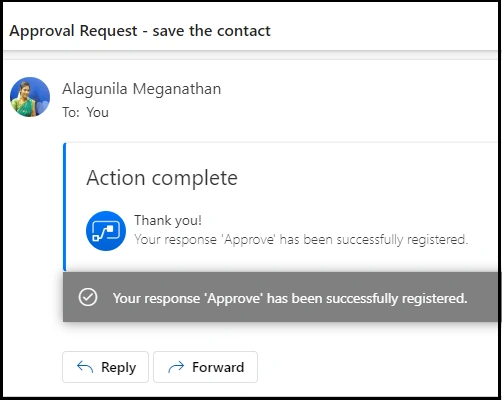
Finally, it successfully runs and send Approval mail.
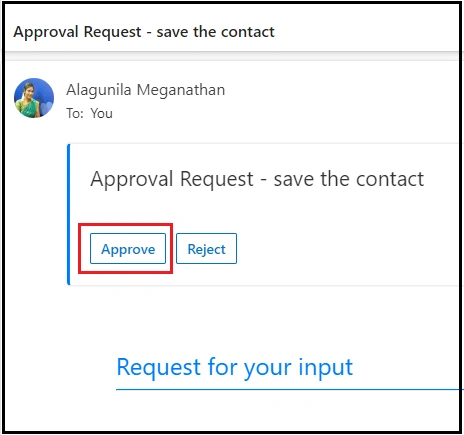
It moves the attachment-specific email to the blob storage container folder
Summary
I hope you understood how to create Approval-Based contacts save in email using Azure Logic App. Stay tuned for more Logic App articles.
Join the conversation! Your thoughts help the community grow.