
Introduction
This article describes how items can be arranged in a List Box (or any Items Control subclass). Here I have used the Items Panel property for the customization.
Background
I have used the Items Panel property of the Items Control that allows us to choose the layout panel to arrange items displayed in the Items Control or any other control derived from it, for example List Box. This feature allows you to completely redefine how the items in the list should be arranged, relative to one another.
Solution
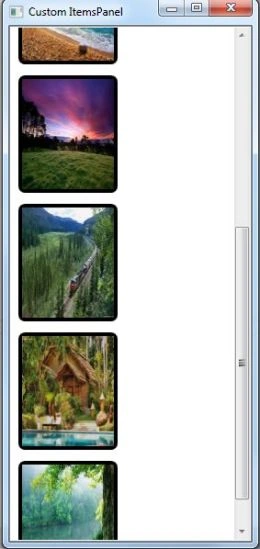
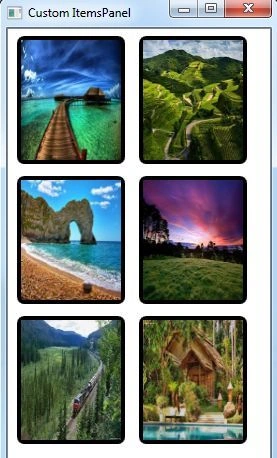
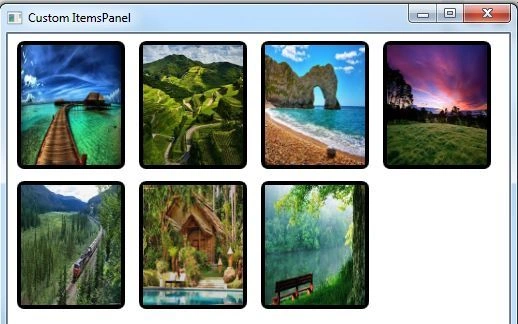
In this application I populated a List Box with images of nature's beauty. Initially the images are listed from the top of the List Box down to the bottom, that is the normal behavior. After the customization is complete, the images will be displayed in a left-to-right top-to-bottom layout, like text on a page (for us left-to-right readers).
This custom layout is done using a Wrap Panel to arrange the images for us.
Procedure
Step 1
Putting a List Box in a Window
The following is a samle of putting a List Box in a window:
<Window x:Class="CustomItemsPanel.Window1"
xmlns="http://schemas.microsoft.com/winx/2006/xaml/presentation"
xmlns:x="http://schemas.microsoft.com/winx/2006/xaml"
xmlns:local="clr-namespace:CustomItemsPanel"
Title="Custom Items Panel" Height="600" Width="280"
WindowStartupLocation="Center Screen"
>
<ListBox Items Source="{Binding}" />
</Window>
On compiling and running the project you will see an empty window. The List Box is displayed here but it has no items yet.
Step 2
Filling the List Box with pictures
Now here we will create a class named Image Loader declared as static. This class populates a List Box with images. The project also contains a folder named "images" that contains the images stored in JPEG format (with .jpg extension).
using System;
using System.Collections.Generic;
using System.IO;
using System. Text;
using System. Windows;
using System.Windows.Controls;
using System.Windows.Data;
using System.Windows.Documents;
using System.Windows.Input;
using System.Windows.Media;
using System.Windows.Media.Imaging;
using System.Windows.Shapes;
namespace CustomItemsPanel
{
public partial class Window1 : Window
{
public Window1()
{
InitializeComponent();
}
}
public static class ImageLoader
{
public static List<BitmapImage> LoadImages()
{
List<BitmapImage> Images = new List<BitmapImage>();
DirectoryInfo ImageDir = new DirectoryInfo( @"..\..\images" );
foreach( FileInfo ImageFile in ImageDir.GetFiles( "*.jpg" ) )
{
Uri uri = new Uri( ImageFile.FullName );
Images.Add( new BitmapImage( uri ) );
}
return Images;
}
}
}
We use the Image Loader class with the following markup in the Window class, declared as above.
<Window.DataContext>
<ObjectDataProvider
ObjectType="{x:Type local:ImageLoader}"
MethodName="LoadImages"
/>
</Window.DataContext>
The XAML above indicates that the implicit data source for all visual elements in the window will, by default, be the object returned when calling the static ImageLoader.LoadImages method.
Step 3
Creating the template to display pictures
Join the conversation! Your thoughts help the community grow.