
Step 1 - First launch Visual Studio 2013 Preview.
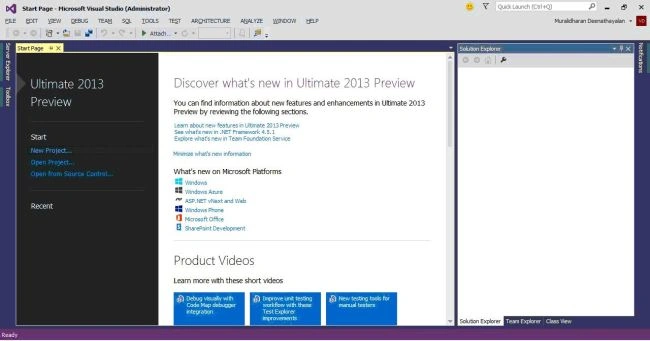
Step 2 - Click "New project" and change the framework version to 4.5 or higher.
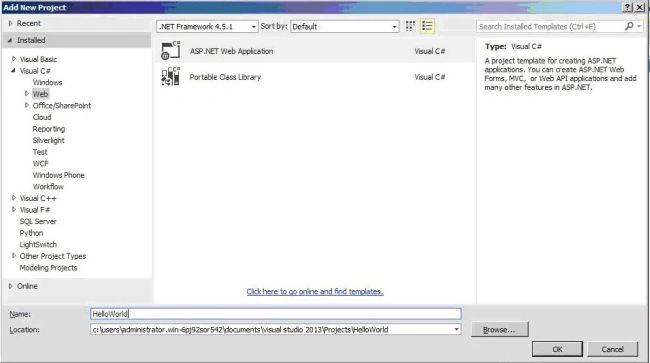
Here you can only see "ASP.Net Web Application" and "Portable Class Library". In Visual Studio 2013, the web tooling team has moved the options into the next screen.
Currently Visual Studio 2013 is in beta therefore there could be changes to this completely.
Step 3 - Select "ASP.Net Web Application". Select "MVC" and click the "Create Project" button.
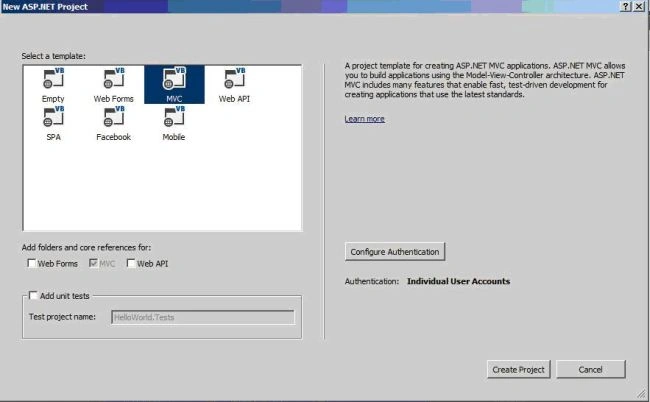
If you want to configure various authentication then click "Configure Authentication" and select your authentication model. This article is just for a simple Hello World so I'm not covering that.
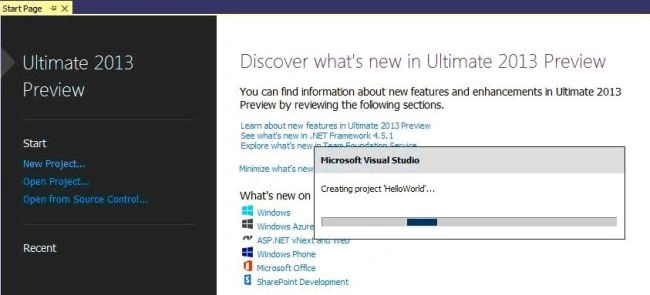
Project creation is in progress.
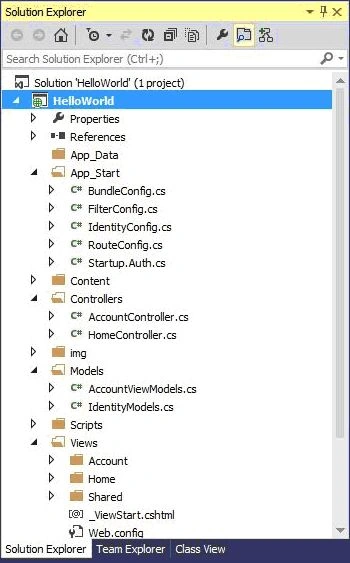
Step 4 - Project hierarchy in Visual Studio 2013.
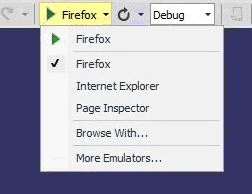
Step 5 - Select Internet Explorer as your default browser and press F5. In a different article, I'll explain about "Page Inspector".
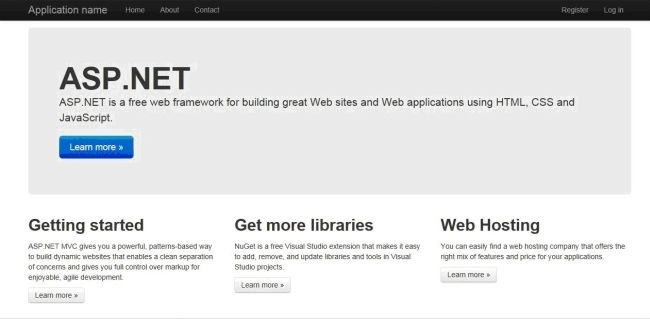
The page looks as in the following:
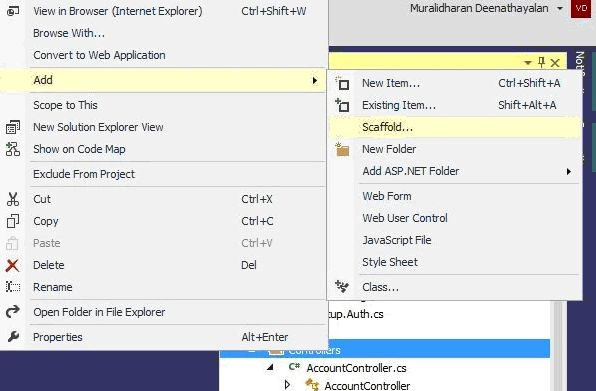
Step 6 - Right-click in the controller folder then select "Add Select Scaffold".
Step 7 - Select "MVC 5 Empty Controller" and click the "Add" button.
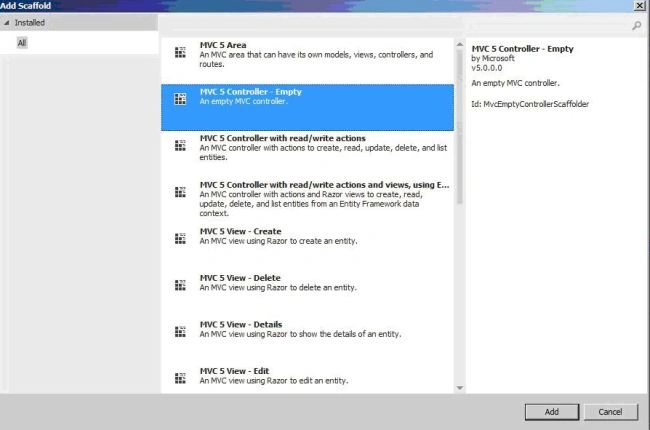
Give the controller the name "HelloWorldController" and it will be added under the Controllers folder.
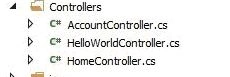
Step 8 - Now we need to add a view. Create a new folder called "HelloWorld" under the view folder.
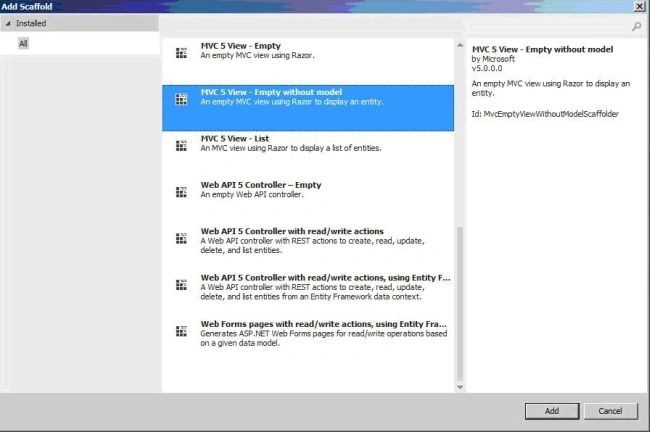
Right-click on the HelloWorld view folder them select "Add" then select "MVC 5 View" then "Empty without model".
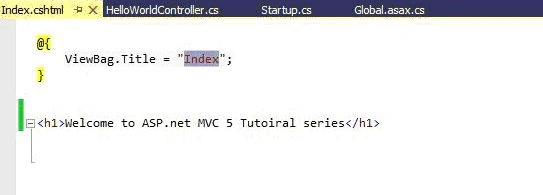
Step 9 - In the "index.cshtml" page, do the following as described below.
Step 10 - Now press F5, to run the application and navigate to http://localhost:portnumber/HelloWorld/Index to see the newly created helloworld page.
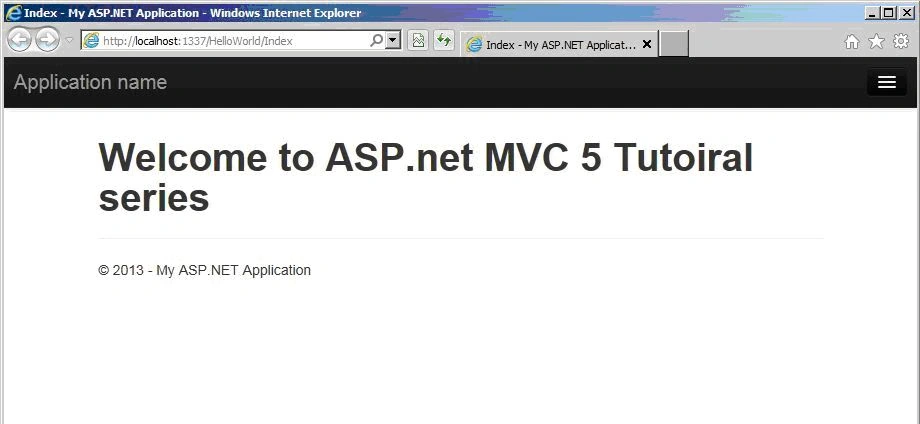
Hope this helps someone to start with ASP.Net MVC 5 (using Visual Studio 2013 Preview) helloworld application.
Vipin TyagiPosted Sep 8, 2014, 11:25 AM
I want to run a hello world program in mvc 5 in vs2012 how i do this
Muralidharan DheenadhayalanPosted Aug 7, 2013, 10:25 AM
Sounds good
Mahesh ChandPosted Aug 7, 2013, 10:12 AM
So 2014 is almost here and I hear chat about Visual Studio 2014. It does not make sense to release 2013. They should just release 2014.
Muralidharan DheenadhayalanPosted Aug 7, 2013, 3:40 AM
Currently VS 2013 is in preview, microsoft may changing anything before the actual release.
Former memberPosted Aug 7, 2013, 3:36 AM
Good Explanation
Keyur PatelPosted Aug 7, 2013, 1:19 AM
Good article to start exploring on MVC 5 and VS 2013