

Introduction
In this article, we will learn about how to assign a static drive letter to a USB drive in Windows 8.
Step 1
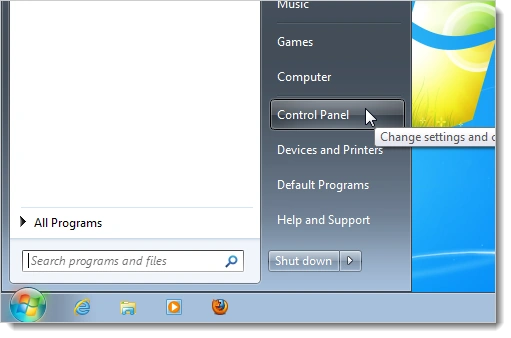
In the Windows 8 Desktop, first, we open the "Control Panel".
Step 2
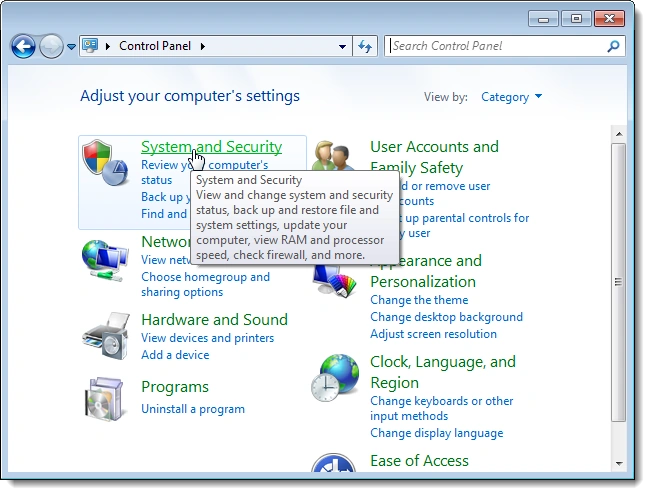
Then we click the "System and Security" link from the Control Panel.
Step 3
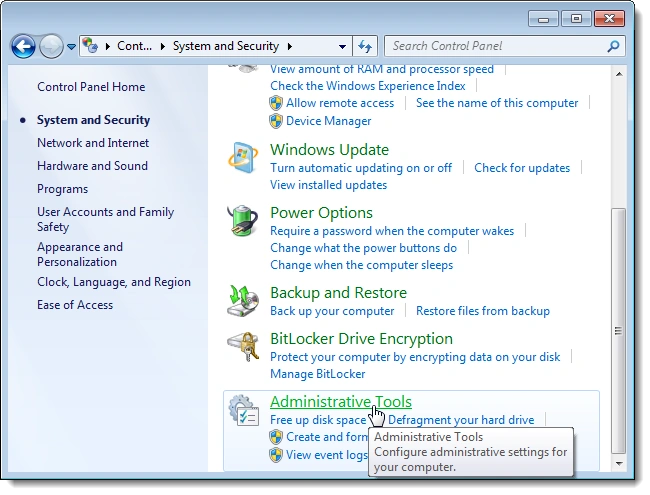
Click the "Administrative Tools" link on the "System and Security" window.
Step 4
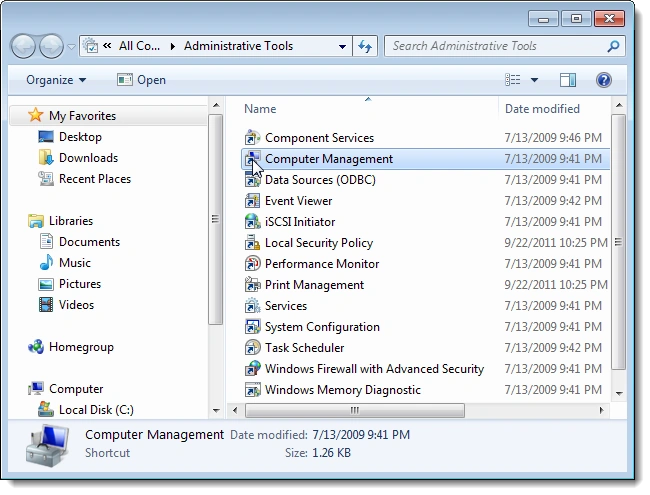
When the Administrative tools window opens, double-click the "Computer Management" shortcut.
Step 5
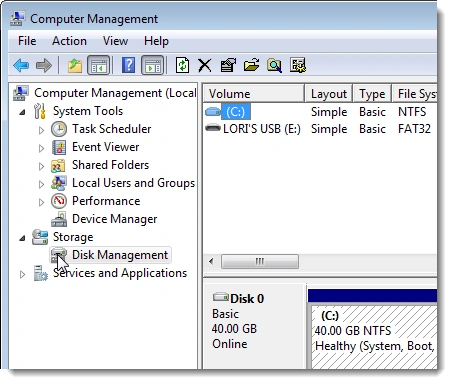
The "Computer Management" dialog box displays. In the tree on the left, select "Disk Management" under Storage.
Step 6
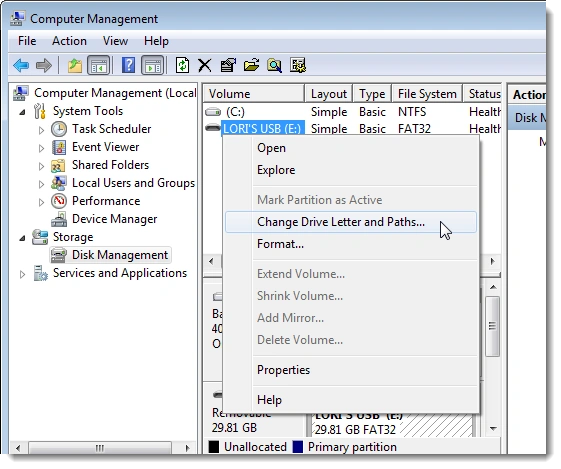
Right-click on the drive in the list and select "Change Drive Letter and Paths" from the popup menu.
Step 7
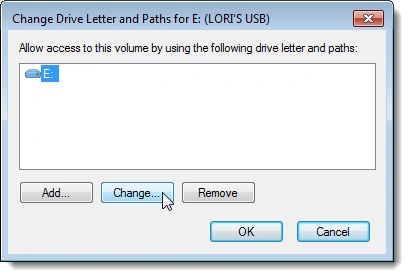
The Change Drive Letter and Paths dialog box displays for the selected drive showing the current drive letter. To change the drive letter, click "Change".
Step 8
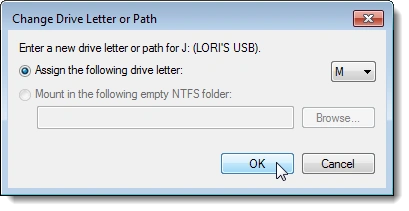
On the "Change Drive Letter or Path" dialog box, select the "Assign the following drive letter" option.
Step 9
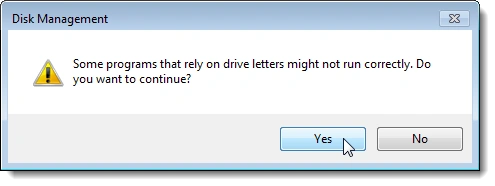
The following warning displays, we choose "Yes" to continue.
Step 10
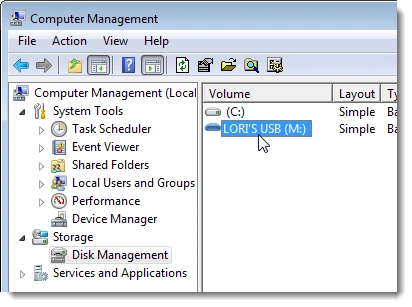
The new drive letter displays next to the drive on the "Computer Manager" dialog box.
Step 11
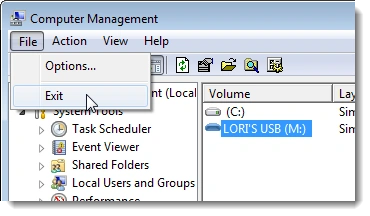
Select "Exit" from the "File" menu to close the "Computer Management" dialog box.
Step 12
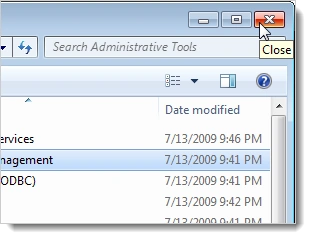
Close both the "Administrative Tools" window and the "Control Panel" window by clicking the X button in the upper-right corner of the window.
Now, absolute file paths used by programs, such as backup programs, won't need to be changed every time you plug in your USB drive.
Summary
In this article, we learned about Assign a Static Drive Letter to a USB Drive in Windows 8.
AndyPosted Jan 19, 2015, 11:50 AM
Is this supposed to keep when I plug the USB into a different computer? I've followed these steps to change the drive letter to M, but when I plug into a different computer, it doesn't keep even though the computer isn't already using the M drive.