

Introduction
As IoT solutions grow, manually adding devices to Azure IoT Hub quickly becomes time-consuming and error prone. This is where Azure Device Provisioning Service (DPS) helps by automating the onboarding process. In this article, we’ll focus specifically on Individual Enrollment, which is the simplest way to get started with DPS. You’ll learn how to create a DPS instance, register a single device, and provision it automatically using a .NET application.
Prerequisites
A working Azure IoT Hub instance
Basic knowledge of IoT Hub device connectivity
Azure Device Provisioning Service access
Azure CLI installed
.NET development environment set up
Individual Enrollment
Individual enrollment is ideal when:
You’re testing or prototyping
You want fine-grained control per device
You’re onboarding a small number of devices
It allows us to register a single device with its own credentials, making it perfect for learning and initial setups.
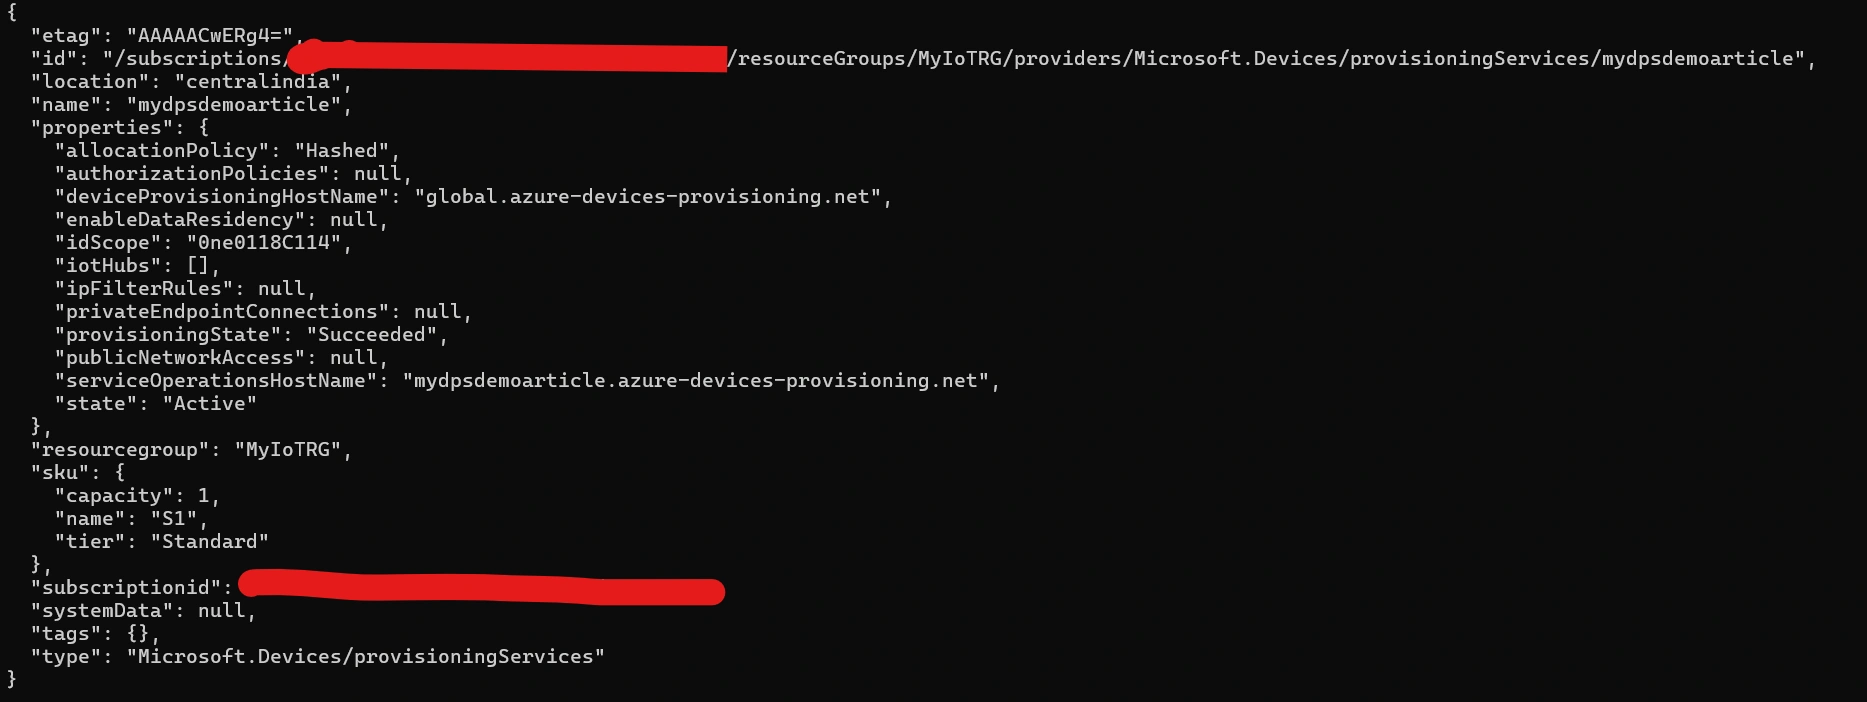
Step 1: Create DPS using Azure CLI
We’ll use Azure CLI for quick setup.

Output
Link DPS to your IoT Hub

Output

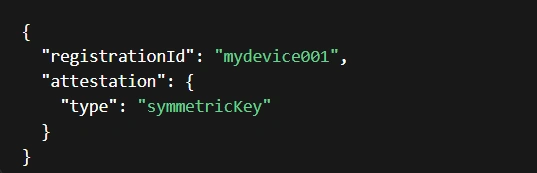
Step 2: Create Individual Enrollment
Register a single device using a symmetric key:

Output
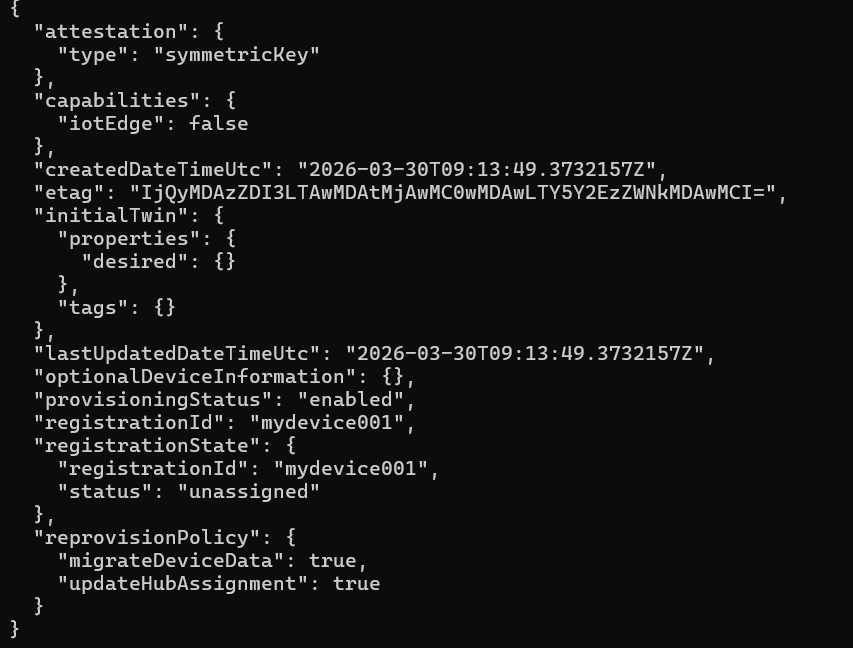
Retrieve the enrollment details

Output
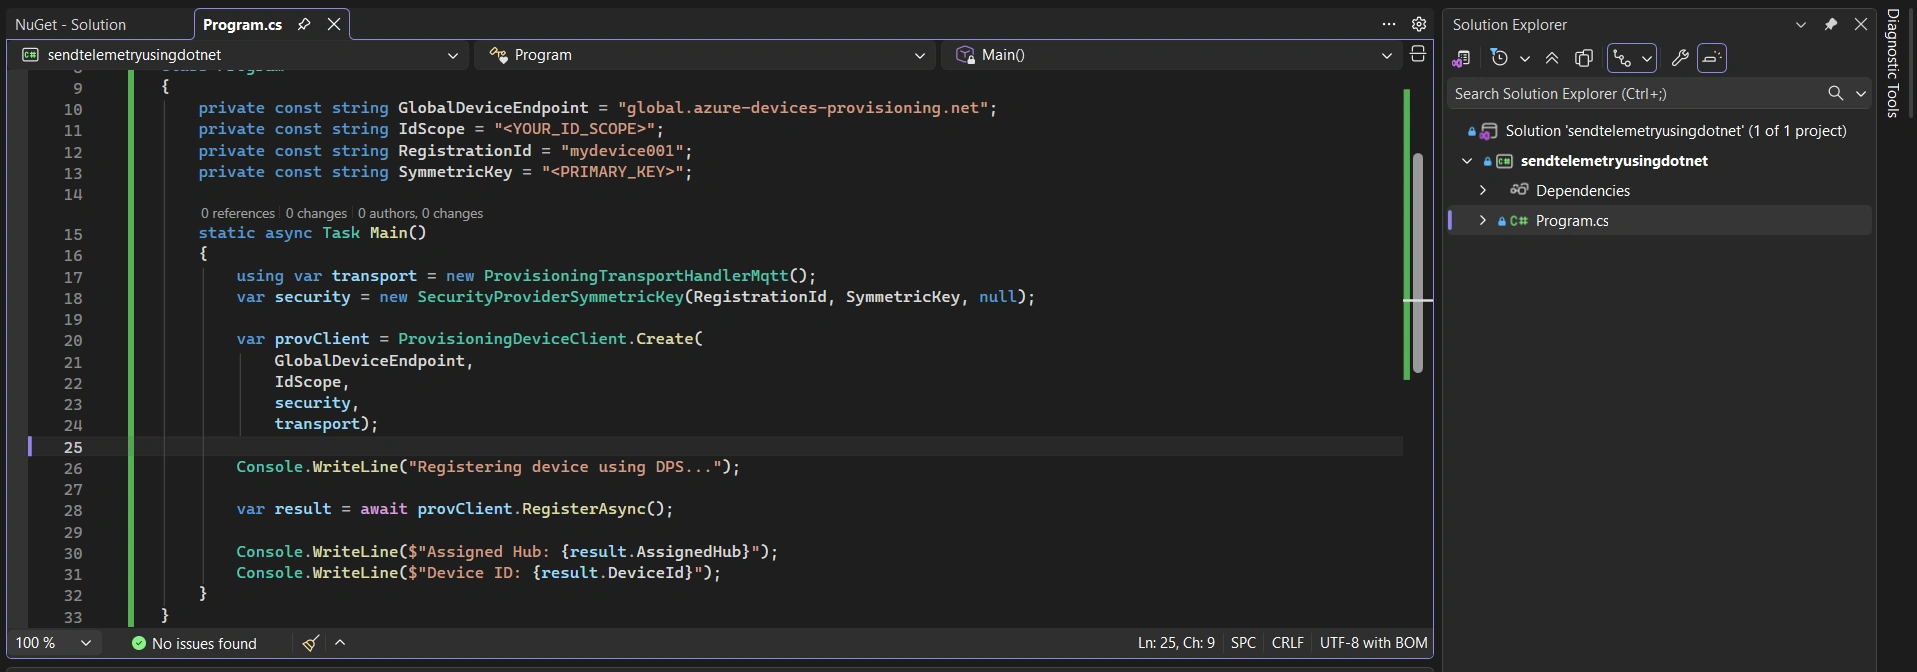
Step 3: Simulate Device Provisioning using .NET
Install the below NuGet package
dotnet add package Microsoft.Azure.Devices.Provisioning.Client
Code Snippet
using System;
using System.Threading.Tasks;
using Microsoft.Azure.Devices.Provisioning.Client;
using Microsoft.Azure.Devices.Provisioning.Client.Transport;
using Microsoft.Azure.Devices.Shared;


class Program
{
    private const string GlobalDeviceEndpoint = "global.azure-devices-provisioning.net";
    private const string IdScope = "<YOUR_ID_SCOPE>";
    private const string RegistrationId = "mydevice001";
    private const string SymmetricKey = "<PRIMARY_KEY>";

    static async Task Main()
    {
        using var transport = new ProvisioningTransportHandlerMqtt();
        var security = new SecurityProviderSymmetricKey(RegistrationId, SymmetricKey, null);

        var provClient = ProvisioningDeviceClient.Create(
            GlobalDeviceEndpoint,
            IdScope,
            security,
            transport);

        Console.WriteLine("Registering device using DPS...");

        var result = await provClient.RegisterAsync();

        Console.WriteLine($"Assigned Hub: {result.AssignedHub}");
        Console.WriteLine($"Device ID: {result.DeviceId}");
    }
}
Output

Step 4: Verify in IoT Hub
To confirm the device is created execute the below command :

Output
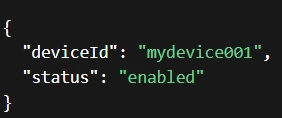
The above output confirms the registration of the device using DPS individual enrollment.
Conclusion
Individual enrollment is a simple and effective way to get started with DPS and understand how device provisioning works. It gives us full control over each device while still automating the registration process.
Join the conversation! Your thoughts help the community grow.