

Prerequisites
- Azure account.
Add activities to the Runbook
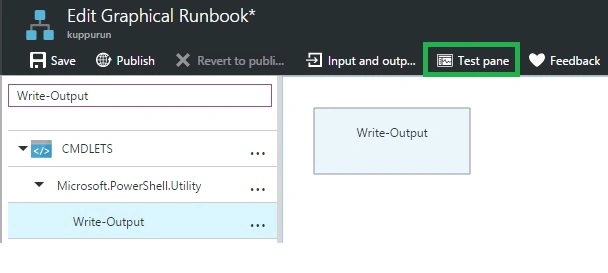
Step 1: In the Library control, click the search textbox and type Write-Output. The search results will be displayed below: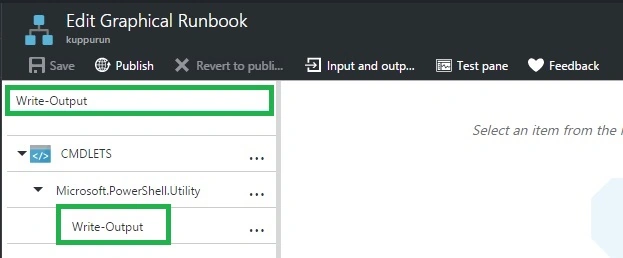
Step 2: Next, click Write-Output and select Add to canvas.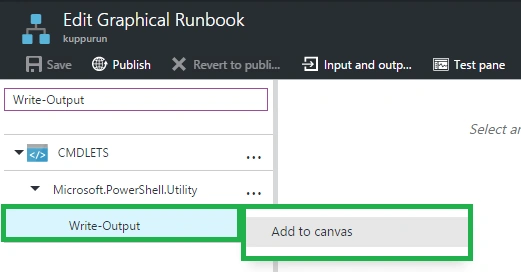
Step 3: Next, click the Write-Output activity on the canvas. Type Label Name and select the InputObject parameter. Next, in the data source dropdown, select PowerShell expression. Finally, in the Expression box, type "Hello Run Book" and then click OK twice to return to the canvas.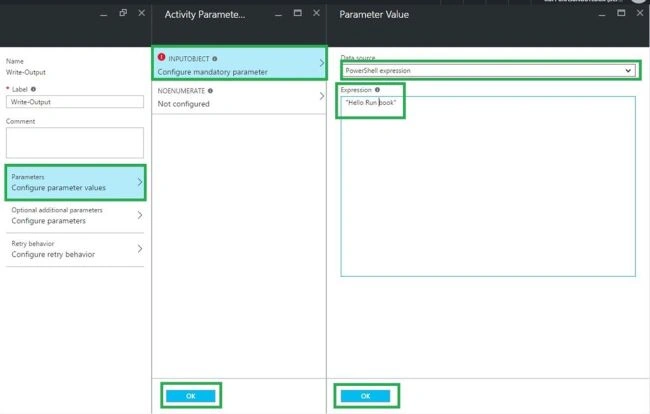
Step 4: Next, save the Runbook by clicking Save.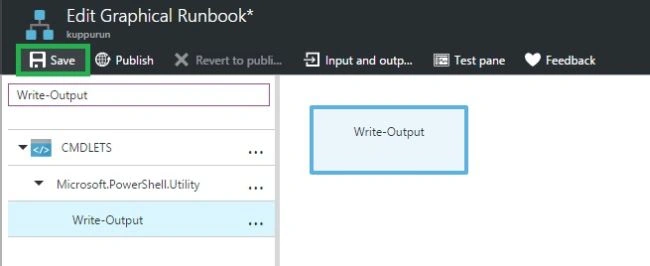
Test the Runbook
Step 5: Click Test pane to open the Test blade.
Step 6: Click Start to start the test.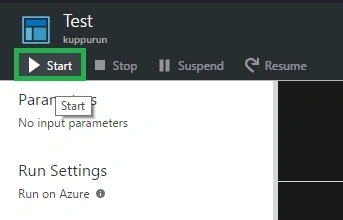
After some time, the Runbook job completes and its output is displayed.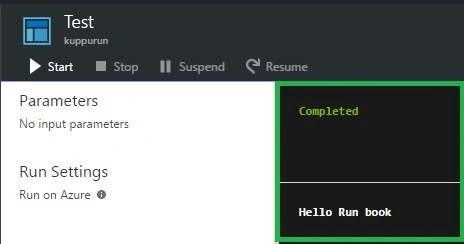
Summary: In this article, we discussed how to add activities and test to the Azure Runbook in Azure portal.
Vignesh ManiPosted Aug 11, 2016, 11:32 AM
Good one Sir