

Prerequisites
- Azure account.
You can see my previous article of this series at the following links:
Now, let's get started with the following steps:
Publish the Runbook
The Runbook that we have created is still in Draft mode. We want to publish it before running it in the production mode. When we publish a Runbook, we overwrite the existing Published version with the drafted one.
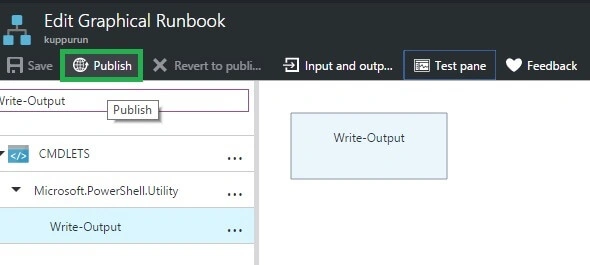
Step 1: First, open your Runbook from Automation Account blade. Then, select your Runbook and click Publish to publish the Runbook.
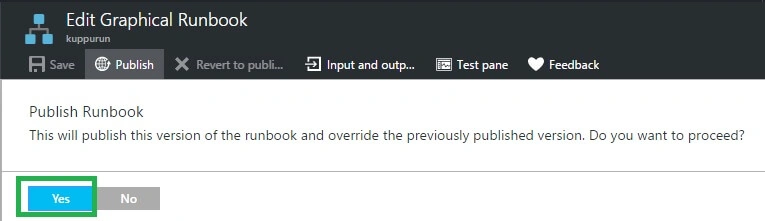
Step 2: Now, click Yes when prompted.
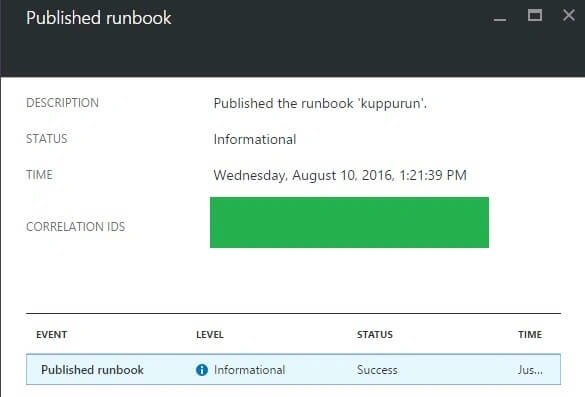
Step 3: Next, it will show an Authoring Status of Published.
Start the Runbook
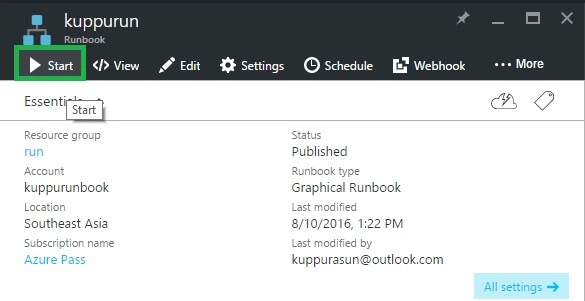
Step 4: Scroll back to the right for viewing the blade for your Runbook. Now, we need to start the Runbook. So, click Start and then Yes when prompted.
Step 4: Scroll back to the right for viewing the blade for your Runbook. Now, we need to start the Runbook. So, click Start and then Yes when prompted.
Test the Runbook
Step 5: The job status is shown in Job Summary and matches the statuses that we saw when we tested the Runbook.
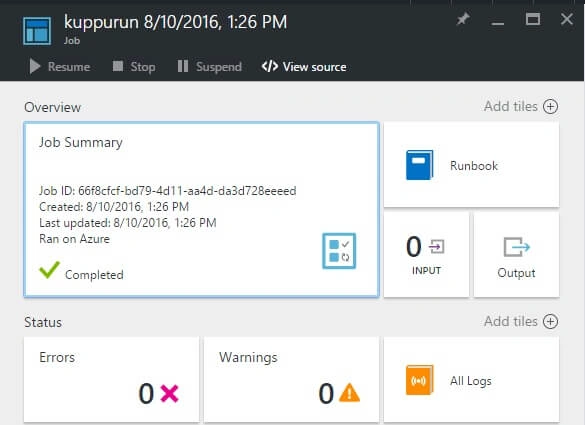
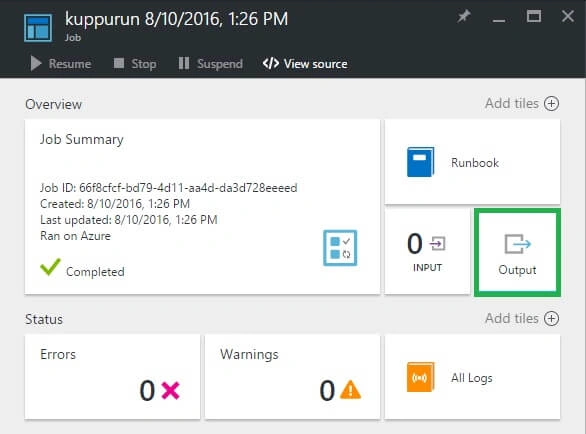
Step 6: Once the Runbook status shows Completed, click Output.
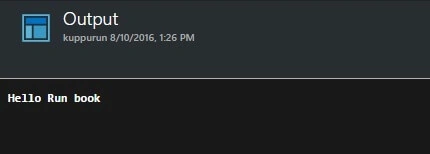
Step 7: The Output blade is opened. Here, we can see that our Hello Run Book is printed in the pane.
Summary: In this article, we discussed how to publish, start and test the Runbook in Azure Portal.
Step 6: Once the Runbook status shows Completed, click Output.
Step 7: The Output blade is opened. Here, we can see that our Hello Run Book is printed in the pane.
Summary: In this article, we discussed how to publish, start and test the Runbook in Azure Portal.
Bhushan GawalePosted Aug 25, 2016, 5:26 AM
Great writeup! Thanks for sharing!
Vignesh ManiPosted Aug 17, 2016, 8:06 AM
Good one Sir
Anu VPosted Aug 17, 2016, 4:18 AM
Nice
Ravi KandelPosted Aug 14, 2016, 2:52 AM
Nice