

In this article I will cover the basics of creating DataTable to get data and fill into the ASP GridView Control to fill, bind, and show the data.
Step 1: Firstly, we need to create an empty project by opening Visual Studio by pressing command devenv in the Start menu search bar or using Windows Run-Command by pressing (Windows icon + R ) and enter devenv. It will open the installed version of Visual Studio.
If by pressing this opens the old one, you can change it by changing the registry value for updated version by following this link.
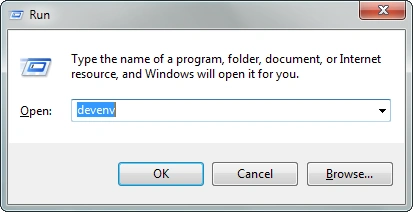
Step 1: Firstly, we need to create an empty project by opening Visual Studio by pressing command devenv in the Start menu search bar or using Windows Run-Command by pressing (Windows icon + R ) and enter devenv. It will open the installed version of Visual Studio.
If by pressing this opens the old one, you can change it by changing the registry value for updated version by following this link.
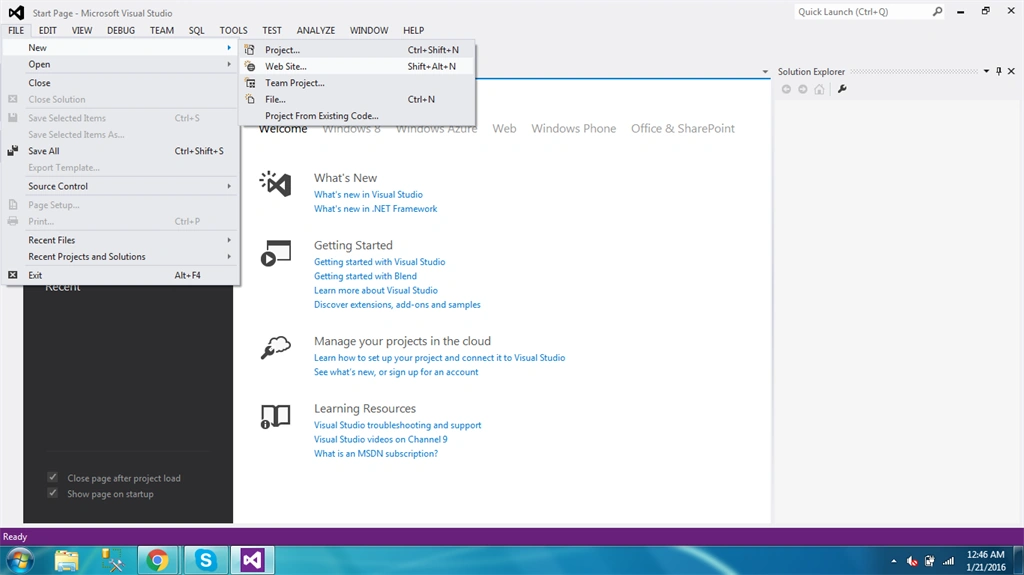
Step 2: Now after opening Visual Studio you can create new a website by going to File, New, then Website or by pressing Shift+Alt+N command in Visual Studio.
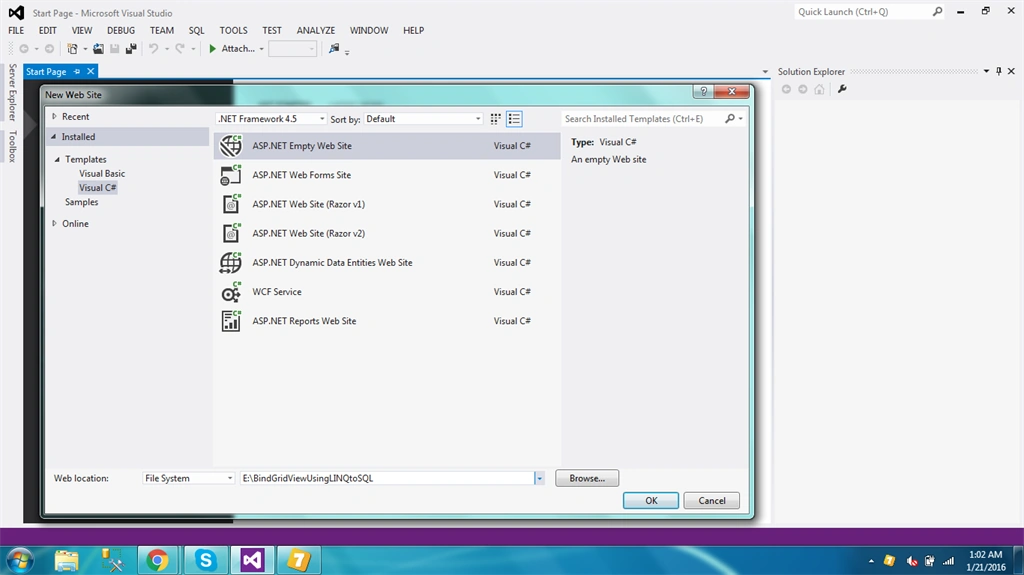
Step 3: Now give a name to the project and also select desired location of website.
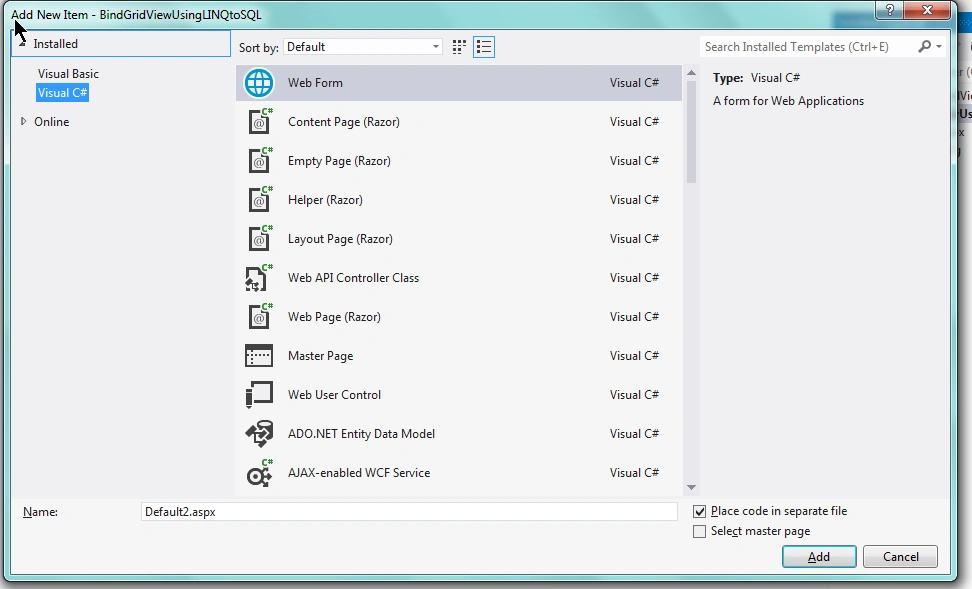
Step 4: Now create a new web form by pressing combination of keys (Ctrl + Shift + A).
Step 5: Now we first add GridView control to the Web Form.
- <form id="form1" runat="server">
- <div>
- <asp:GridView ID="gvitems" runat="server" AutoGenerateColumns="false">
- <Columns>
- <asp:BoundField DataField="ItemId" HeaderText="Item ID" ItemStyle-Width="30" />
- <asp:BoundField DataField="ItemName" HeaderText="Item Name" ItemStyle-Width="150" />
- <asp:BoundField DataField="ItemQuantity" HeaderText="Item Quantity" ItemStyle-Width="150" />
- </Columns>
- </asp:GridView>
- </div>
- </form>
Note: (Possible Exceptions)
- Make sure that GridView control must be placed in <form> tag with runat='server' attribute.
- Another thing which you need to take care of is that you must use AutoGenerateColumns="false".
If you are using custom columns which are binding date the you must set this attribute to false otherwise see the image for reference.
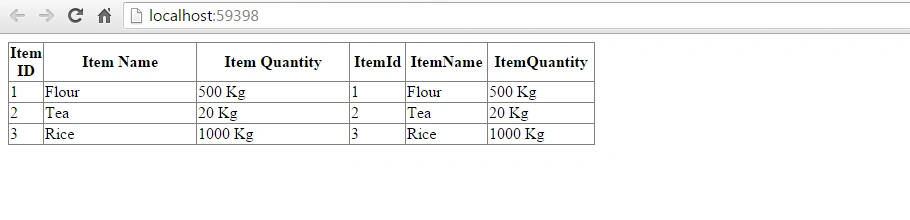
As you can see the columns repeated by default, it is set to true when you set it to false and it come to its original position of number of assigned columns.
Step 6: Import the required Namespace.
- using System.Data;
Step 7: Now we can write the ADO.NET server side code to generate columns, add new values to row and finally bind it to the GridView.
- if (!Page.IsPostBack)
- {
- DataTable dt = new DataTable();
- dt.Columns.AddRange(new DataColumn[3] { new DataColumn("ItemId", typeof(int)),
- new DataColumn("ItemName", typeof(string)),
- new DataColumn("ItemQuantity",typeof(string)) });
- dt.Rows.Add(1, "Flour", "500 Kg");
- dt.Rows.Add(2, "Tea", "20 Kg");
- dt.Rows.Add(3, "Rice", "1000 Kg");
- gvitems.DataSource = dt;
- gvitems.DataBind();
- }
Let's elaborate code one by one.
- DataTable dt = new DataTable();
Initialize the new instance of DataTable class by new Keyword.
- dt.Columns.AddRange(new DataColumn[3] { new DataColumn("ItemId", typeof(int)),
- new DataColumn("ItemName", typeof(string)),
- new DataColumn("ItemQuantity",typeof(string)) });
- dt.Rows.Add(1, "Flour", "500 Kg");
- dt.Rows.Add(2, "Tea", "20 Kg");
- dt.Rows.Add(3, "Rice", "1000 Kg");
- gvitems.DataSource = dt;
Gets or sets the object from which the data-bound control retrieves its list.
- gvitems.DataBind();
Bind the DataSource to the GridView control.
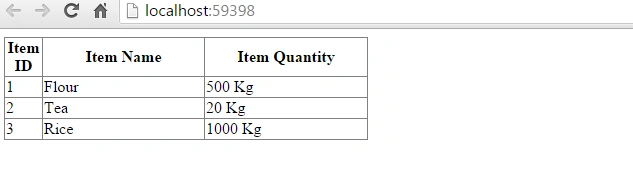
Step 8: Final Output
Umm HaniPosted Aug 16, 2019, 2:23 AM
You have any example of shopping card without using data list and sql data source i just want data base connection in my shopping cart
Vinay SinghPosted Jun 5, 2016, 1:27 PM
Nice one.
Raja TPosted Jan 24, 2016, 11:10 PM
Nice, Thank you for sharing..
Raja TPosted Jan 24, 2016, 11:10 PM
Nice, Thank you for sharing..
Jaco ZwartsPosted Jan 24, 2016, 2:16 PM
Nice Article!
Santhakumar MunuswamyPosted Jan 24, 2016, 10:22 AM
Thanks for nice article.
Mohsin AzamPosted Jan 24, 2016, 10:19 AM
nice share
Gowtham KPosted Jan 24, 2016, 6:12 AM
Good one
Arul RPosted Jan 24, 2016, 1:11 AM
Nice share
Muhammad Aqib ShehzadPosted Jan 23, 2016, 10:33 AM
Thanks john theisen for sharing nice comments
Guest UserPosted Jan 23, 2016, 8:55 AM
Thanks for the nice write up. It explained it very well. For whatever reason data binding has been a bit confusing to me. I think that goes back to my powerBuilder days, where the data window did everything fo you , I never needed to understand what was going on as long as it was working,:)) you explained binding in a simple straight forward way that gives me a good foundation to work from thanks very much